This tutorial guides you through installing the LiteSpeed Cache plugin on your website.
1. Introduction
You will learn how to navigate the control panel to install the Litespeed plugin which optimizes your websites performance.
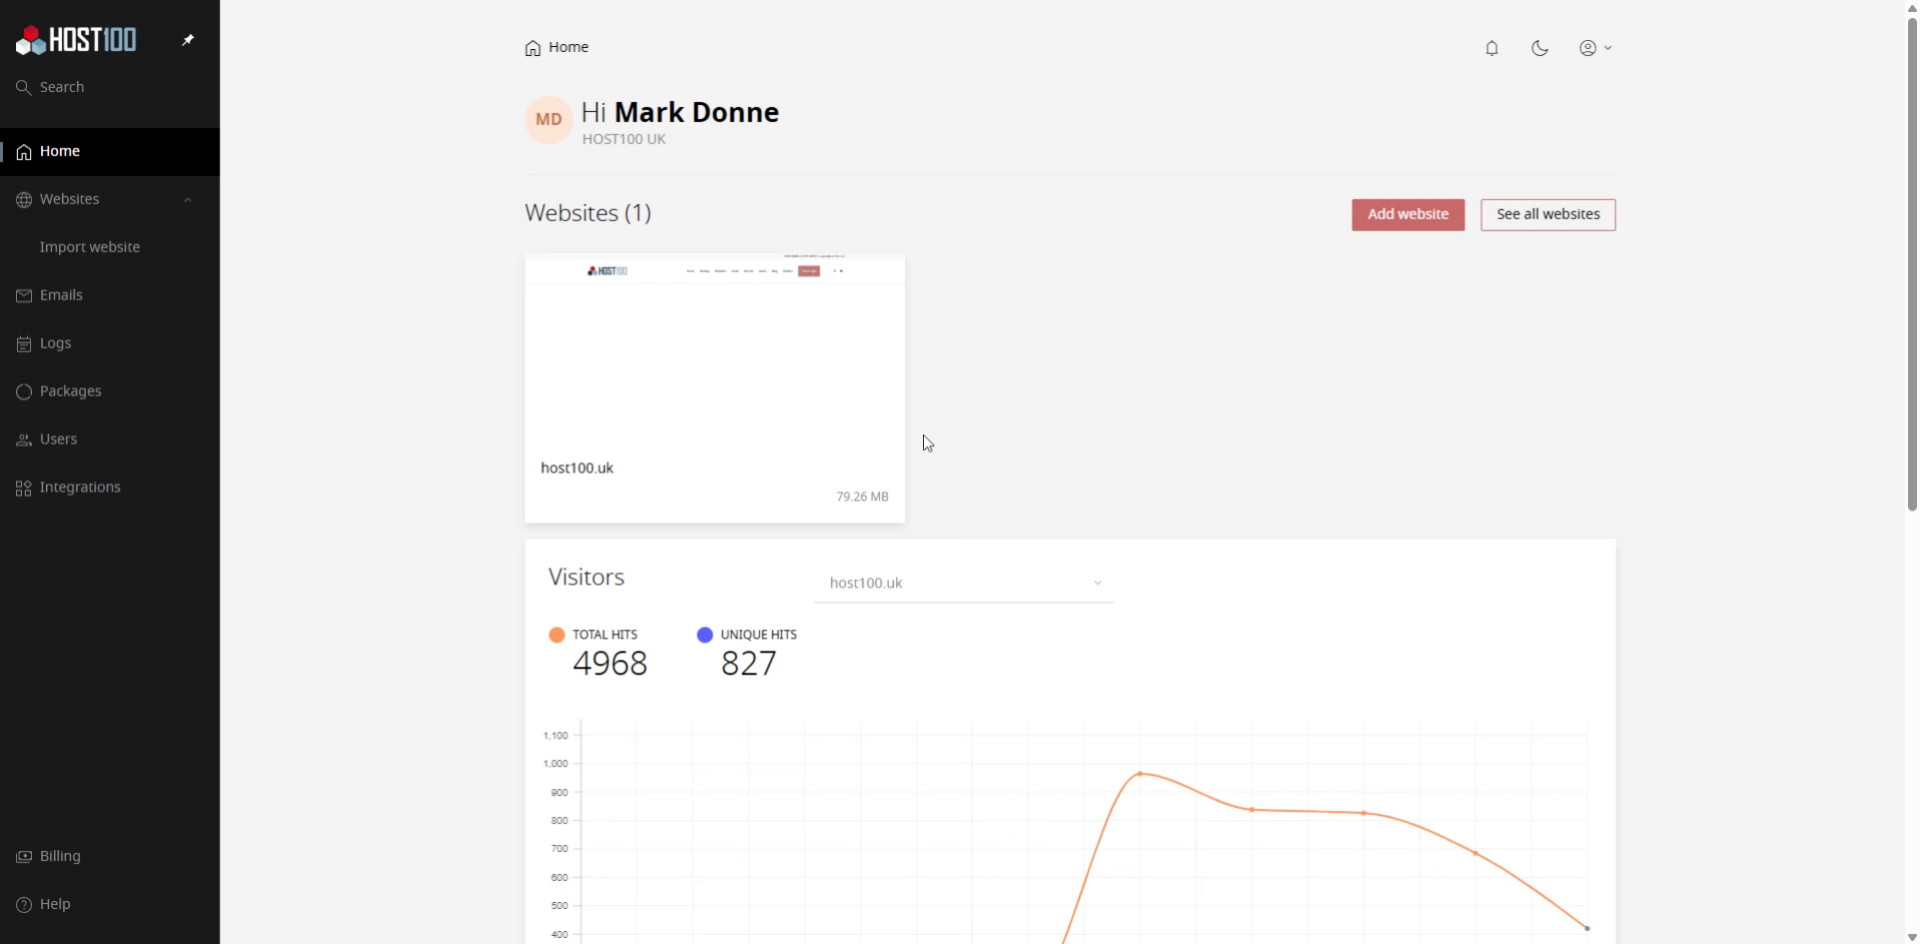
2. Access Websites Section
Click "Websites" to open the list of your hosted sites.
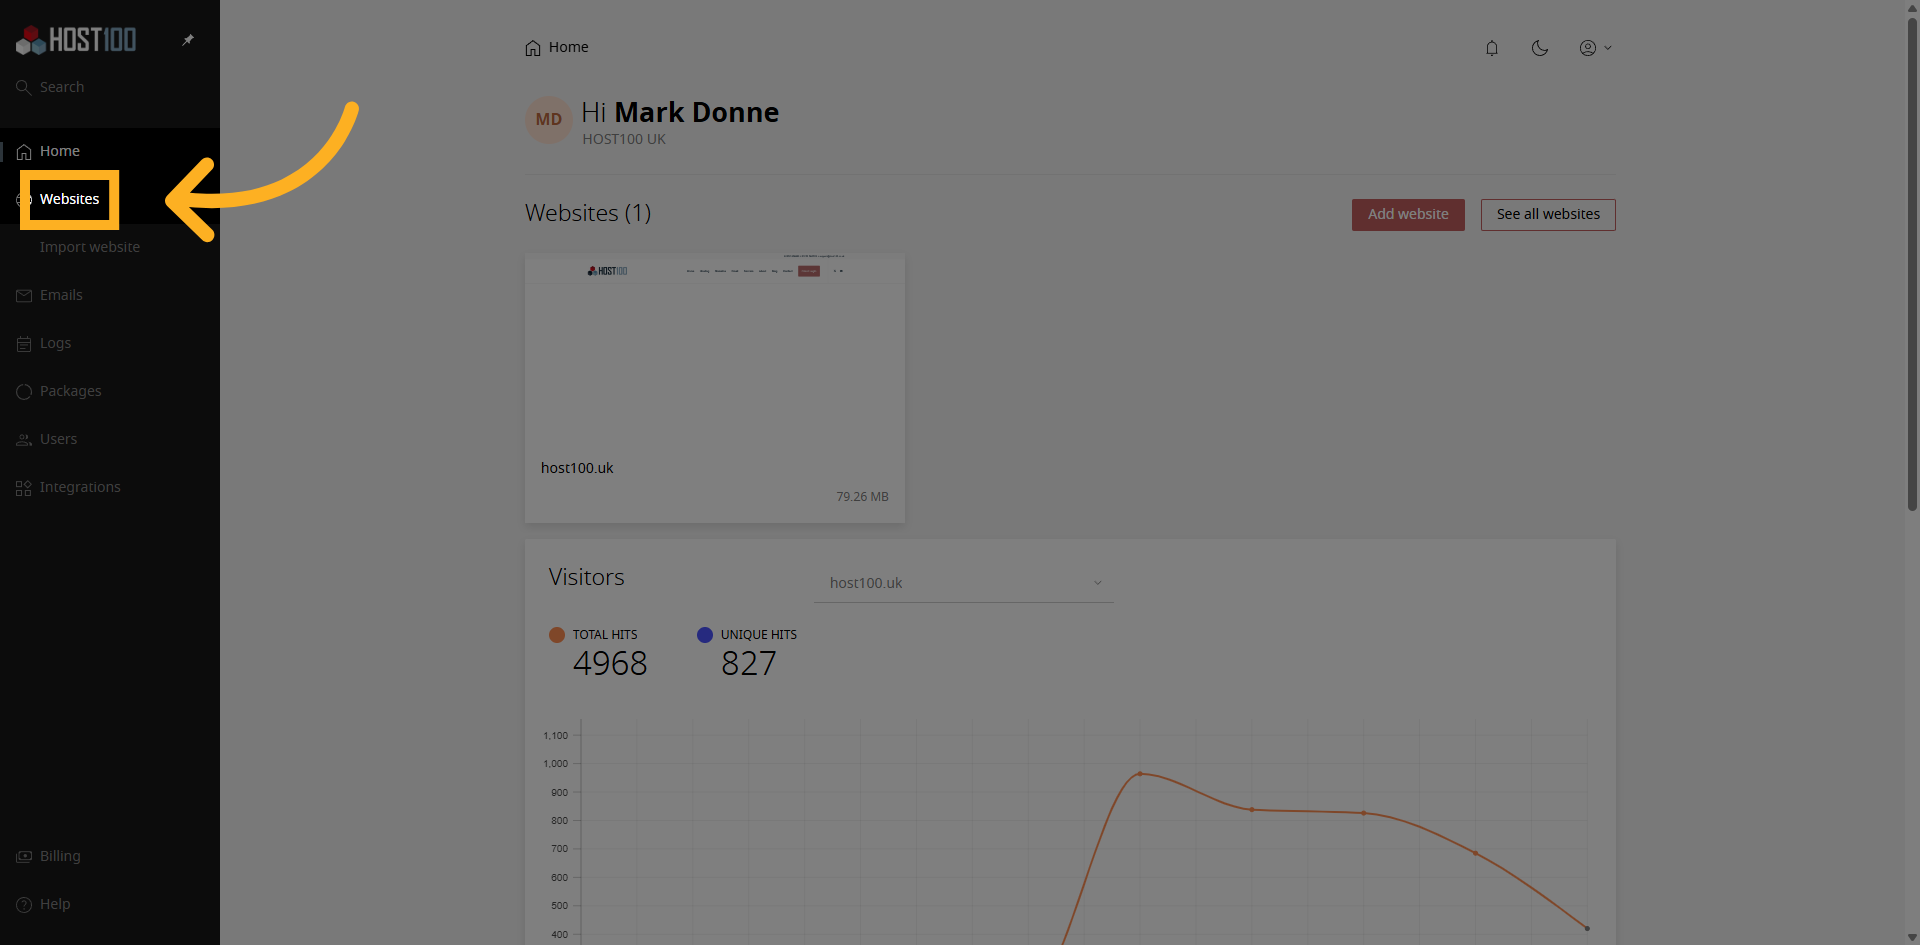
3. Select Website
Click on the Website account that contains the specific website you want to configure.
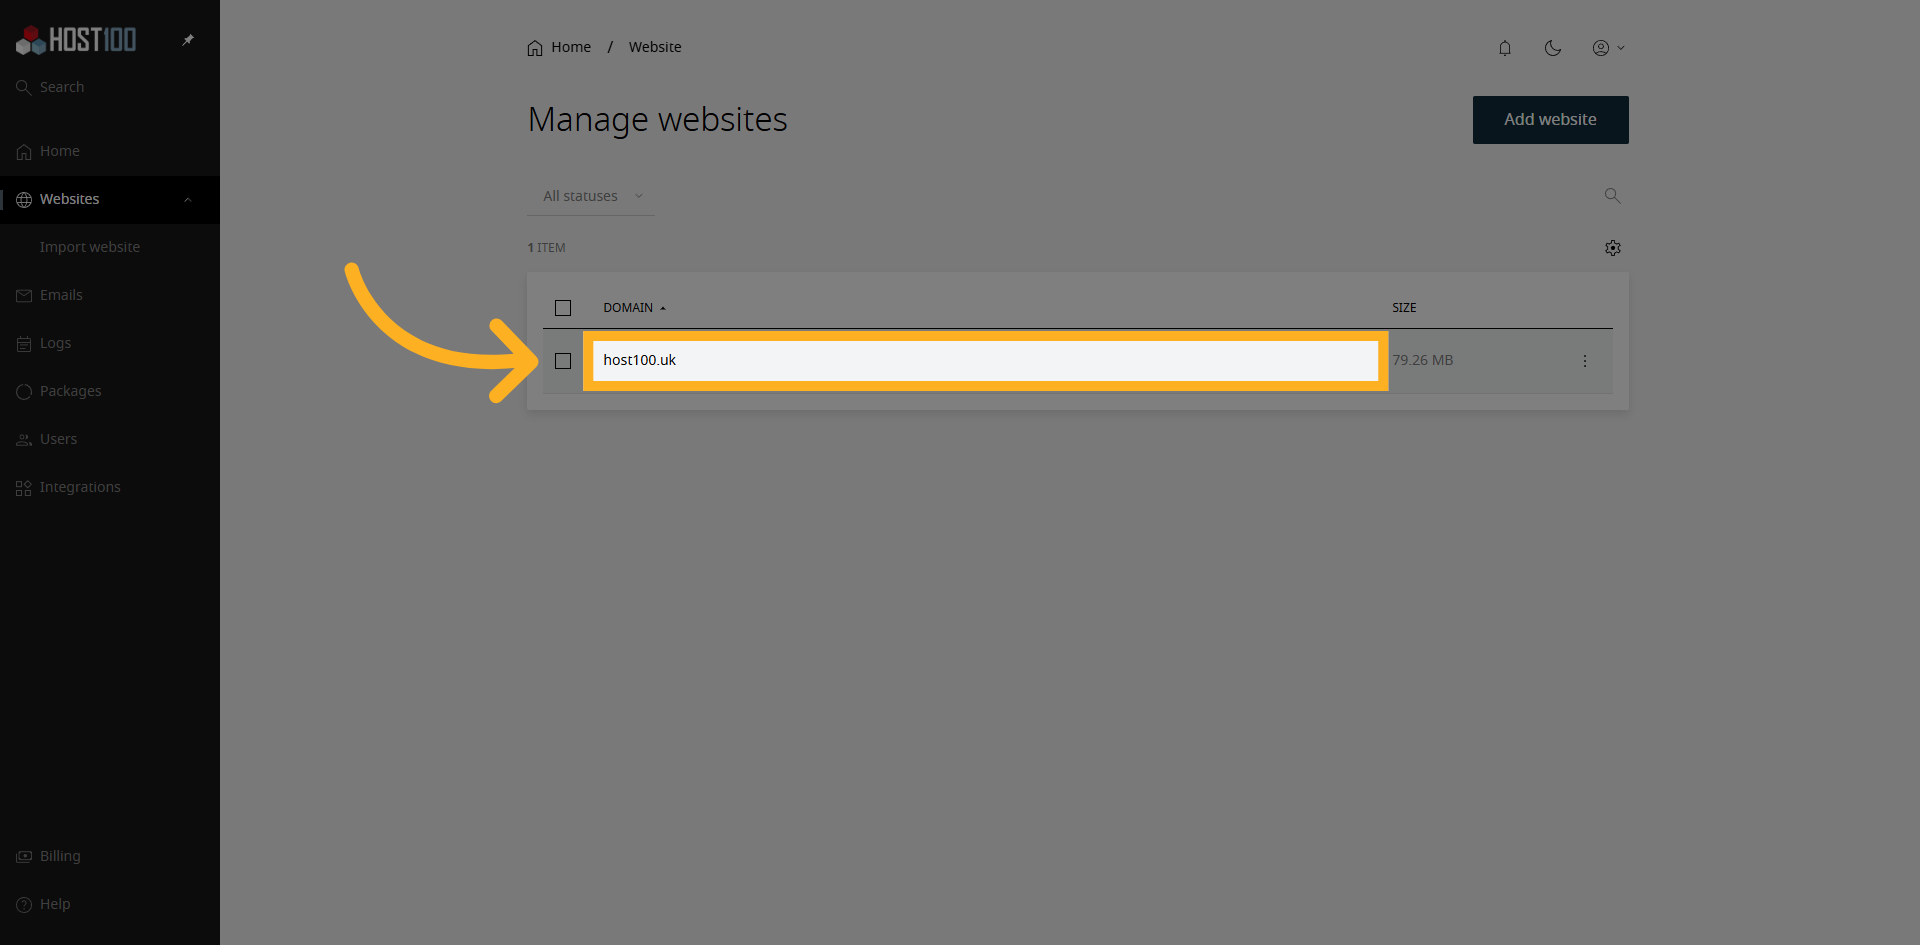
4. Open Apps Tab
Click "Apps" to view the applications installed or available for your website.
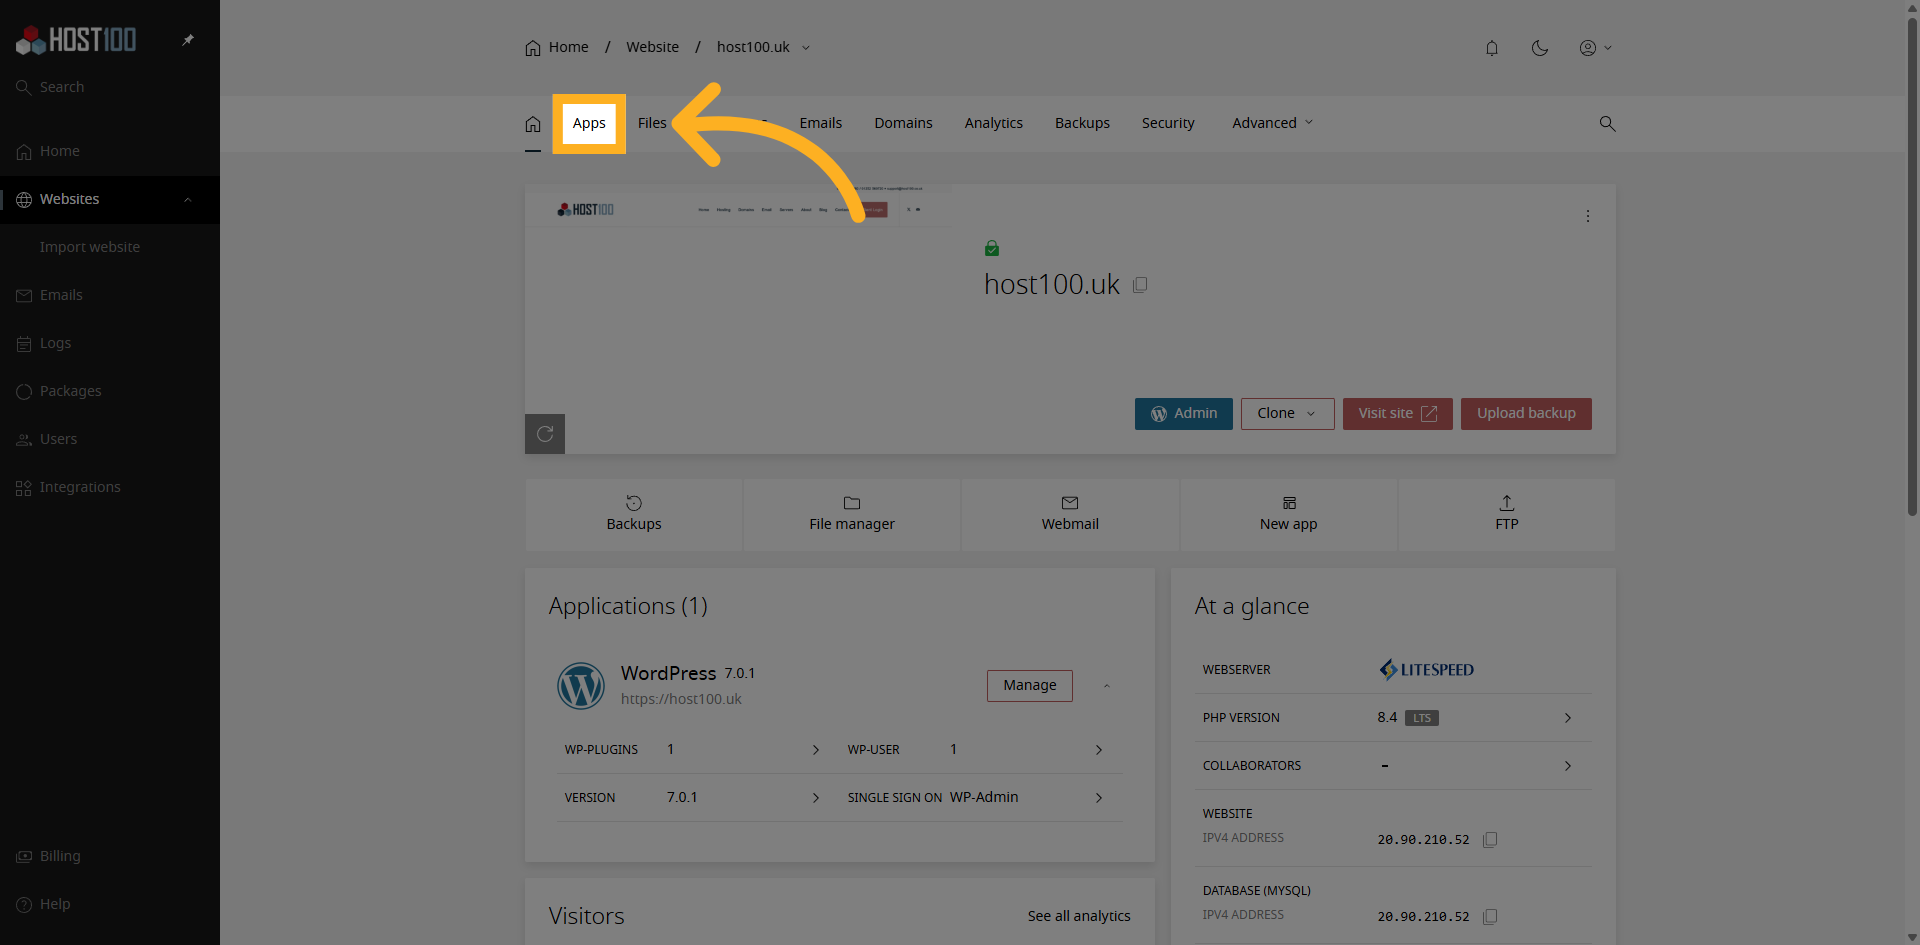
5. Choose Website URL
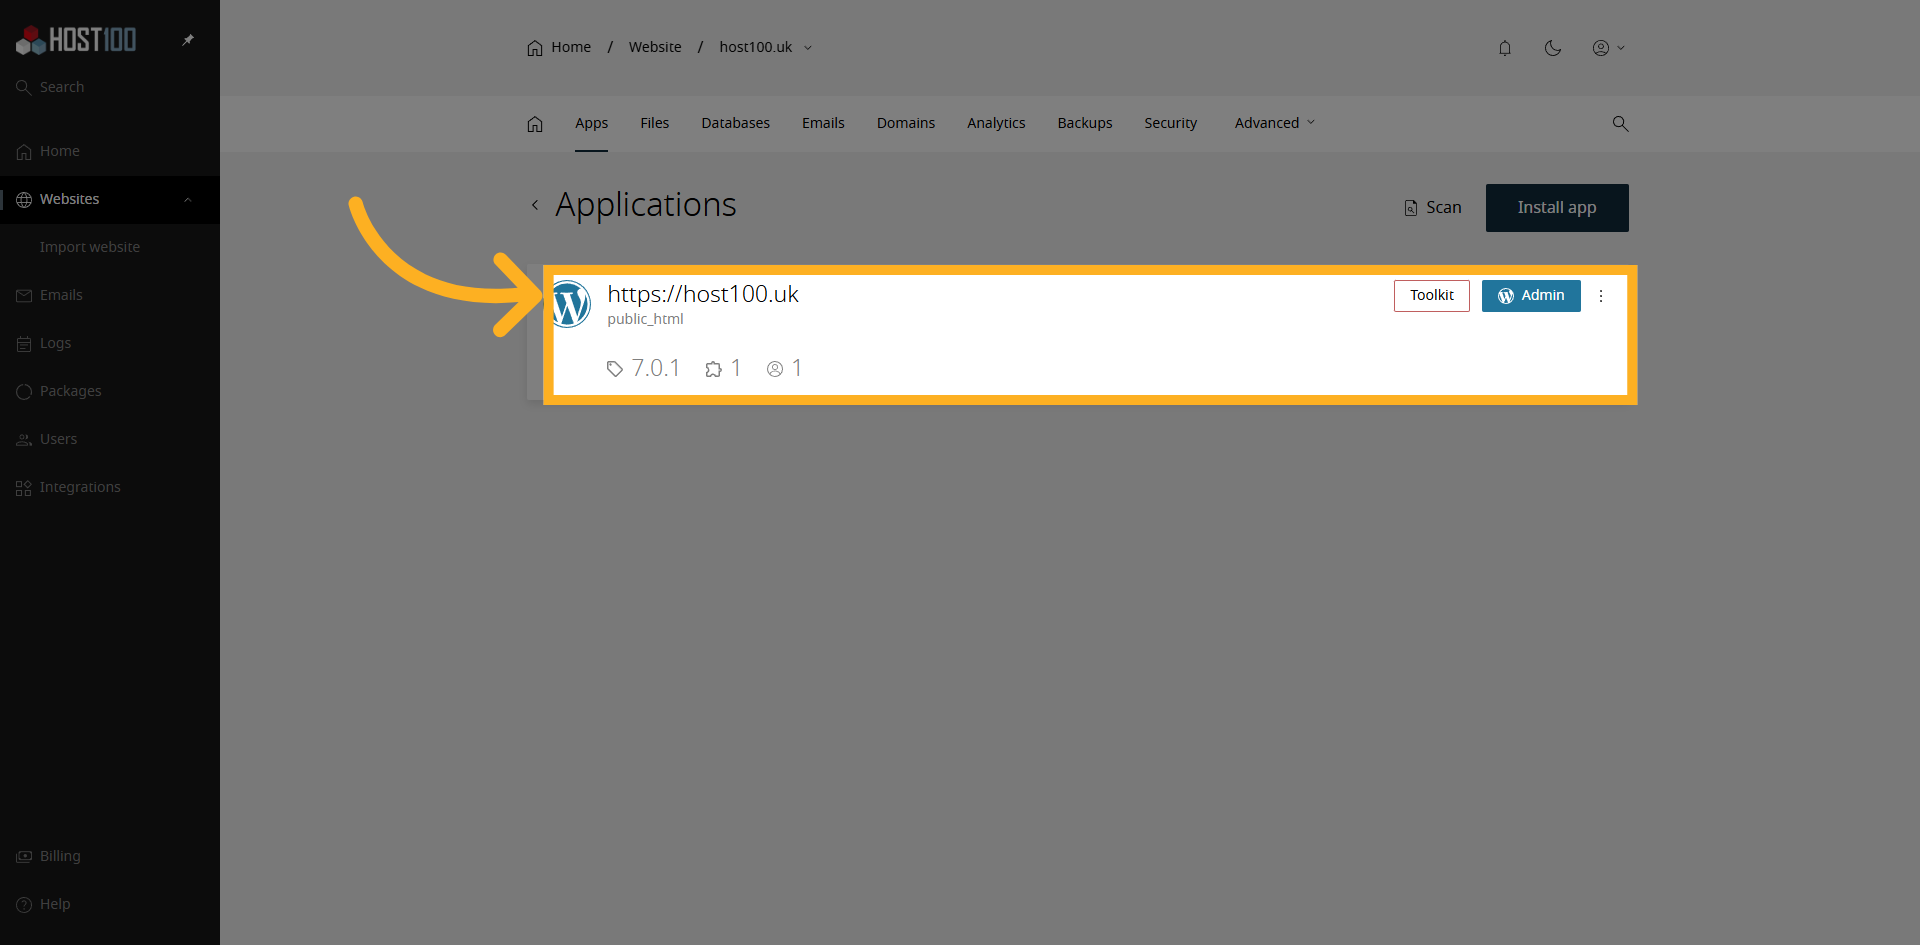
Click on your website to access the WordPress Application settings.
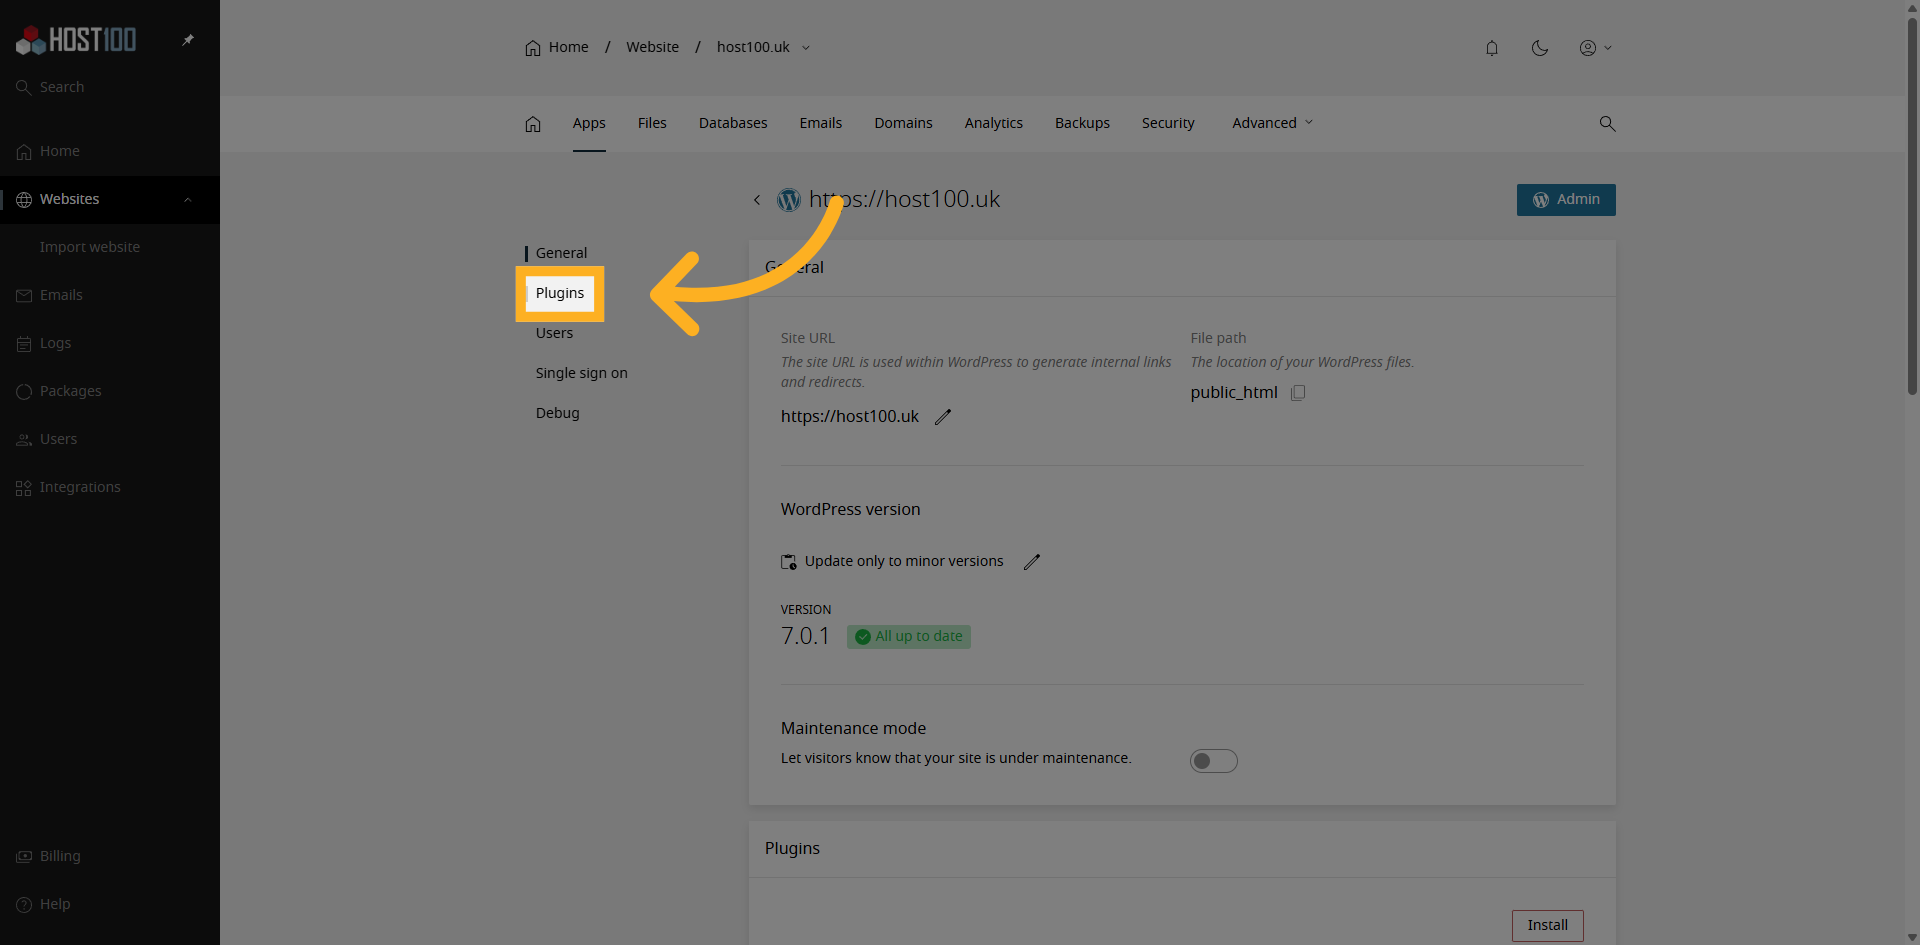
6. Navigate to Plugins Section
Click "Plugins" to manage the plugins installed on your website.
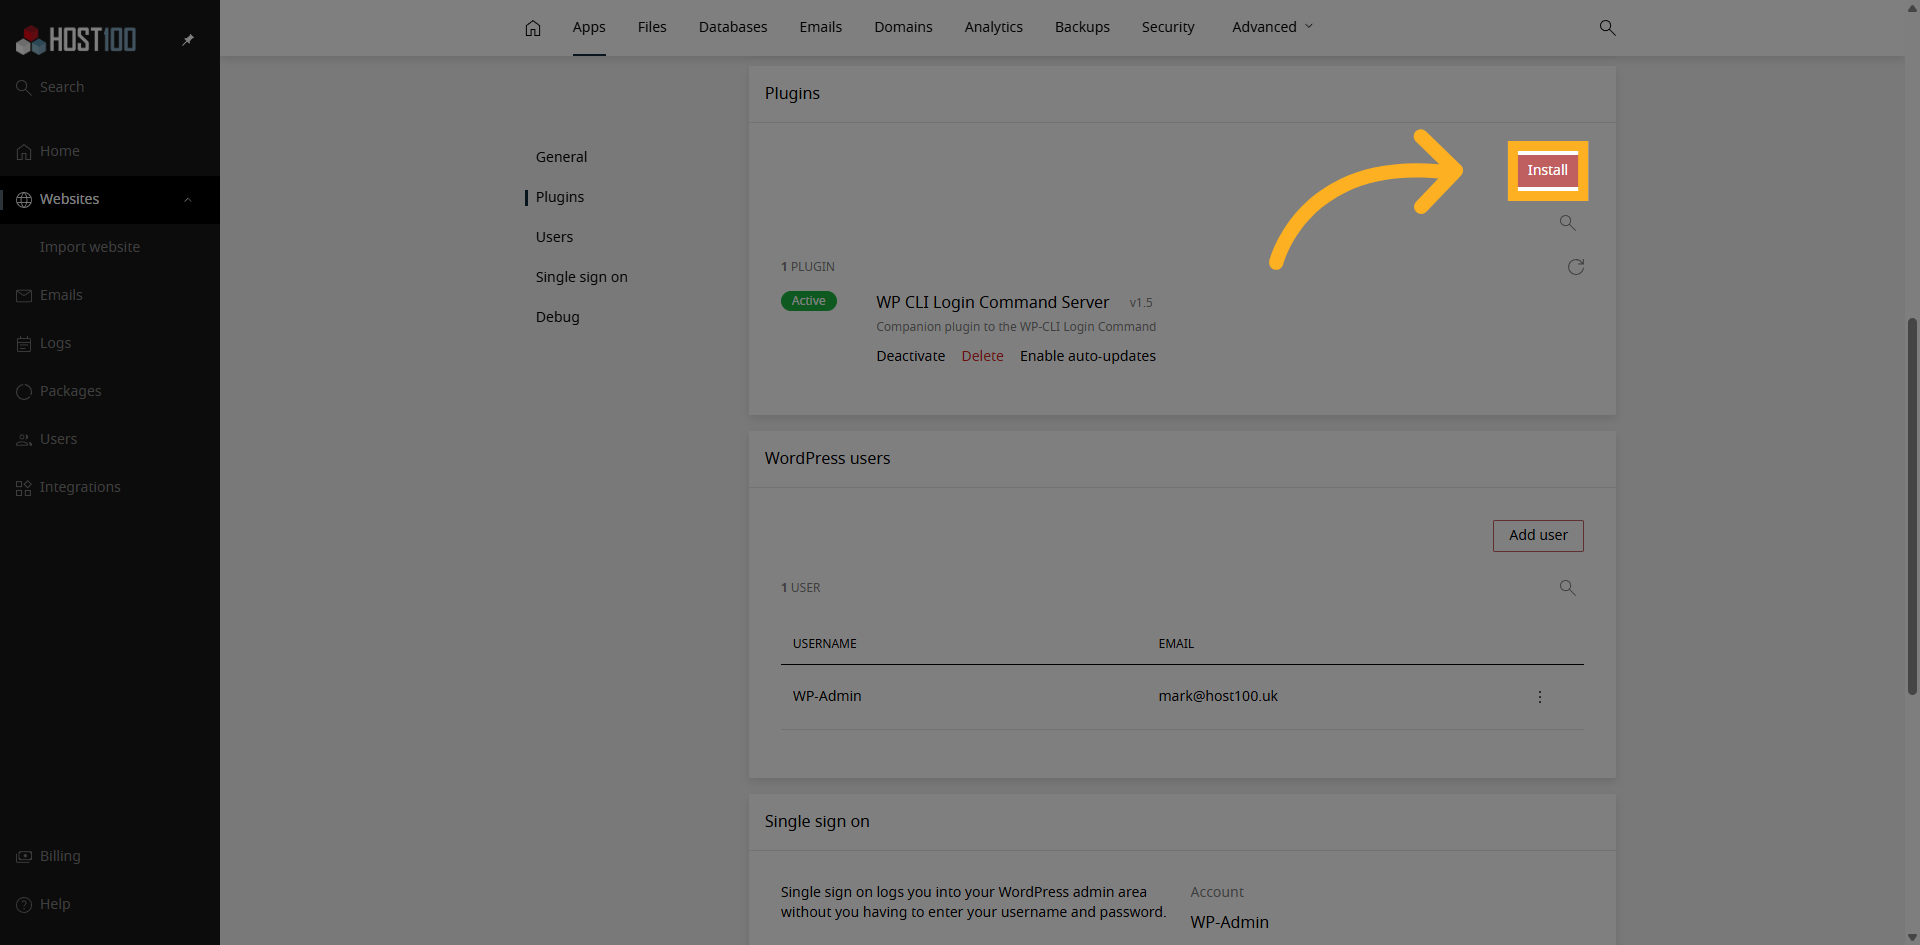
7. Start Plugin Installation
Click "Install" to begin installing a new plugin on your website.
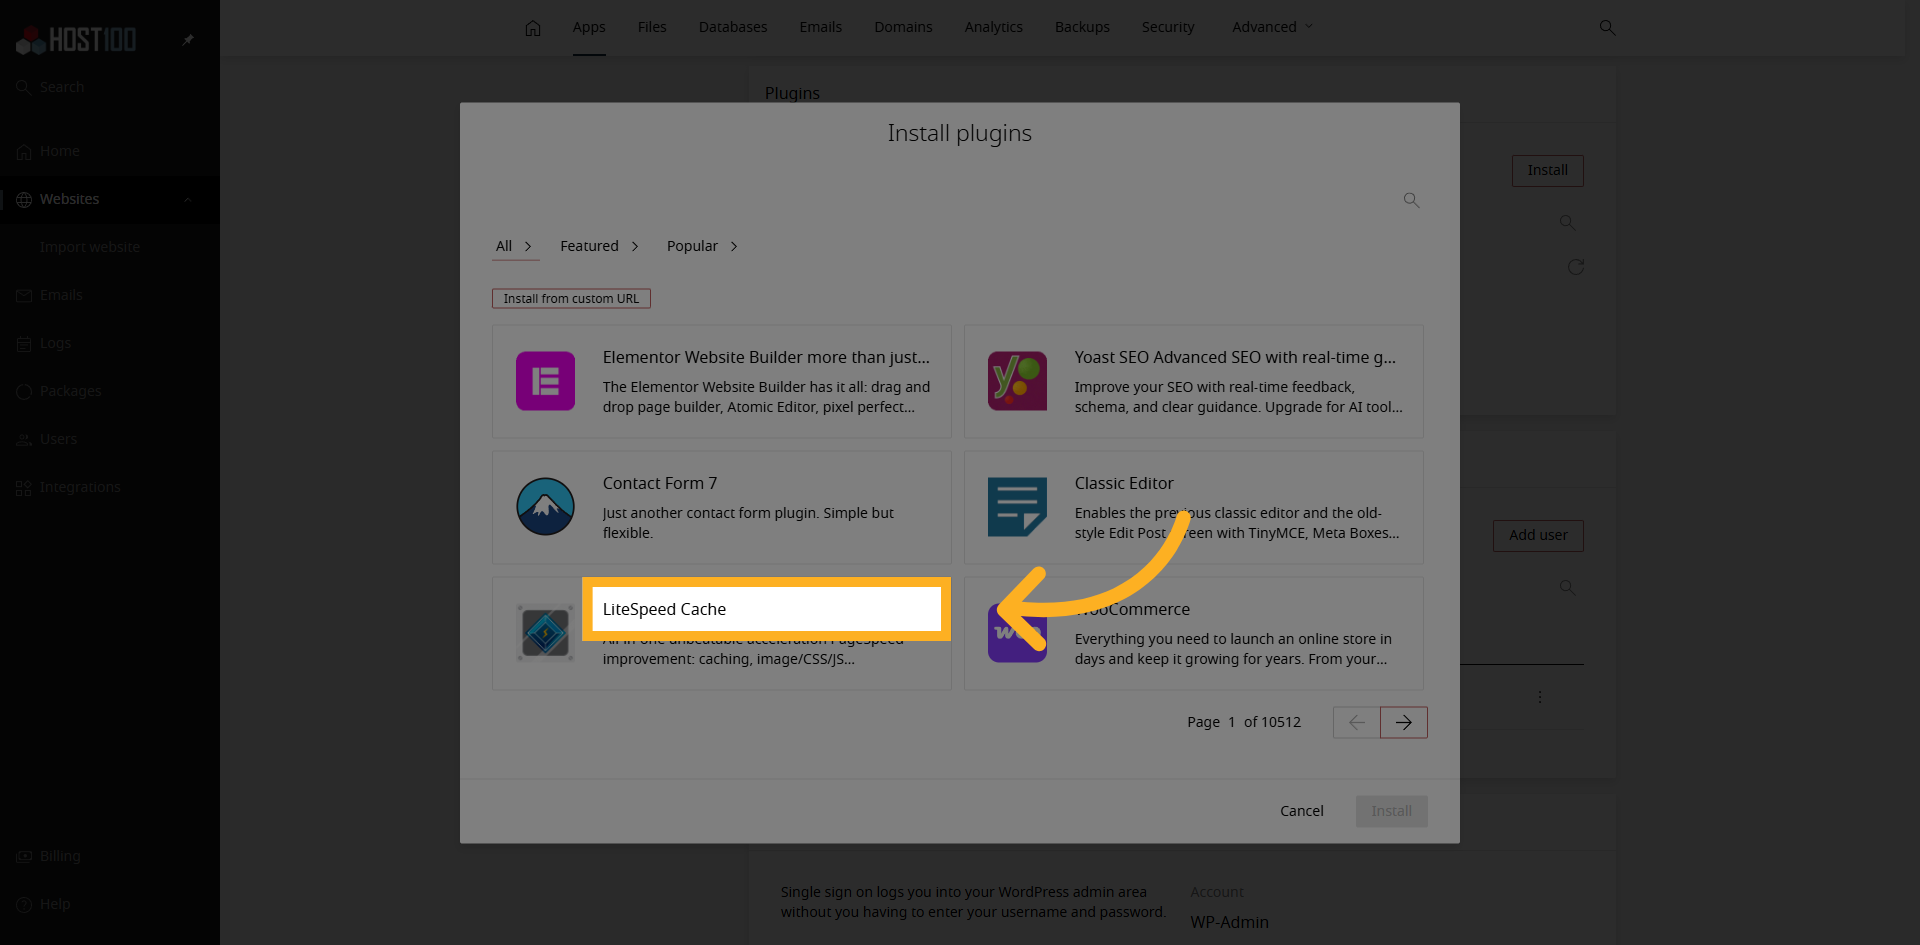
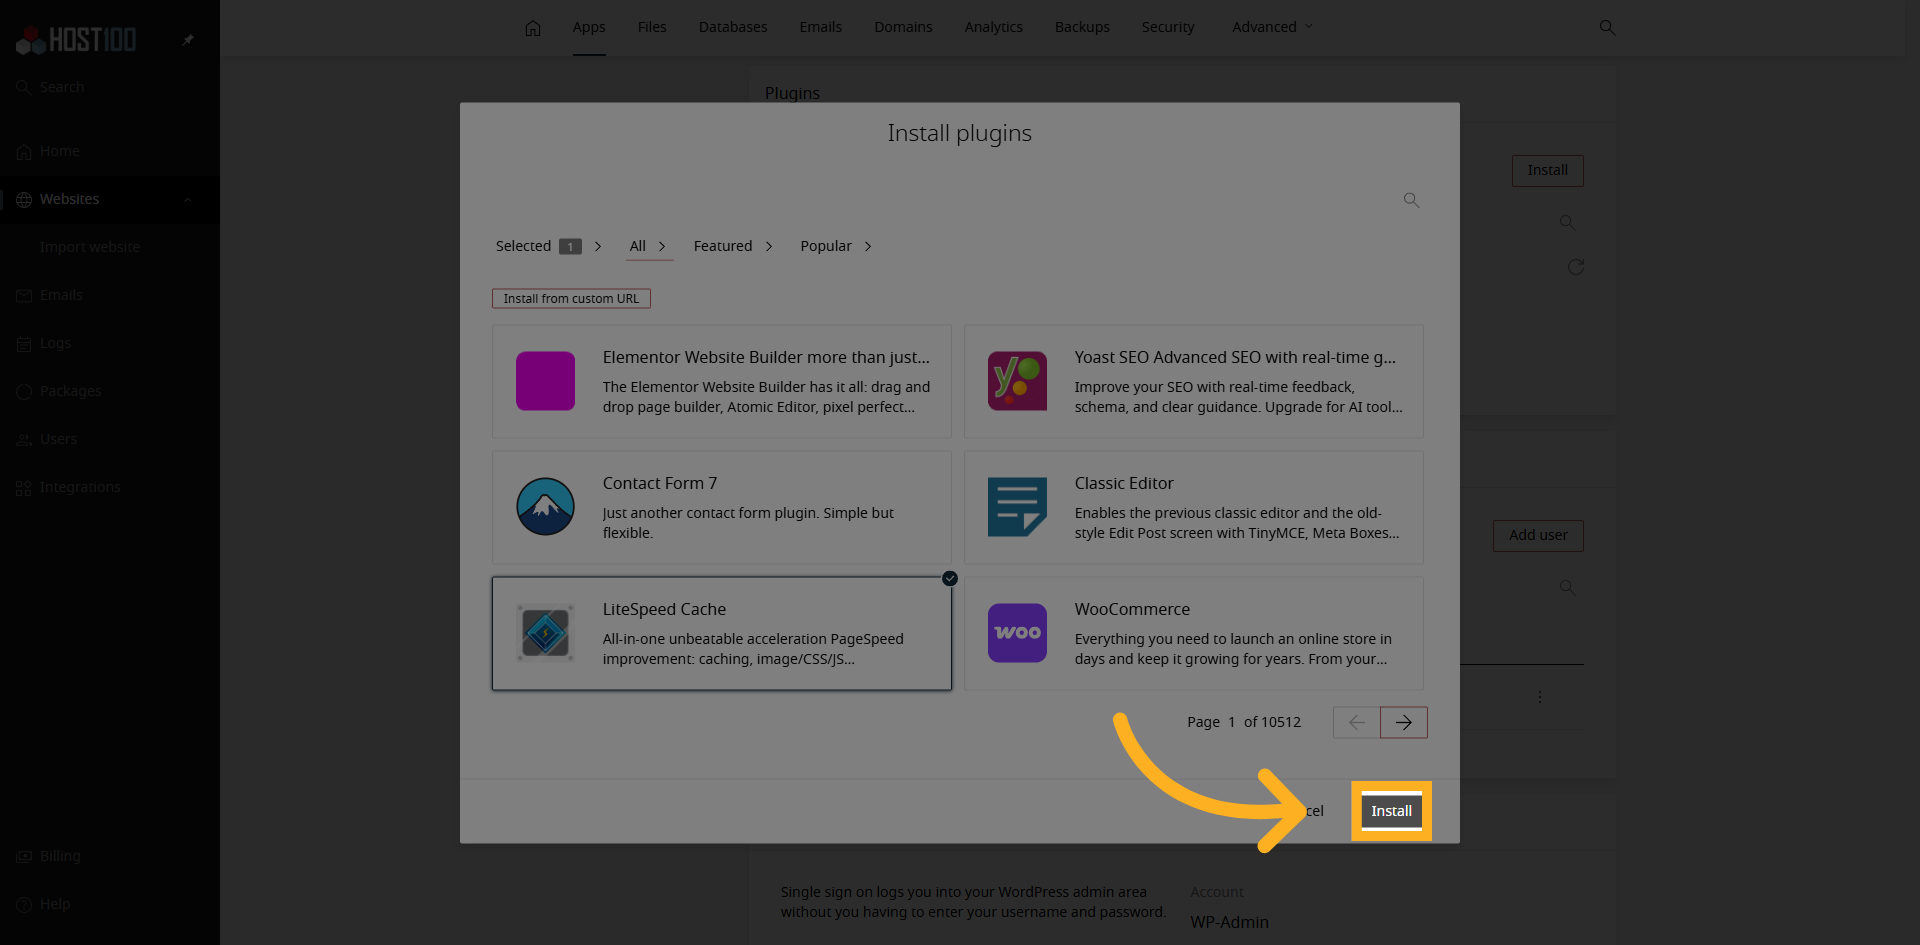
8. Select LiteSpeed Cache Plugin
Click "LiteSpeed Cache" to choose this plugin for installation and optimization.
9. Confirm Plugin Installation
Click "Install" to confirm and complete the installation of the LiteSpeed Cache plugin.
10. View Host100 Dashboard
Check the dashboard to verify the plugin installation was successfull.
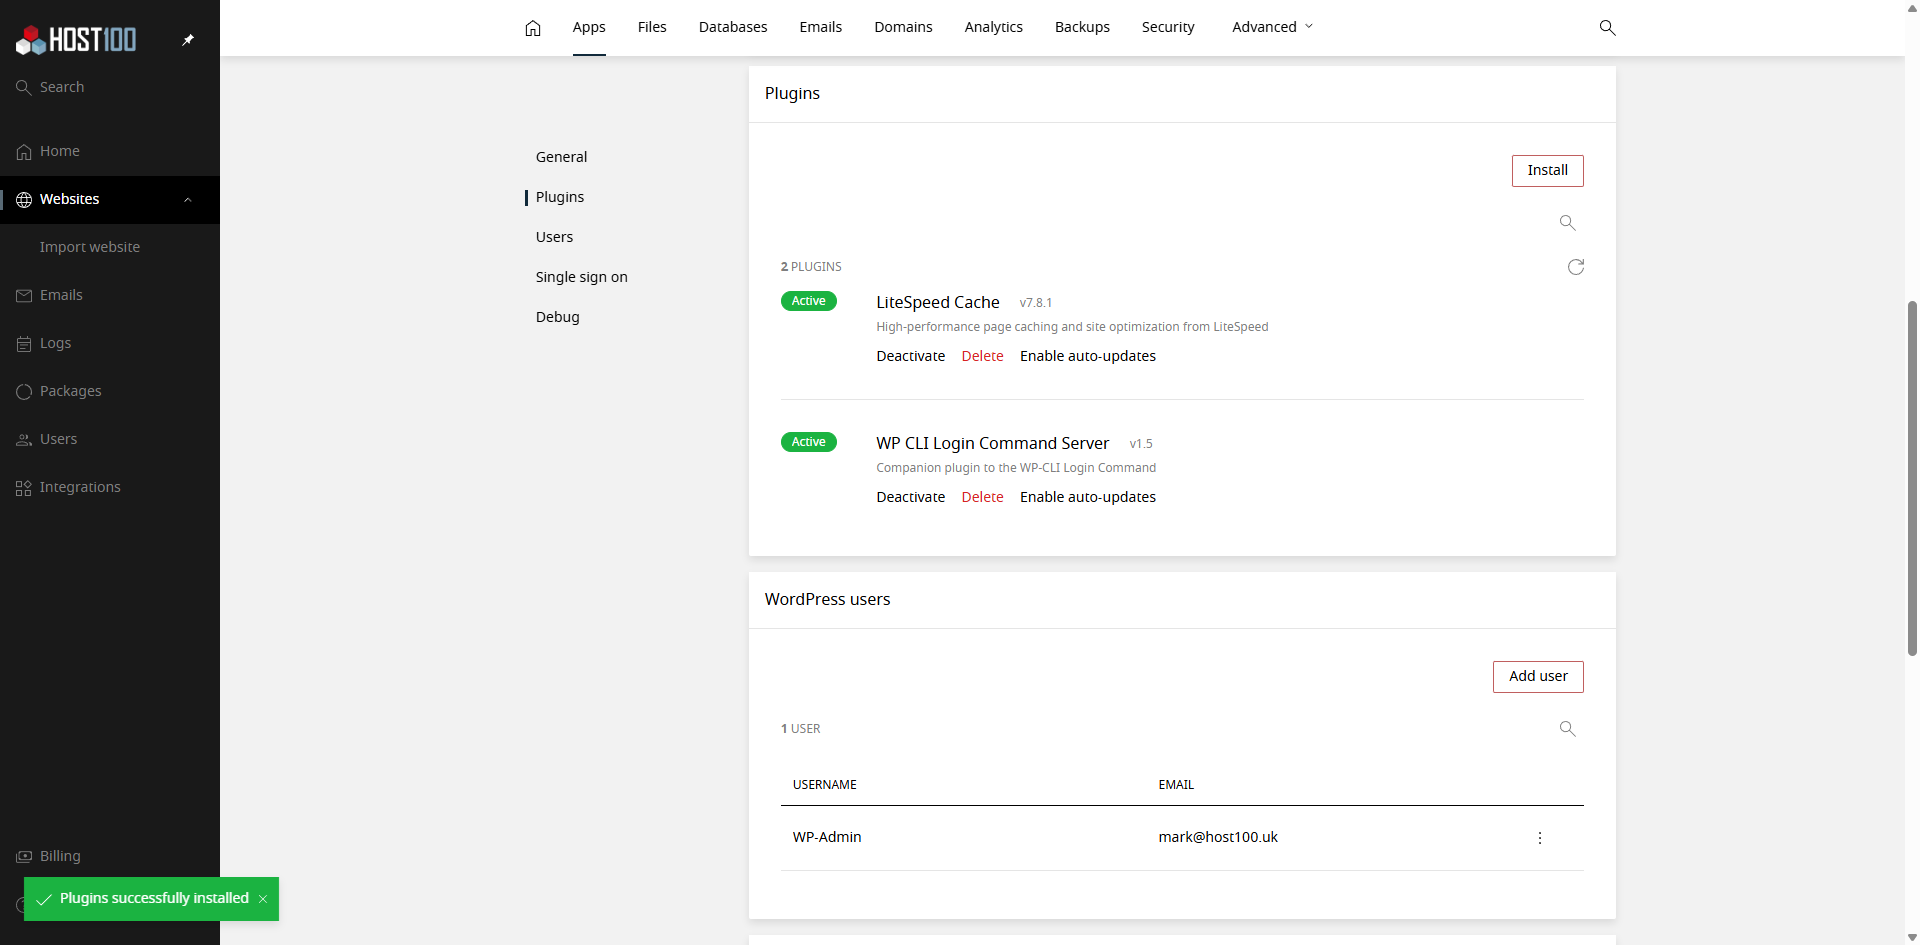
You have successfully installed the LiteSpeed Cache plugin on your website by navigating through the dashboard and completing the installation steps. This setup will help optimize your website's performance and caching capabilities.