This guidde will show you how to enable and configure Redis Object Caching in the HOST100 Control Panel.
1. Introduction
You will learn how to turn on Redis in the control panel and then set this up in your website.
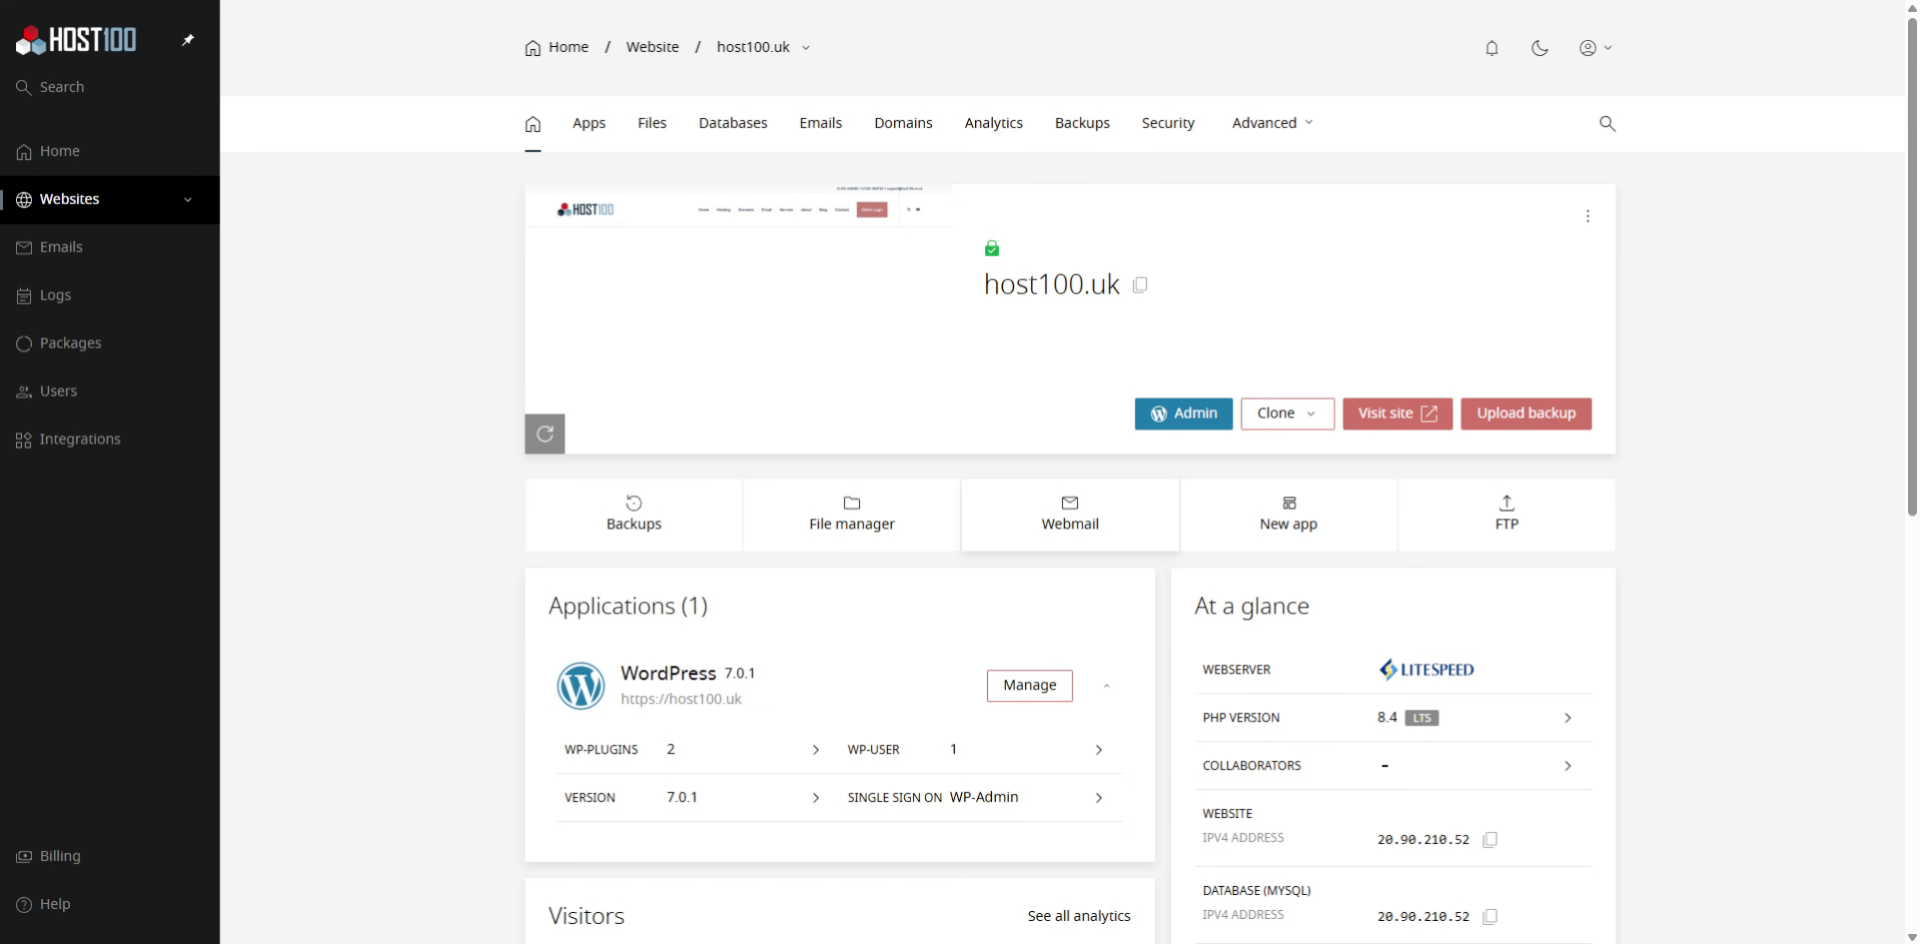
2. Open Developer Tools
Starting from your website homepage, click on the Advanced menu and then choose Developer Tools.
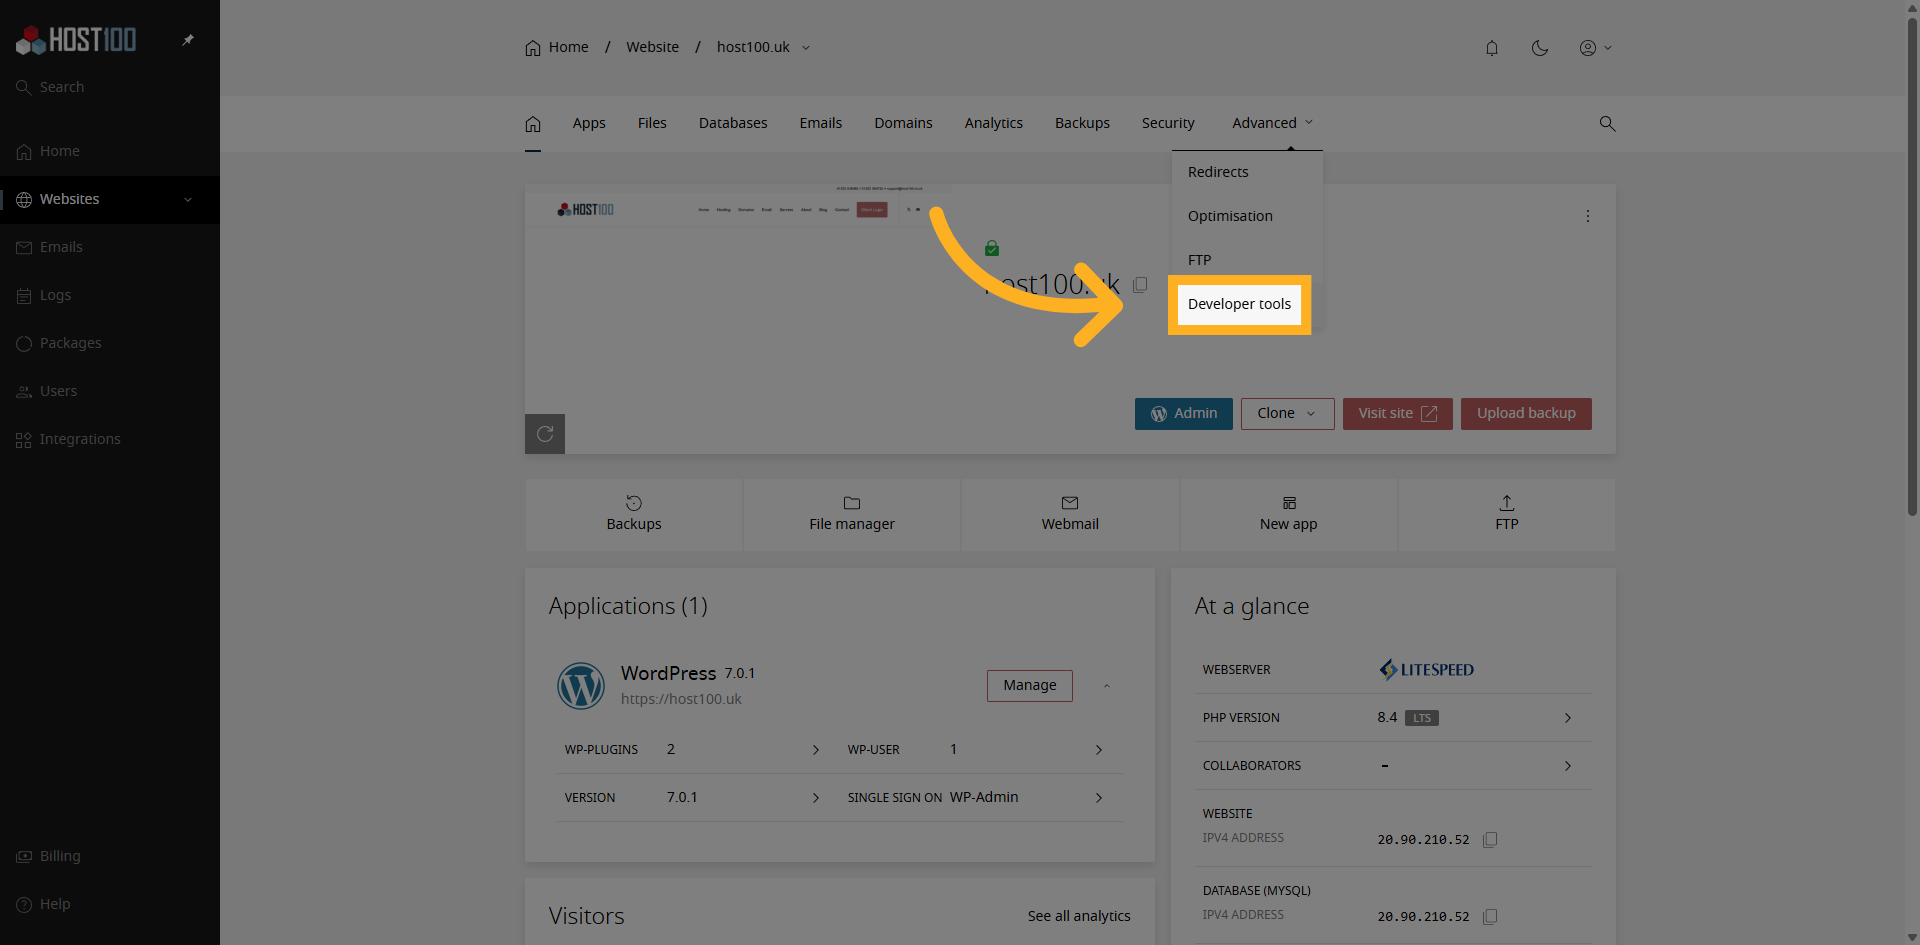
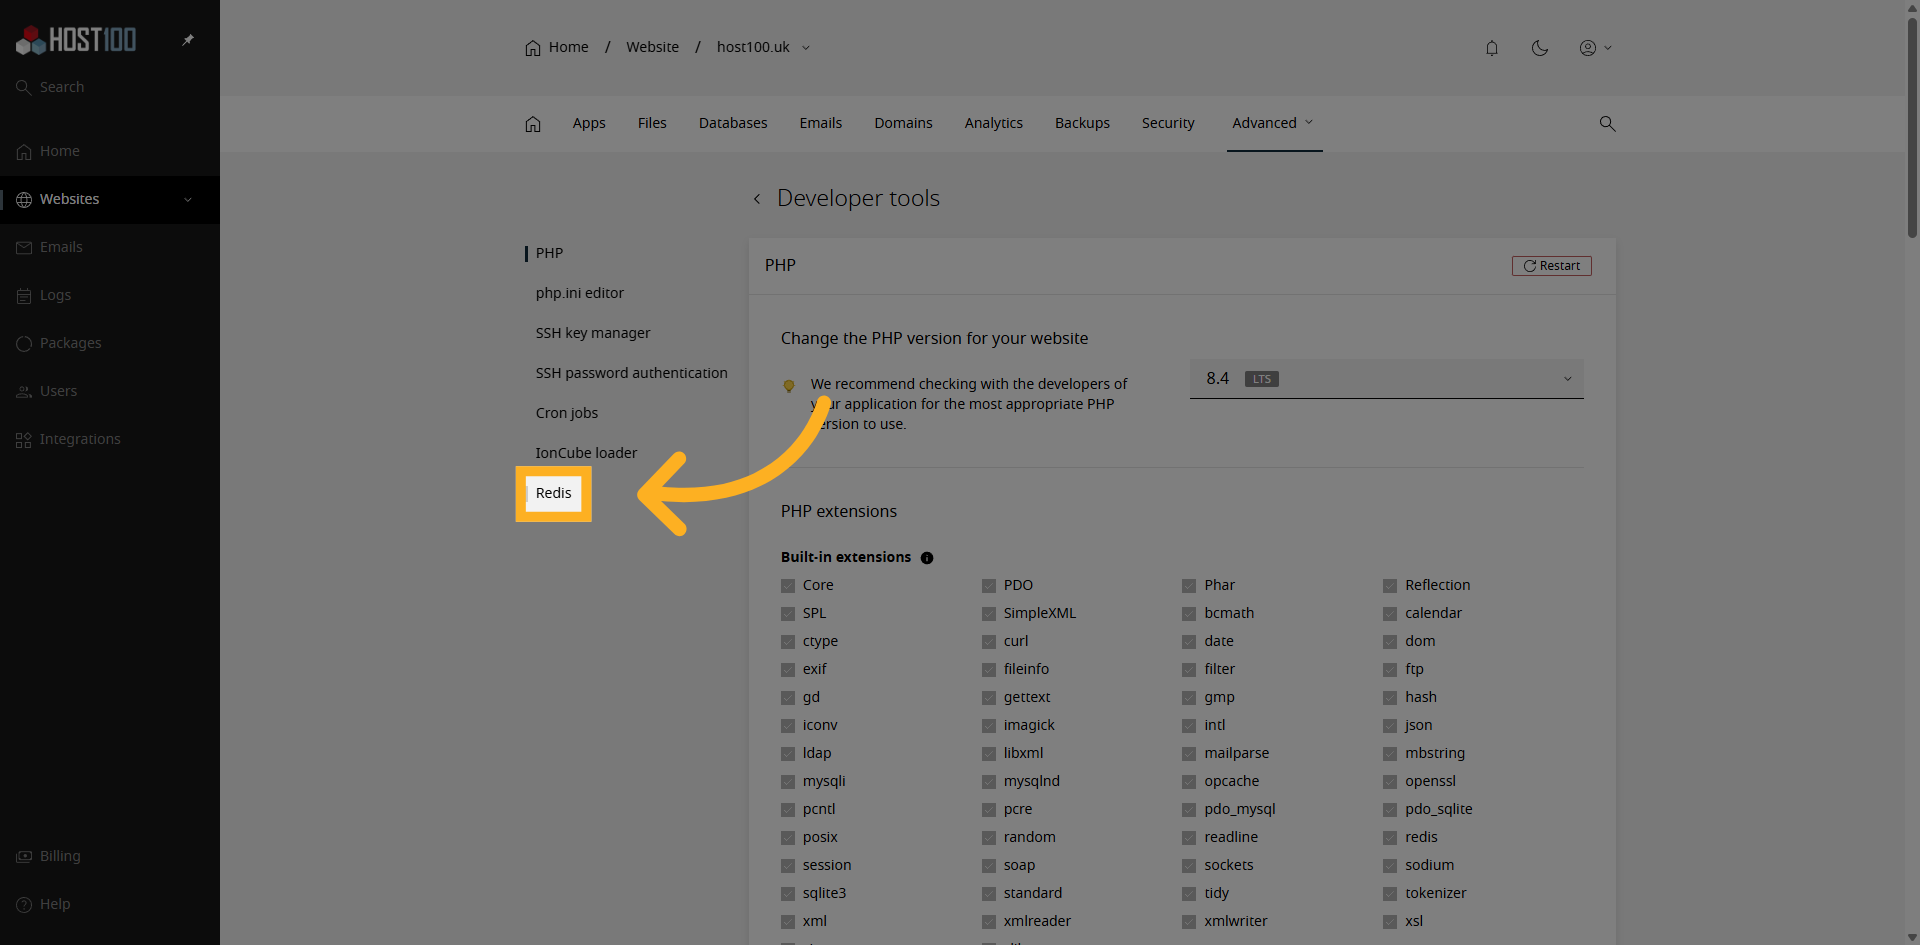
3. Select Redis Menu
Once in there, click on the Redis menu.
4. Redis Option
If you don't see an option to choose Redis or you cannot see it down here then your website package may not have Redis, please contact HOST100 Support for details on how to add Redis to your package.
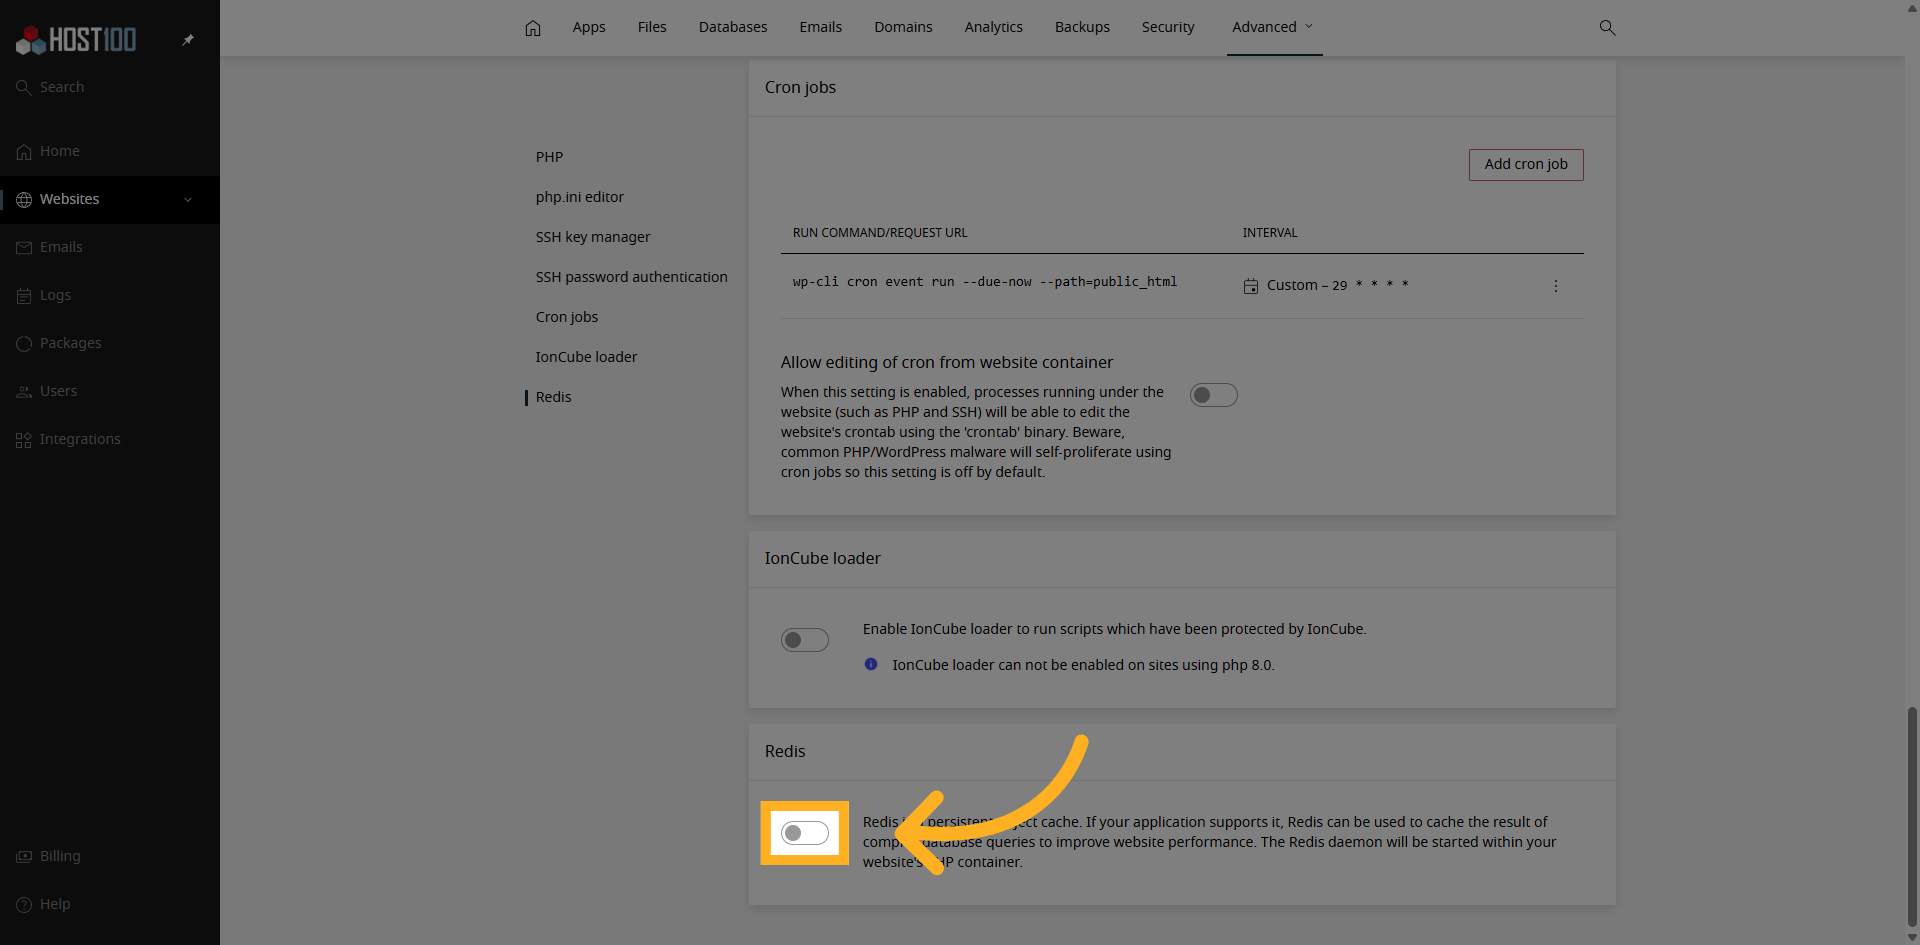
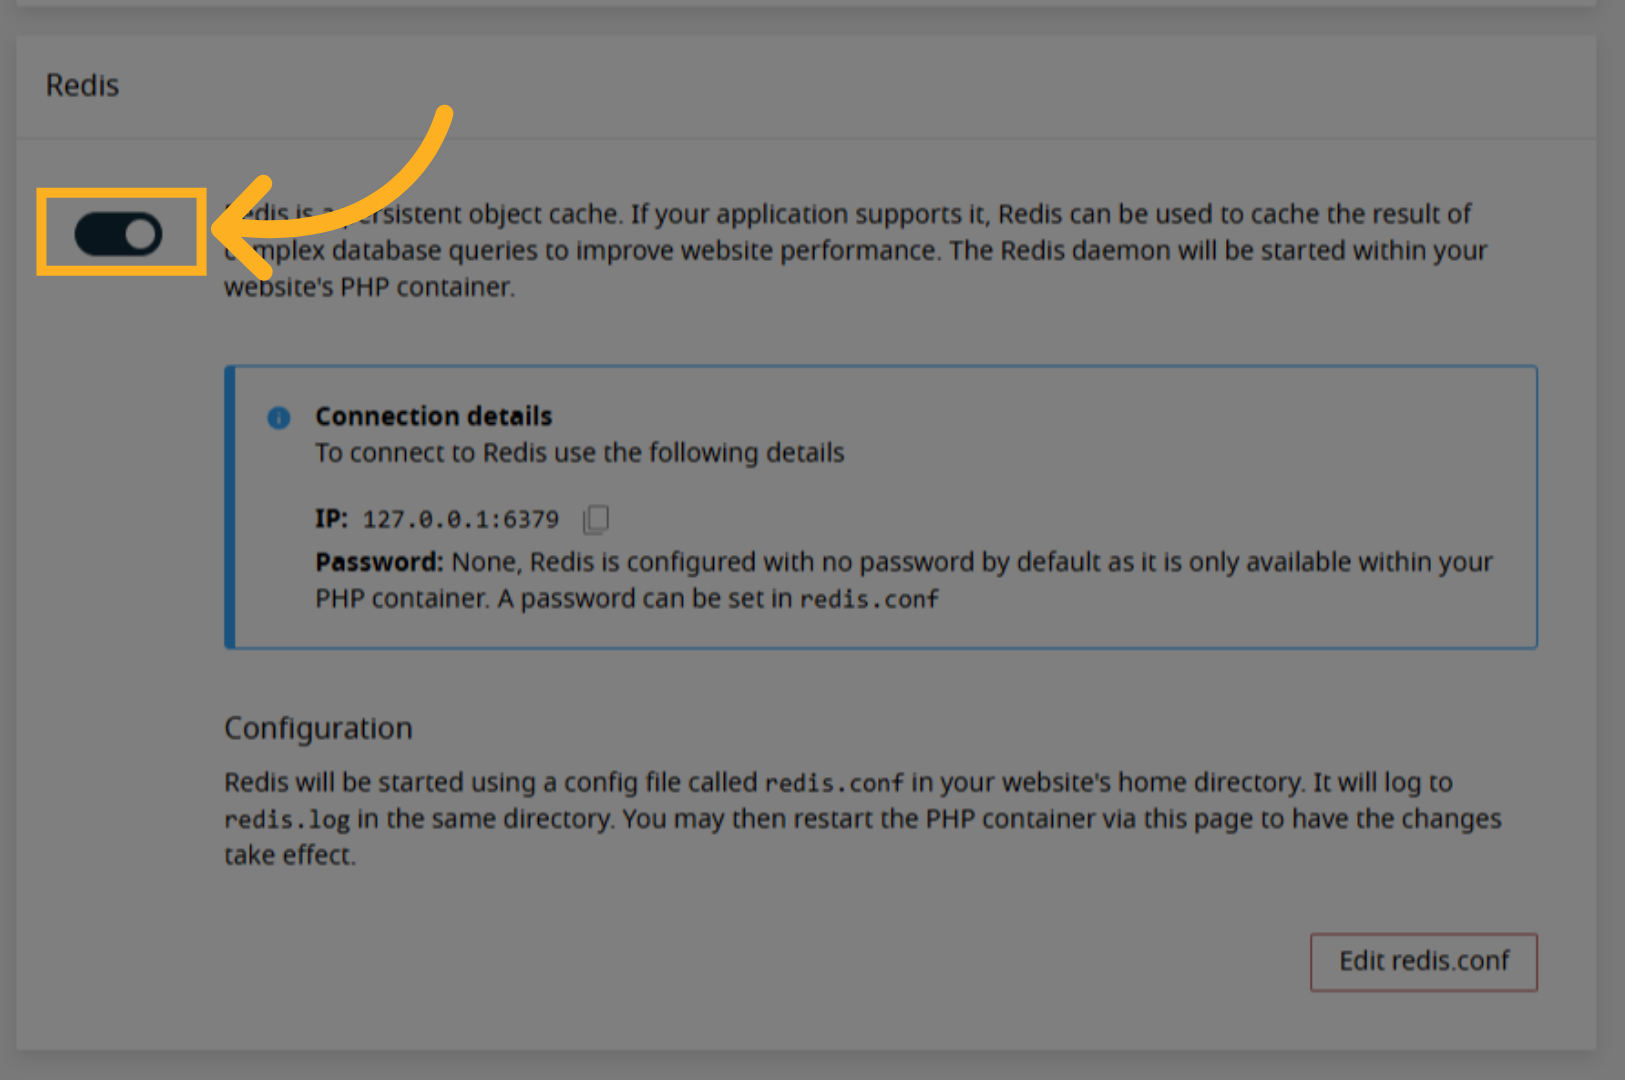
5. Turn on Redis
If Redis is not already enabled then go ahead and enable it by clicking on the switch. Once it's enabled we now need to log into our website and configure it.
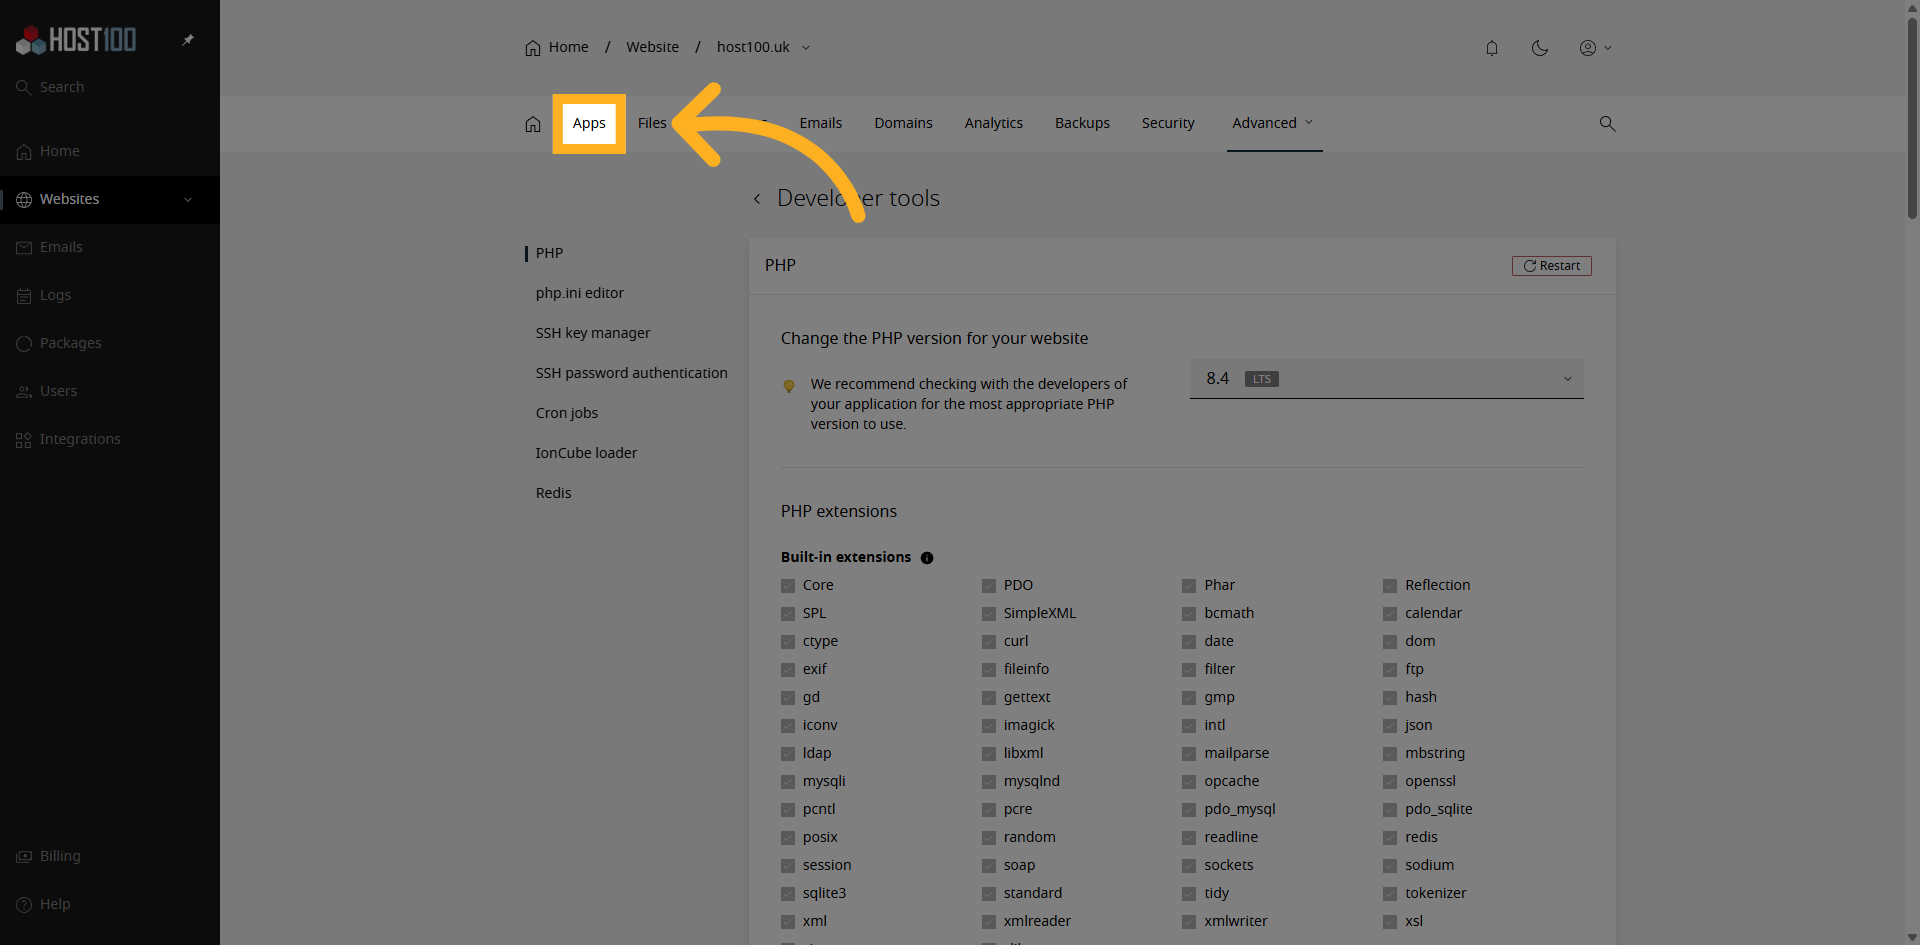
6. Navigate to Apps Section
Go to Apps.
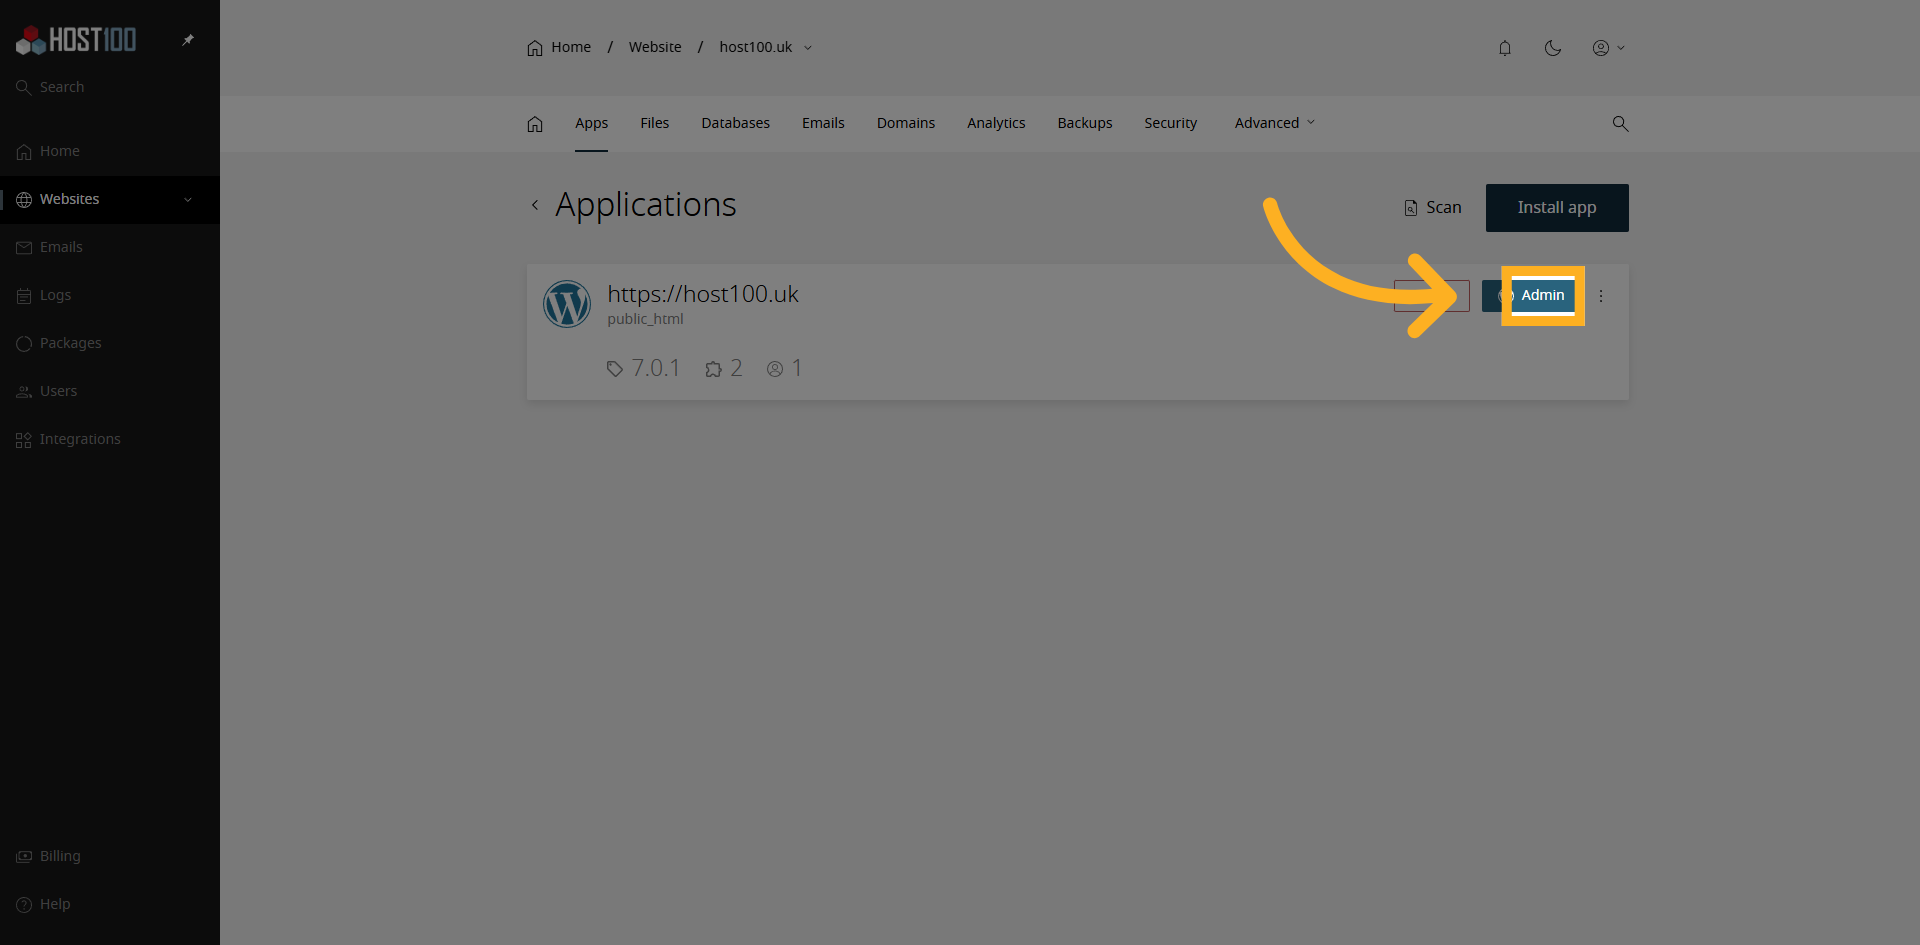
7. Access Admin Panel
Click on the WordPress Admin button to log into your website.
8. Switch to Website Dashboard
We are now going to configure Object Caching for Lightspeed Cache.
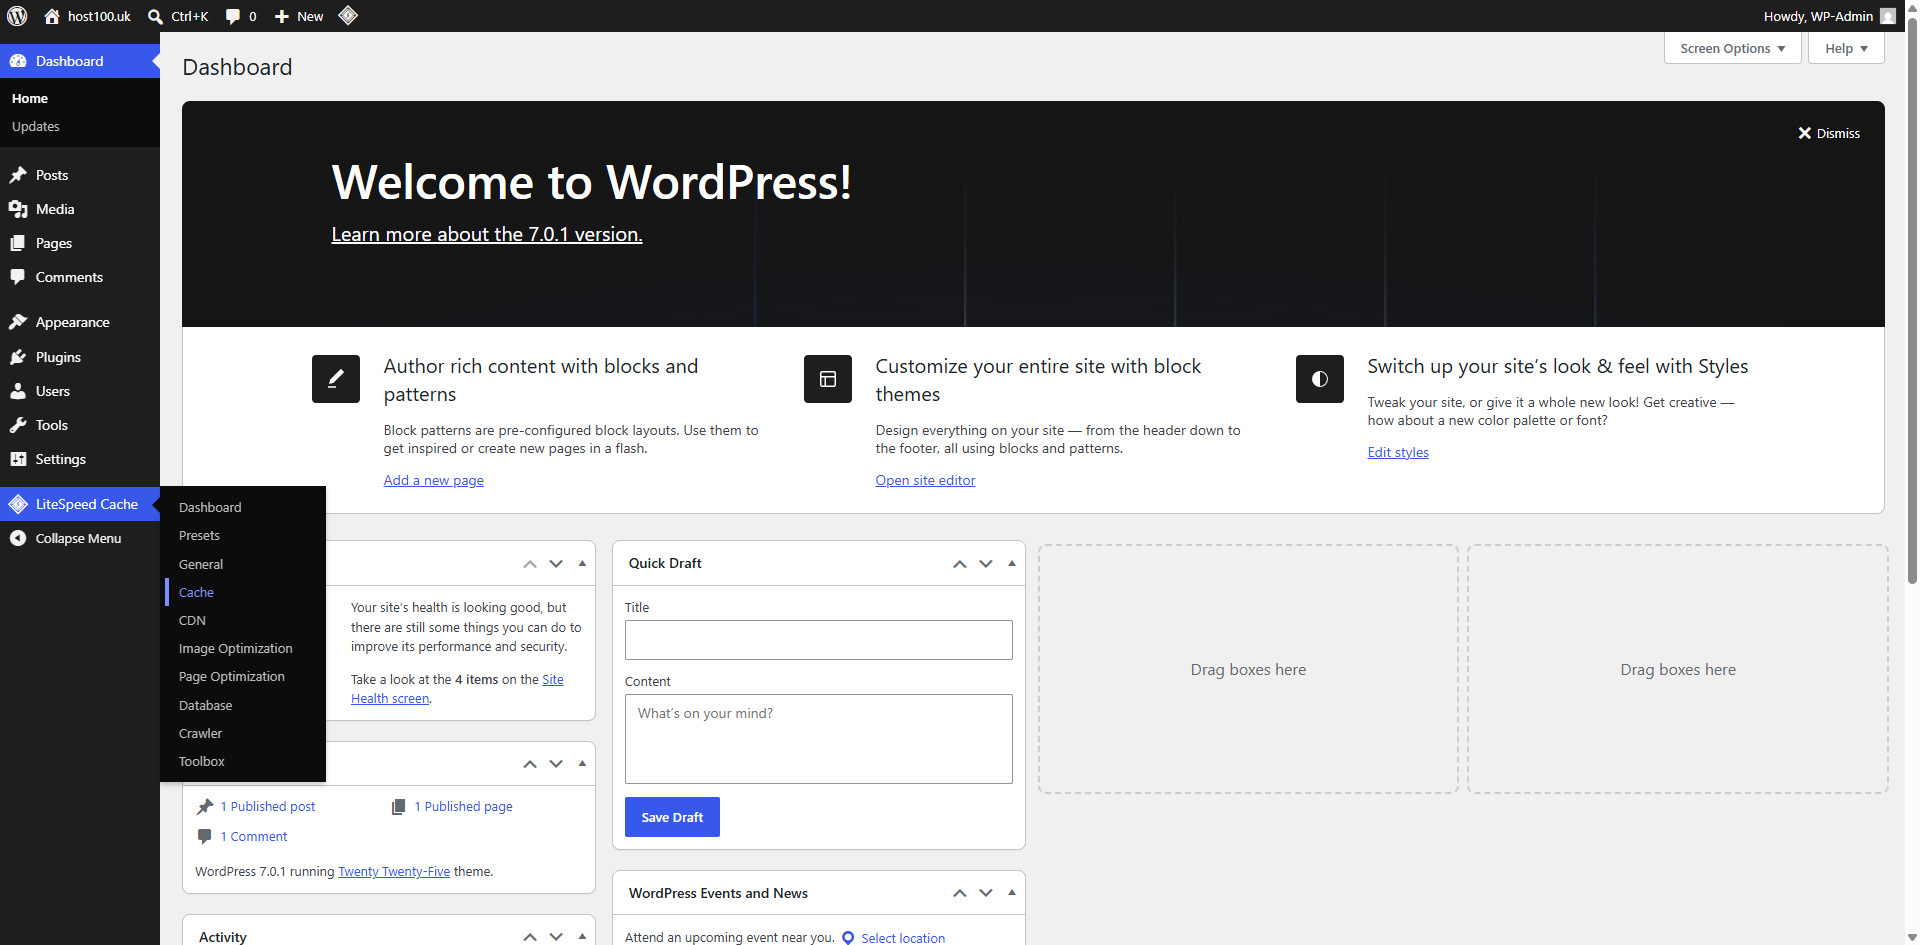
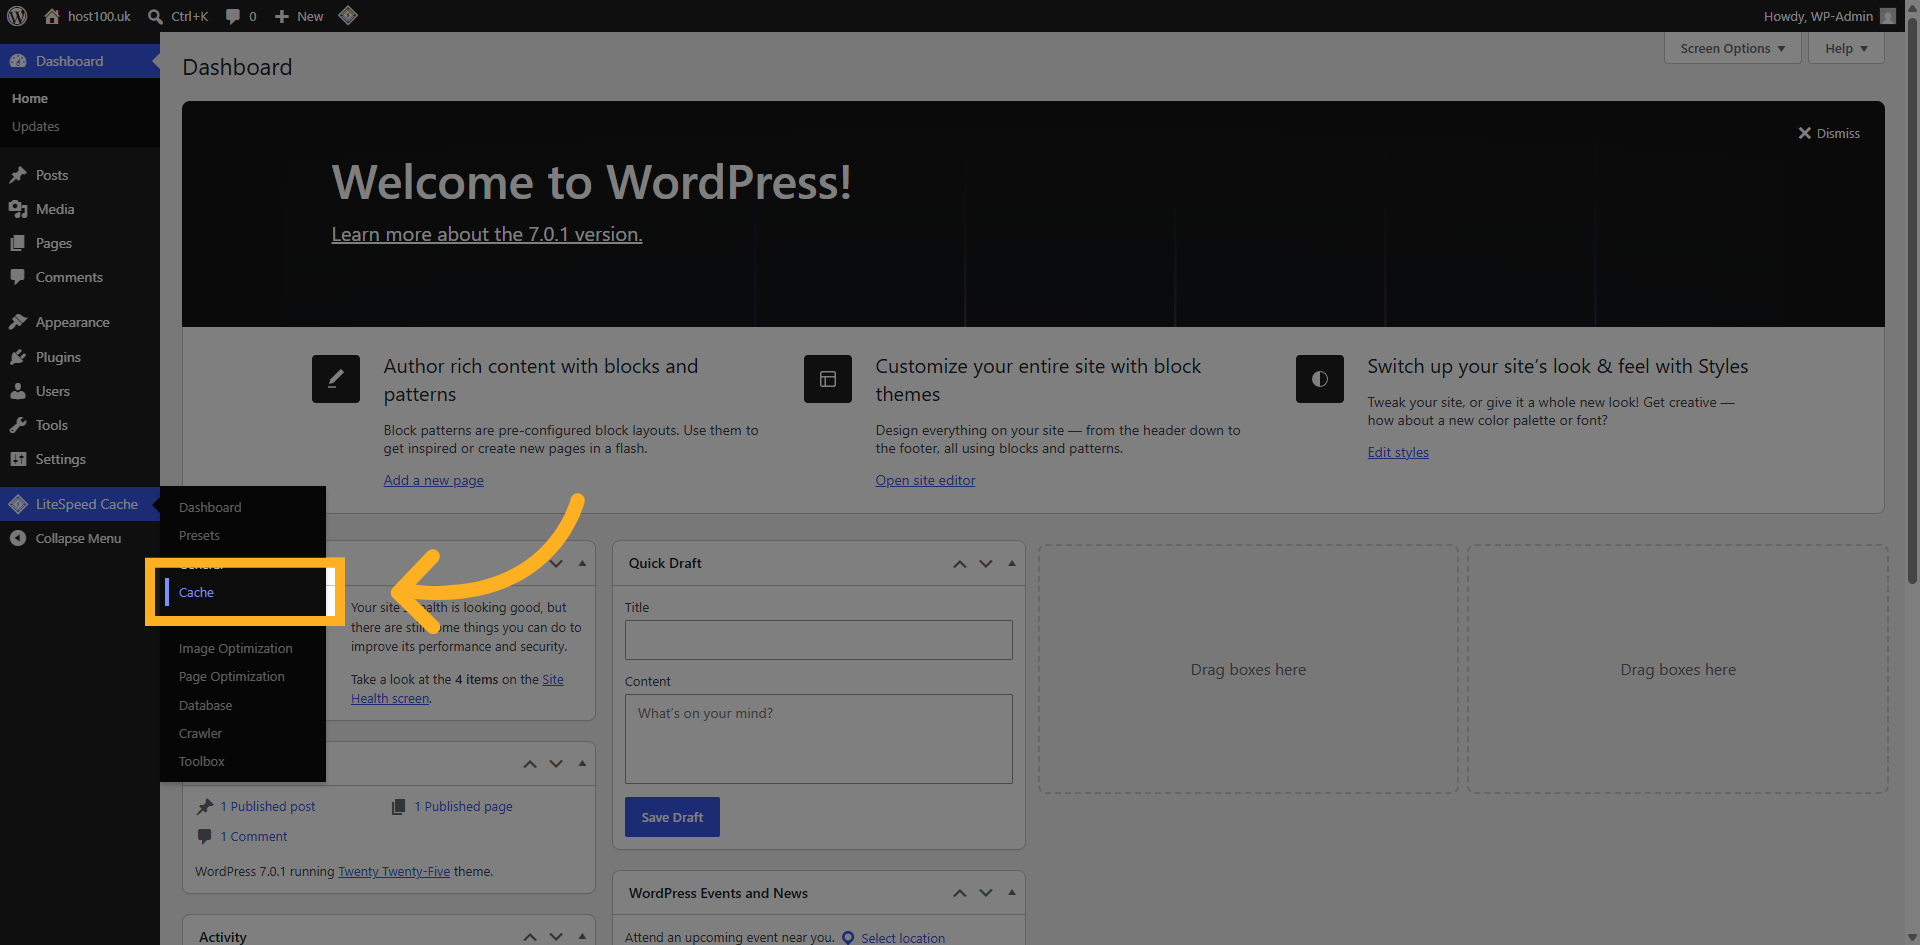
9. Open Cache Settings
From the Lightspeed menu choose cache.
10. Select Object Cache
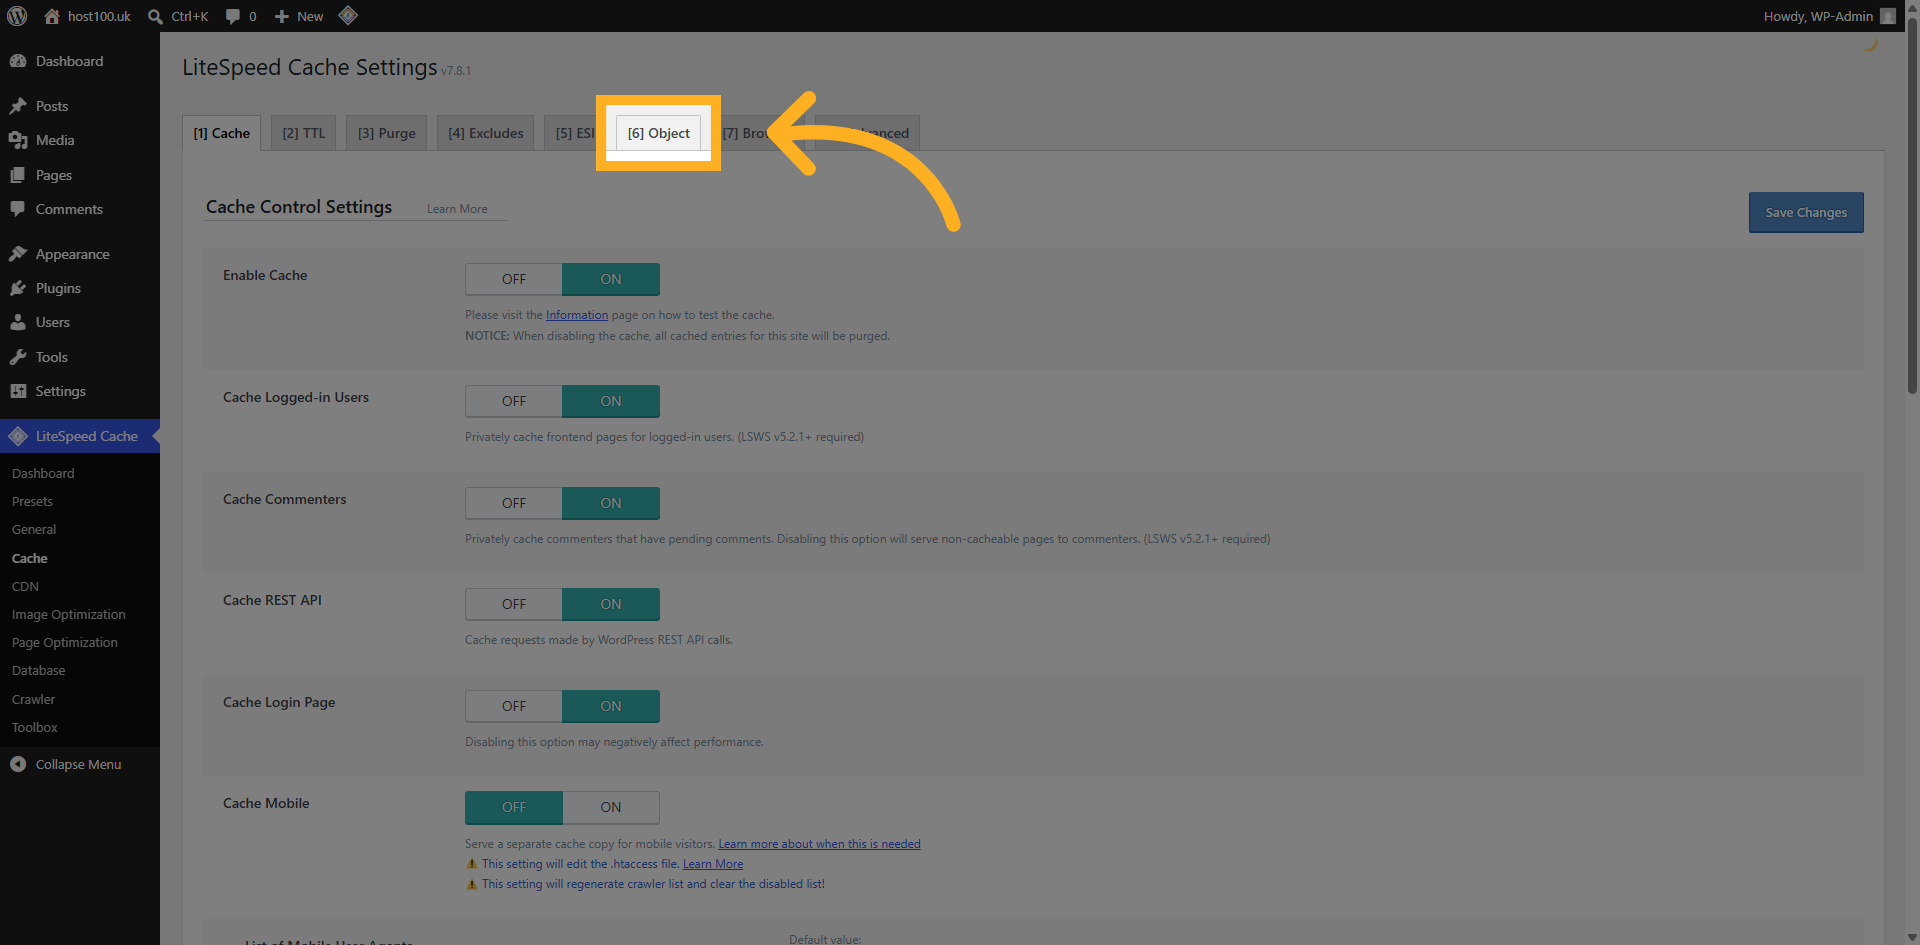
From the Cache page select Object from the top menu.
11. Turn On Redis
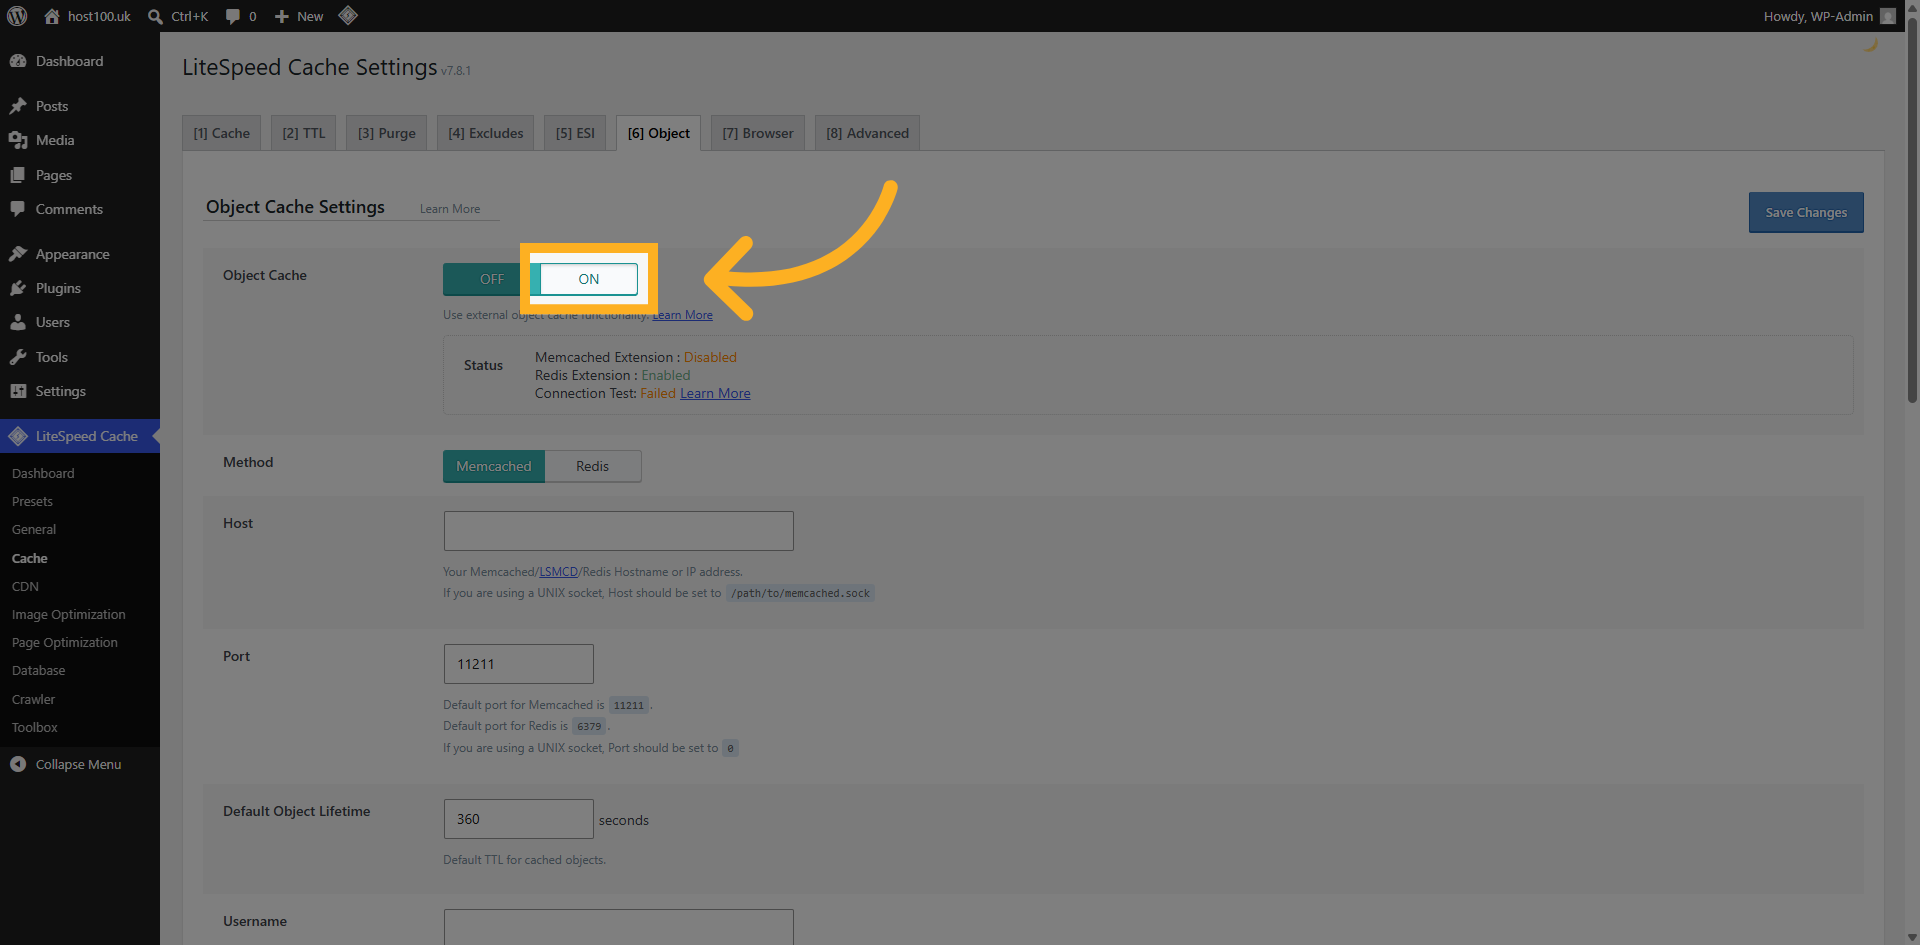
This screen is where we enable and configure Object Caching. Start by turning on the Object Cache.
12. Select Redis Method
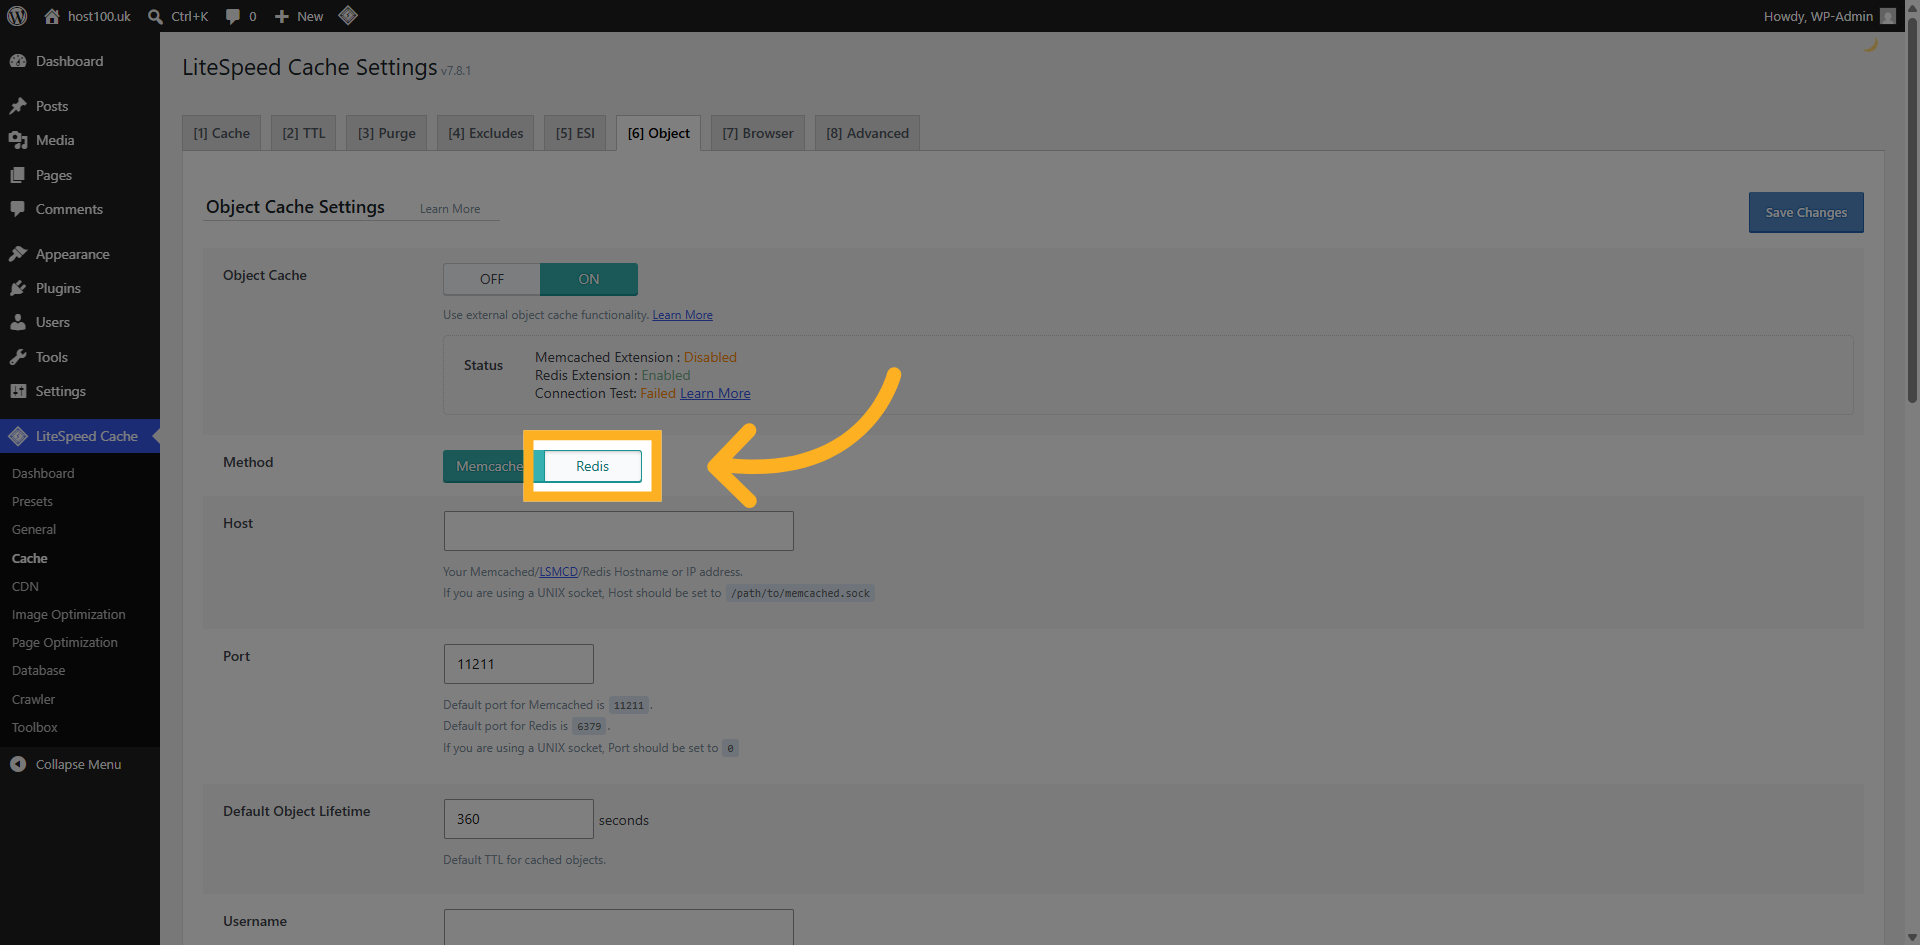
Next, select Redis as the Method.
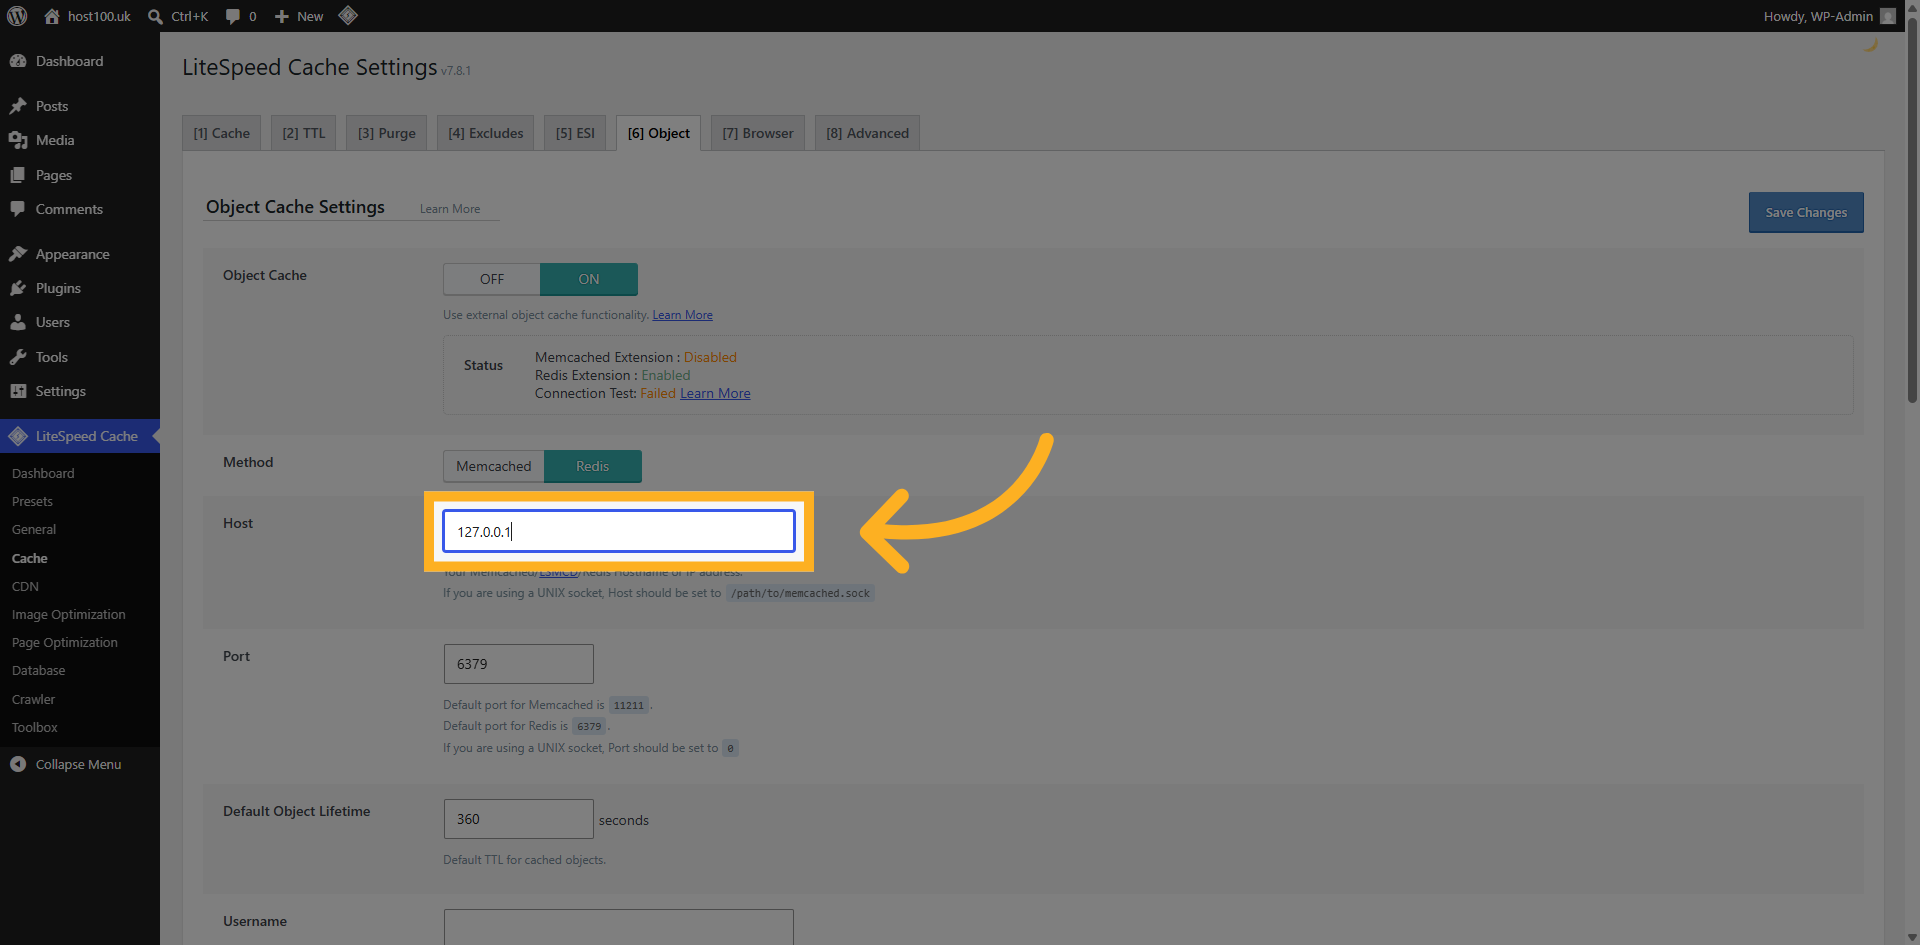
13. Enter Host IP
Set the Host to 127.0.0.1
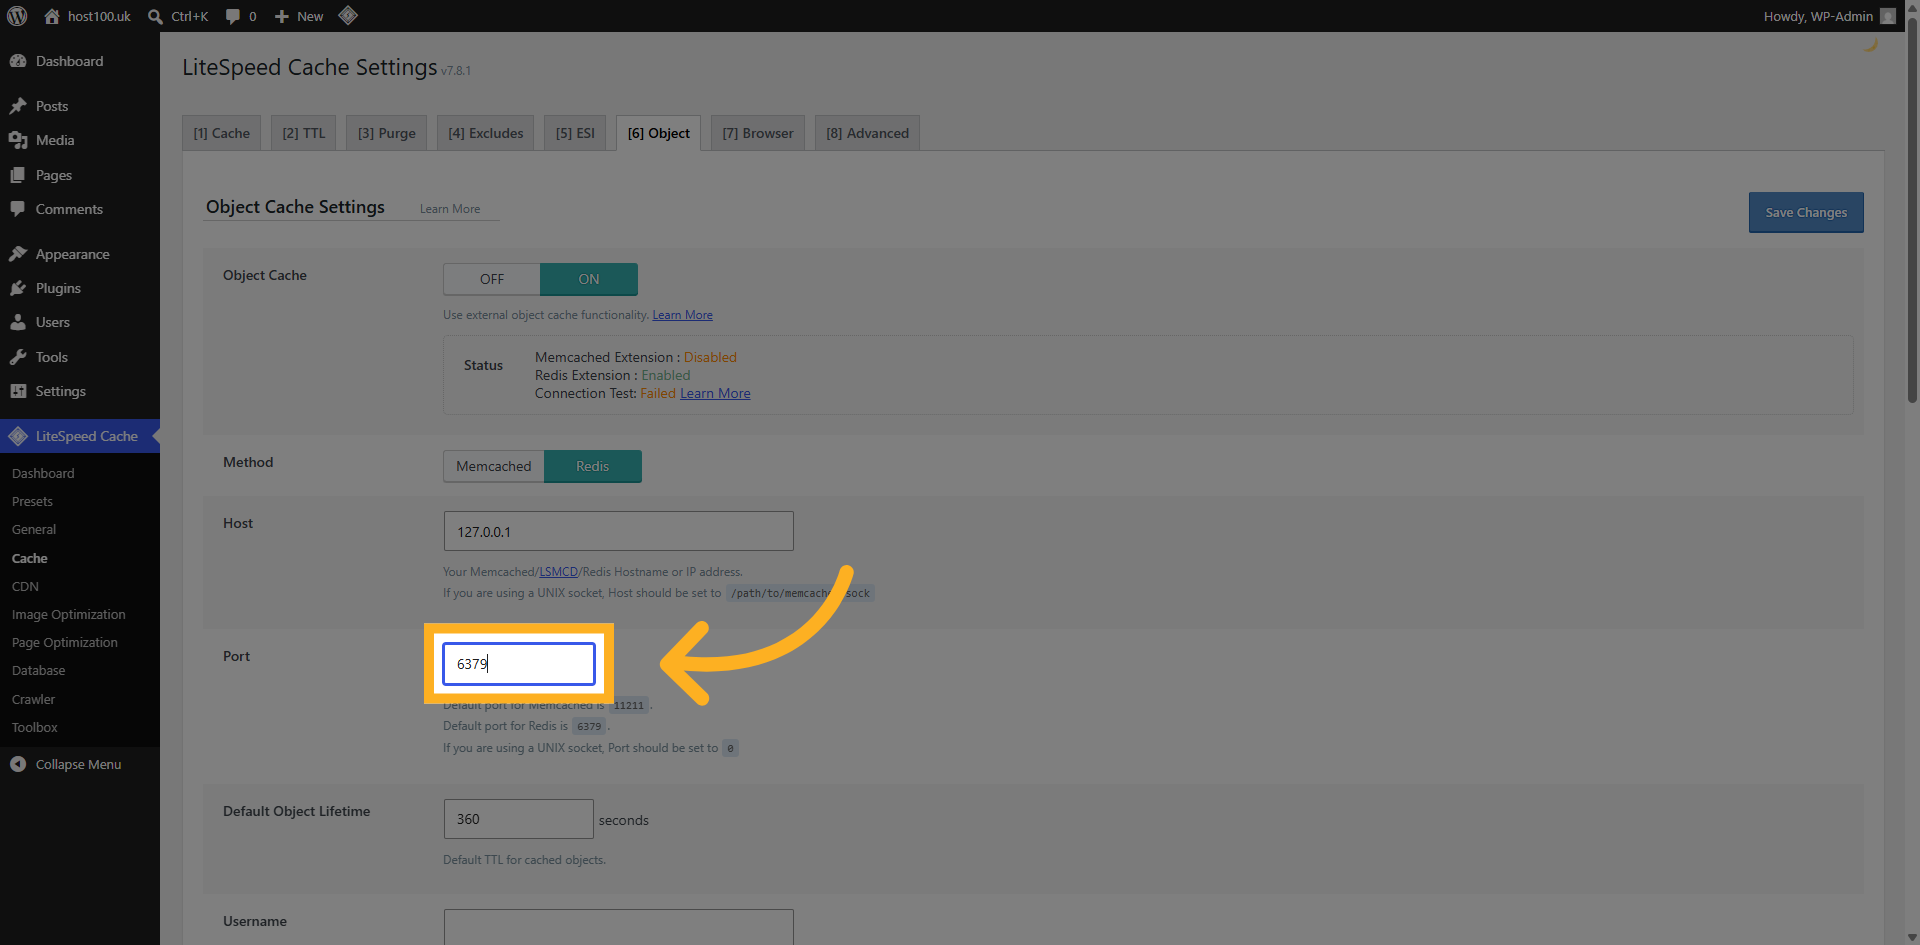
14. Enter Redis Port
Set the Port to 6379.
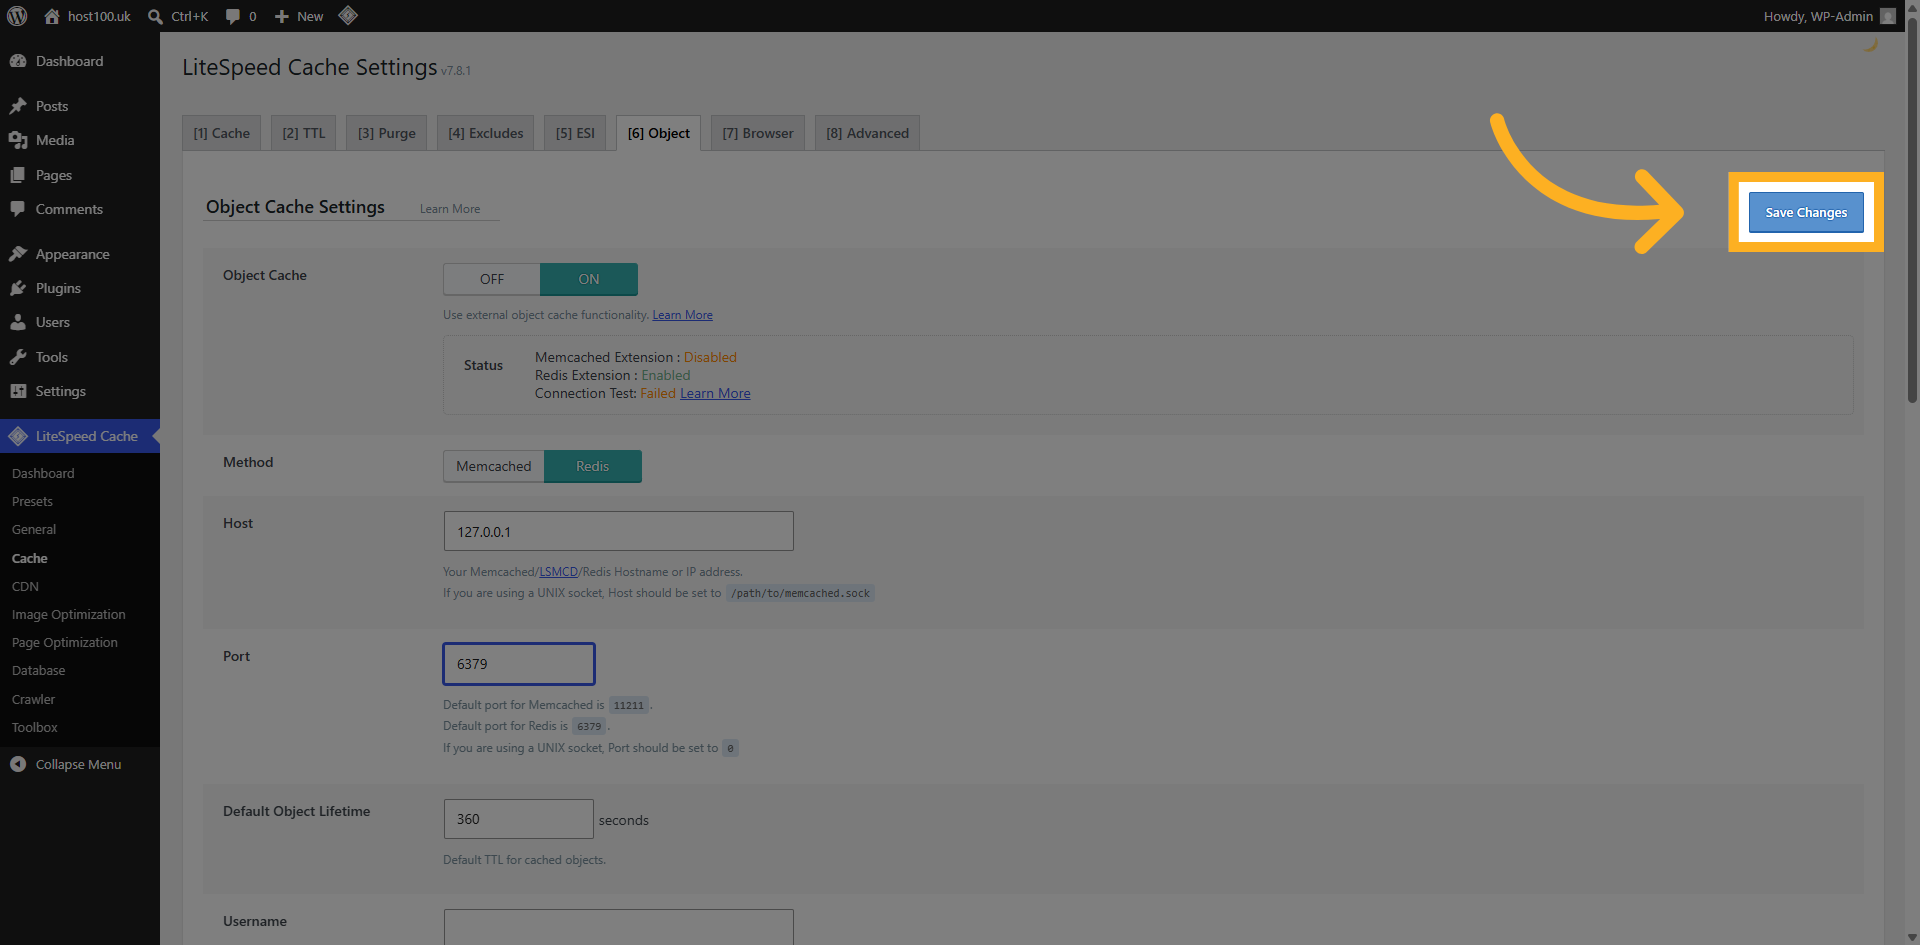
15. Save Final Settings
Once you've done these things, click on save and you should find the connection test is passed.
16. Confirm Cache Activation
Your website is now using object caching.
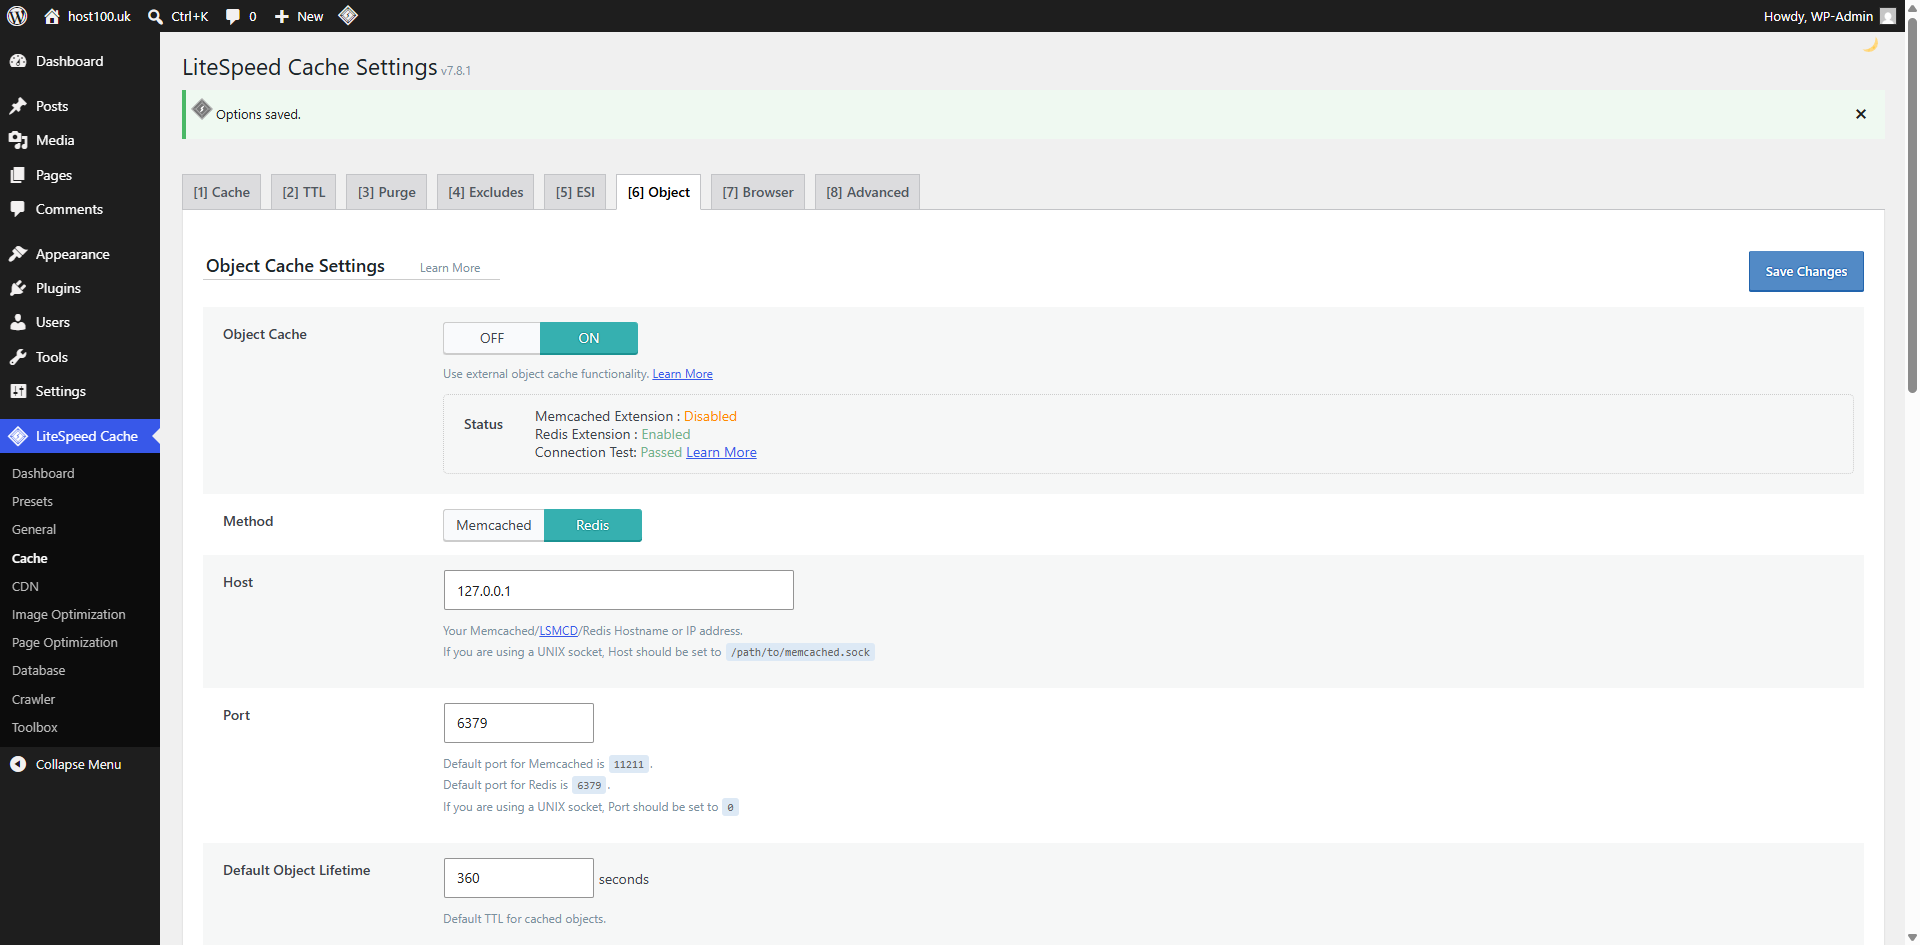
You have successfully enabled and configured Redis Object Caching in the HOST100 Control Panel. Verify the connection test passes and your website is now using object caching to improve performance.