This tutorial will guide you through installing WordPress on the HOST100 control panel platform.
1. Introduction
You will learn how to access the app store, configure installation settings, and launch your WordPress site successfully.
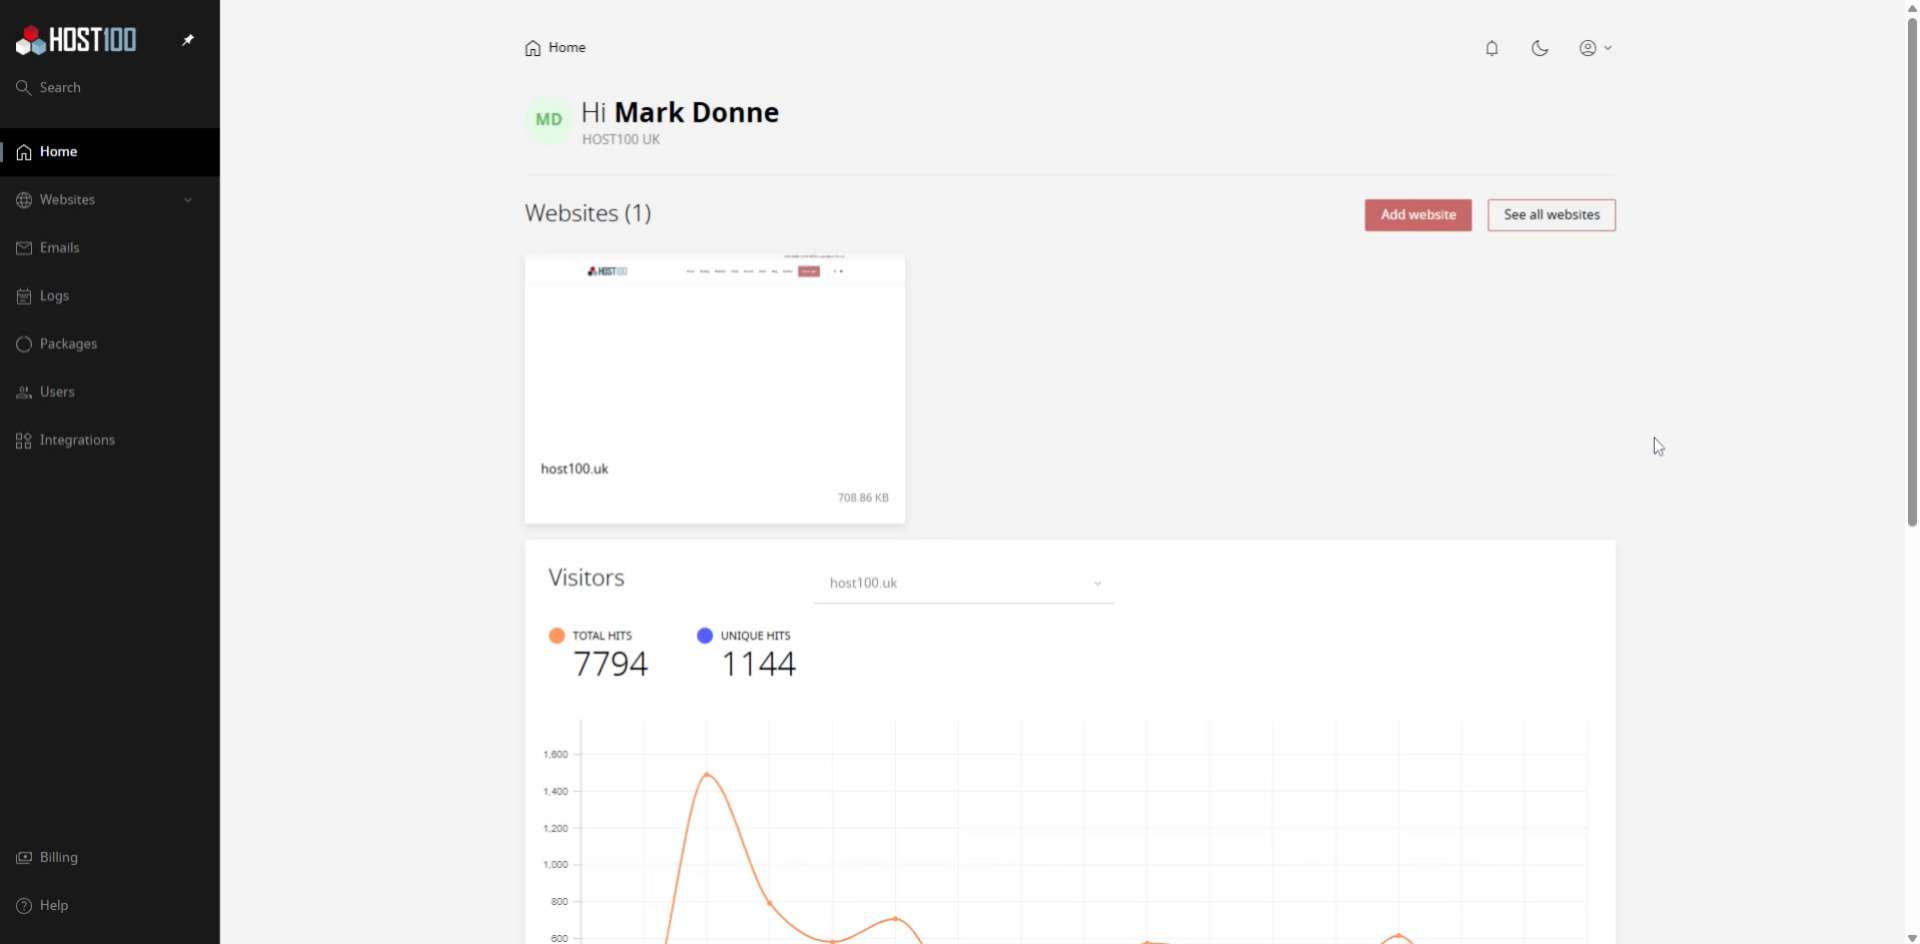
2. Access Website Dashboard
Select your website to open the dashboard where you can manage your hosting services.
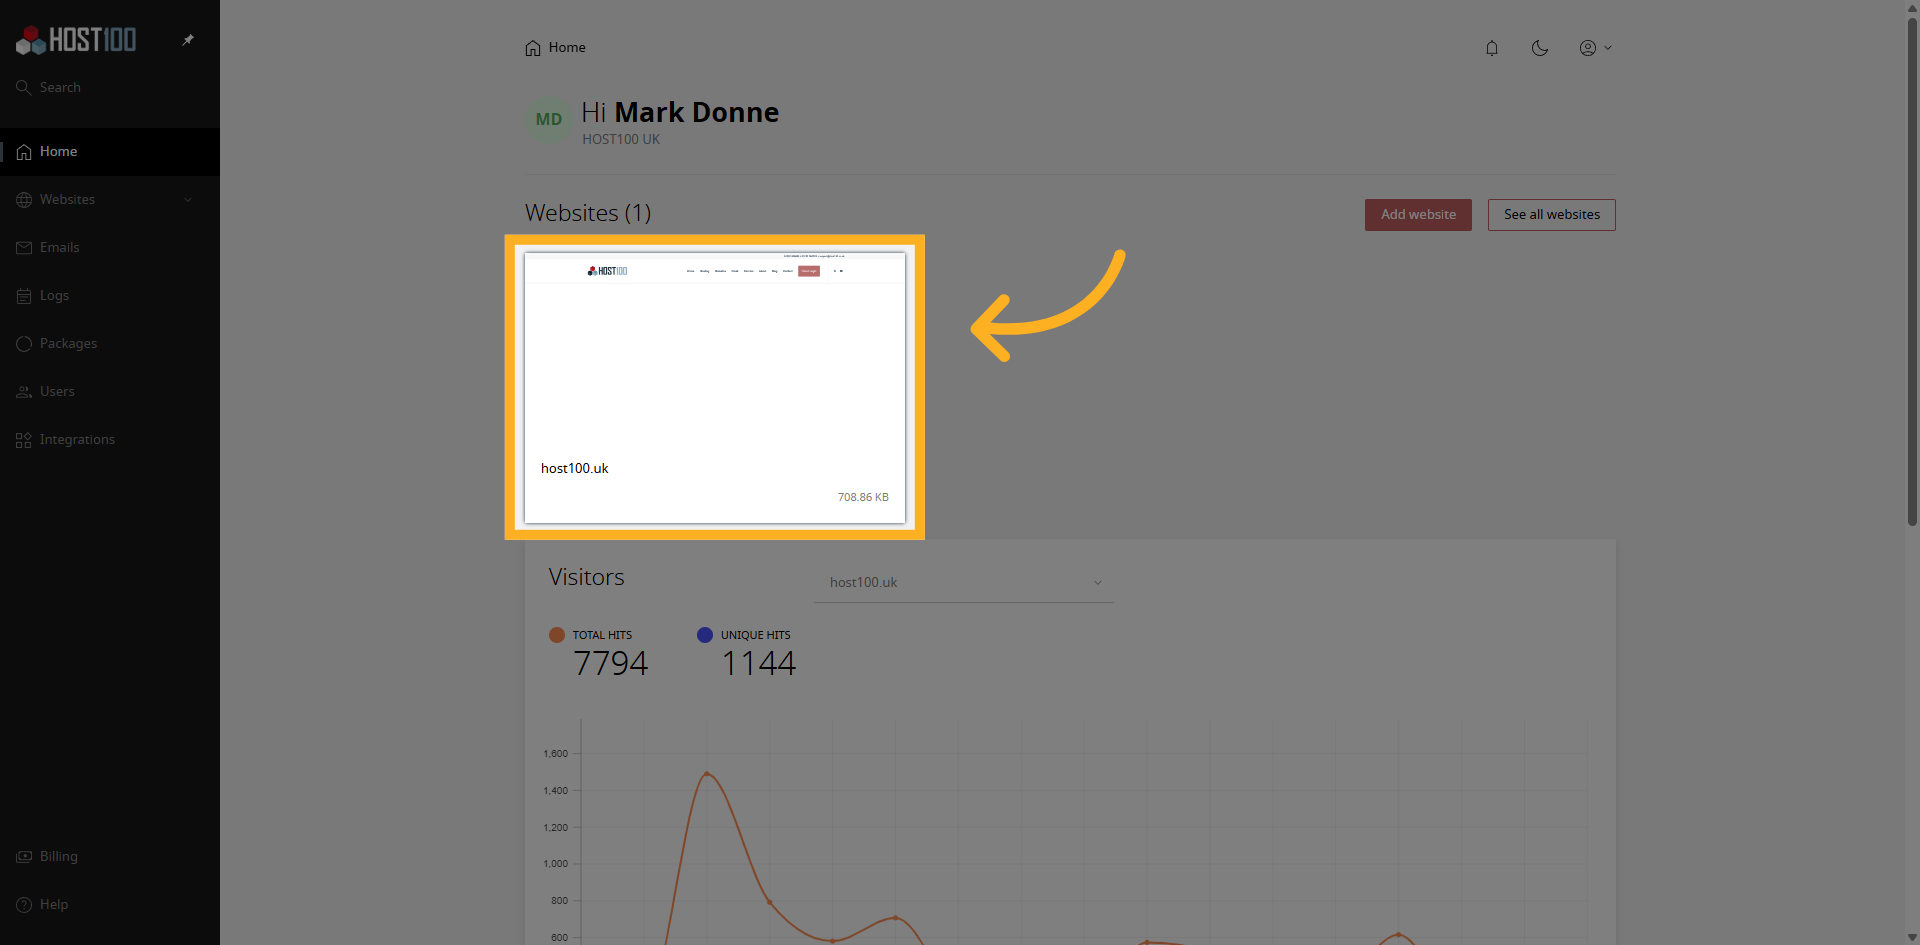
3. Open Apps Section
Click "Apps" to view the available applications for installation on your hosting account.
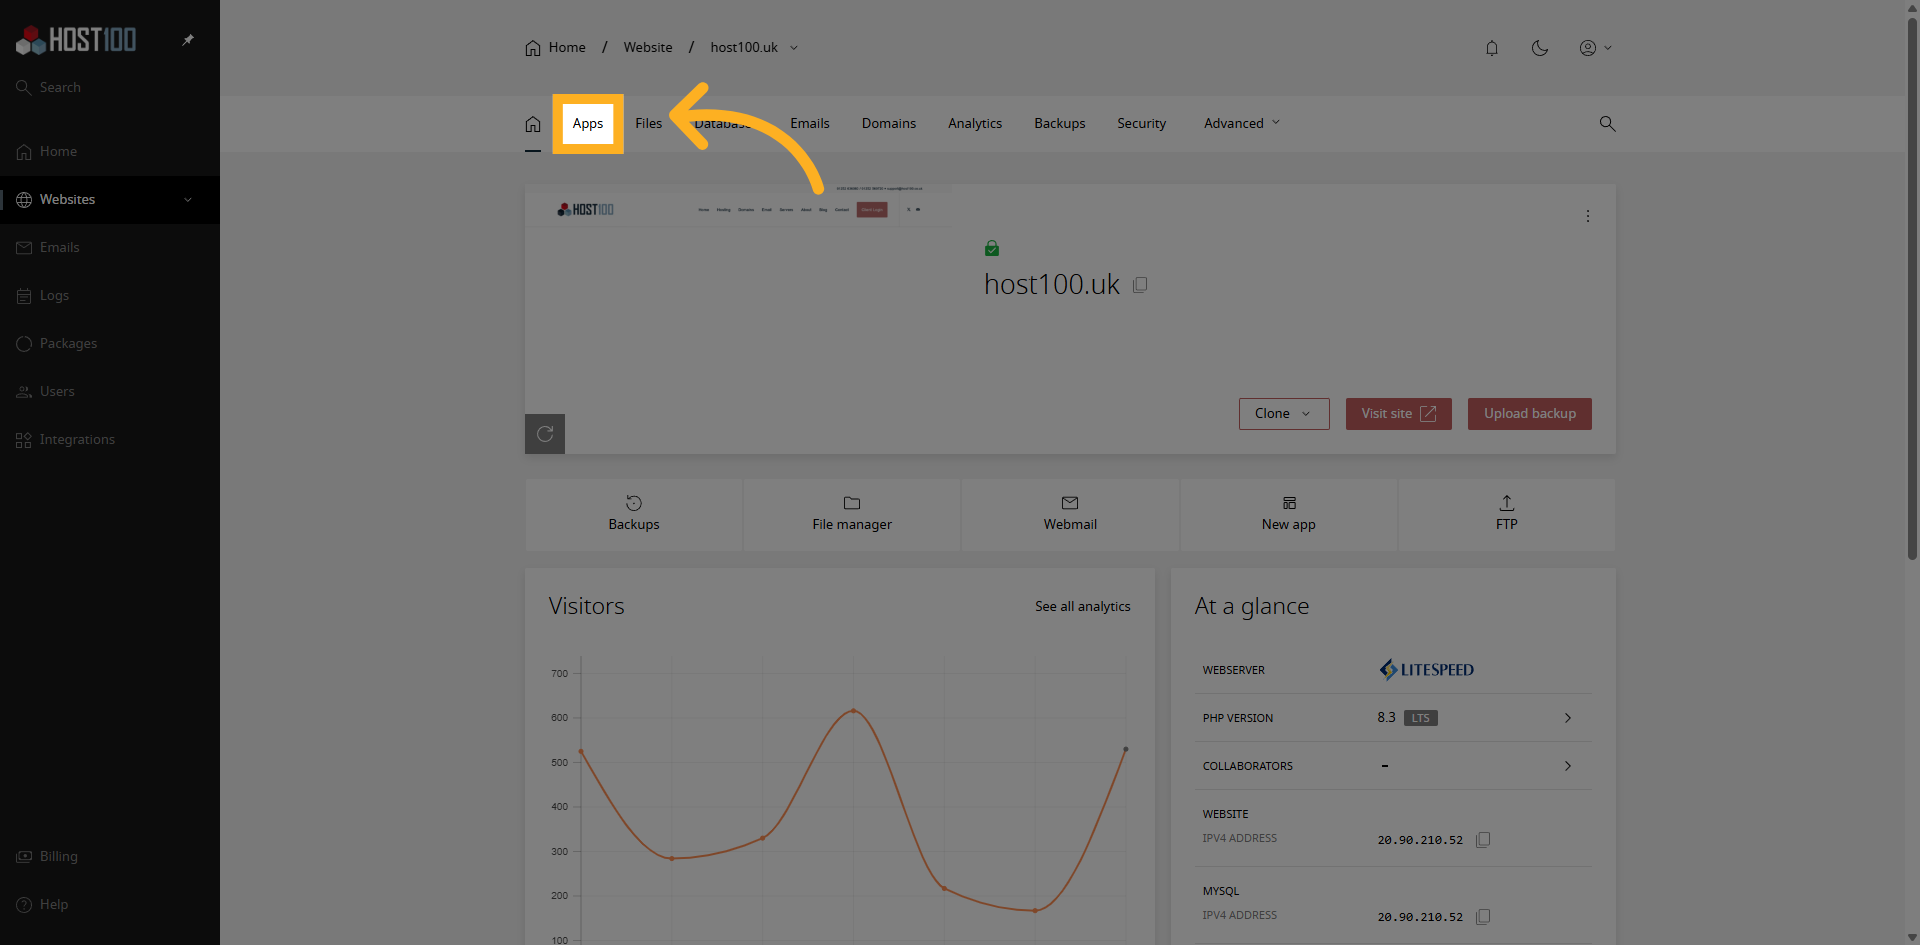
4. Start App Installation
Click "Install app" to begin the process of adding a new application to your hosting environment.
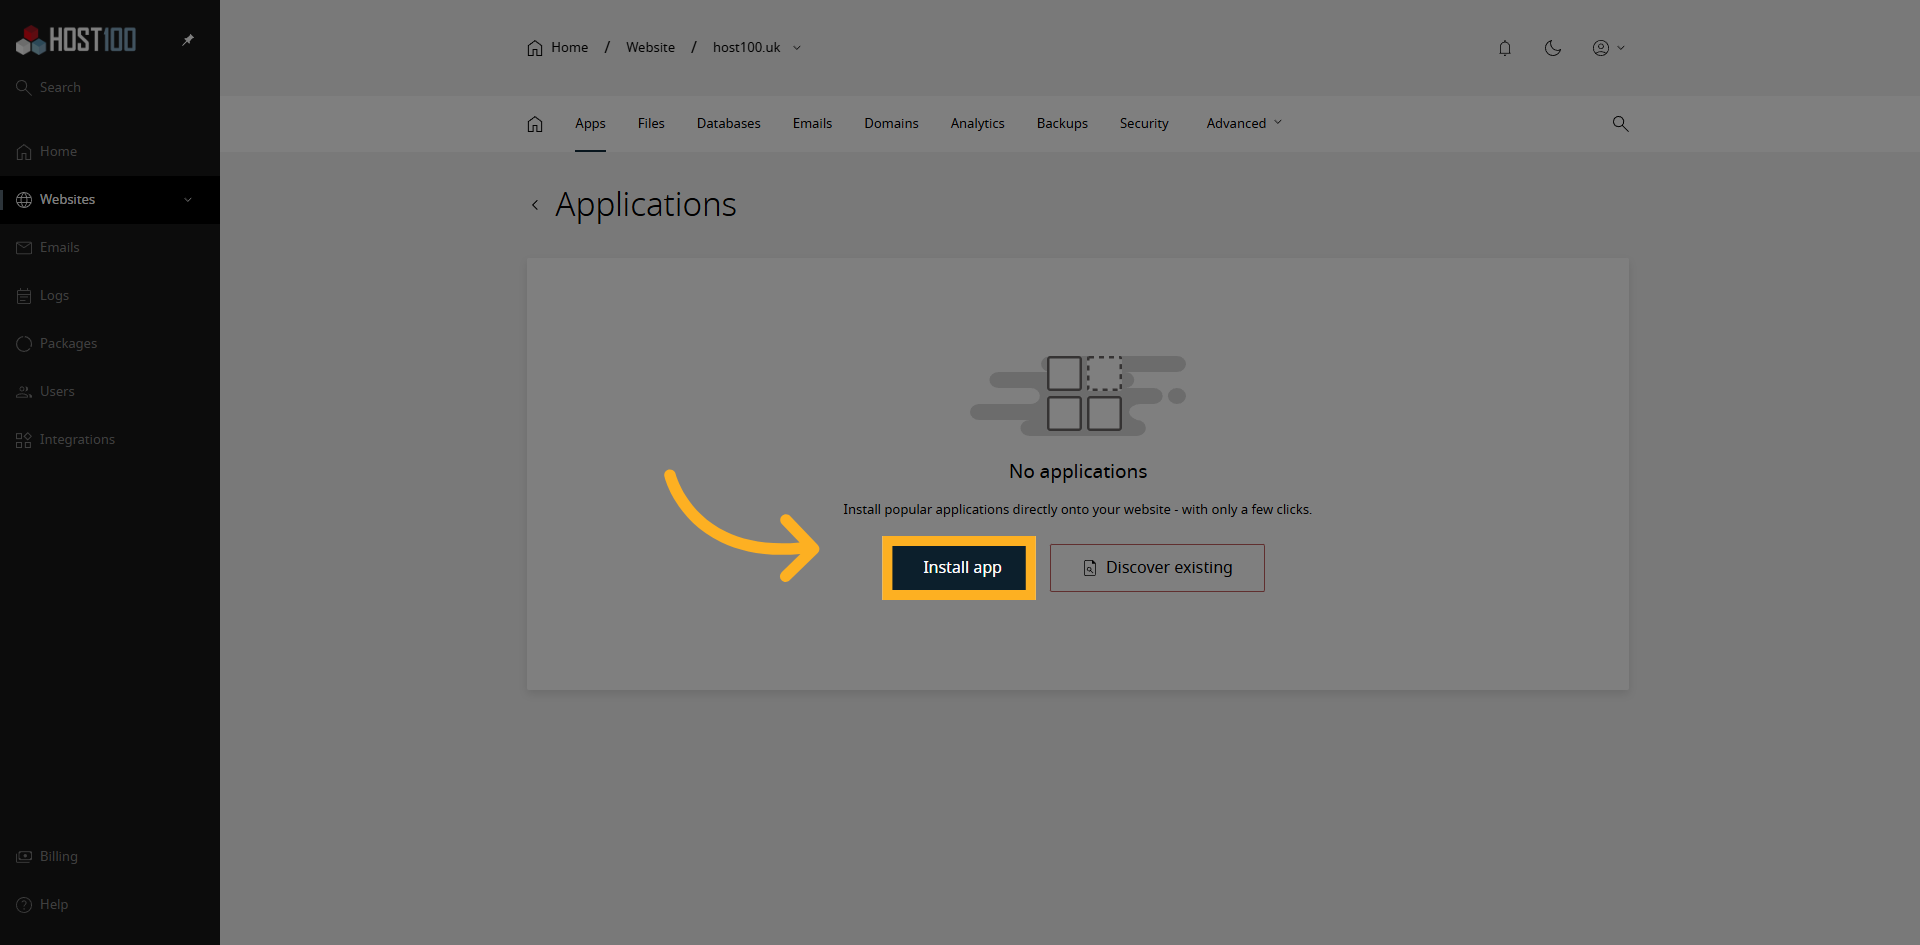
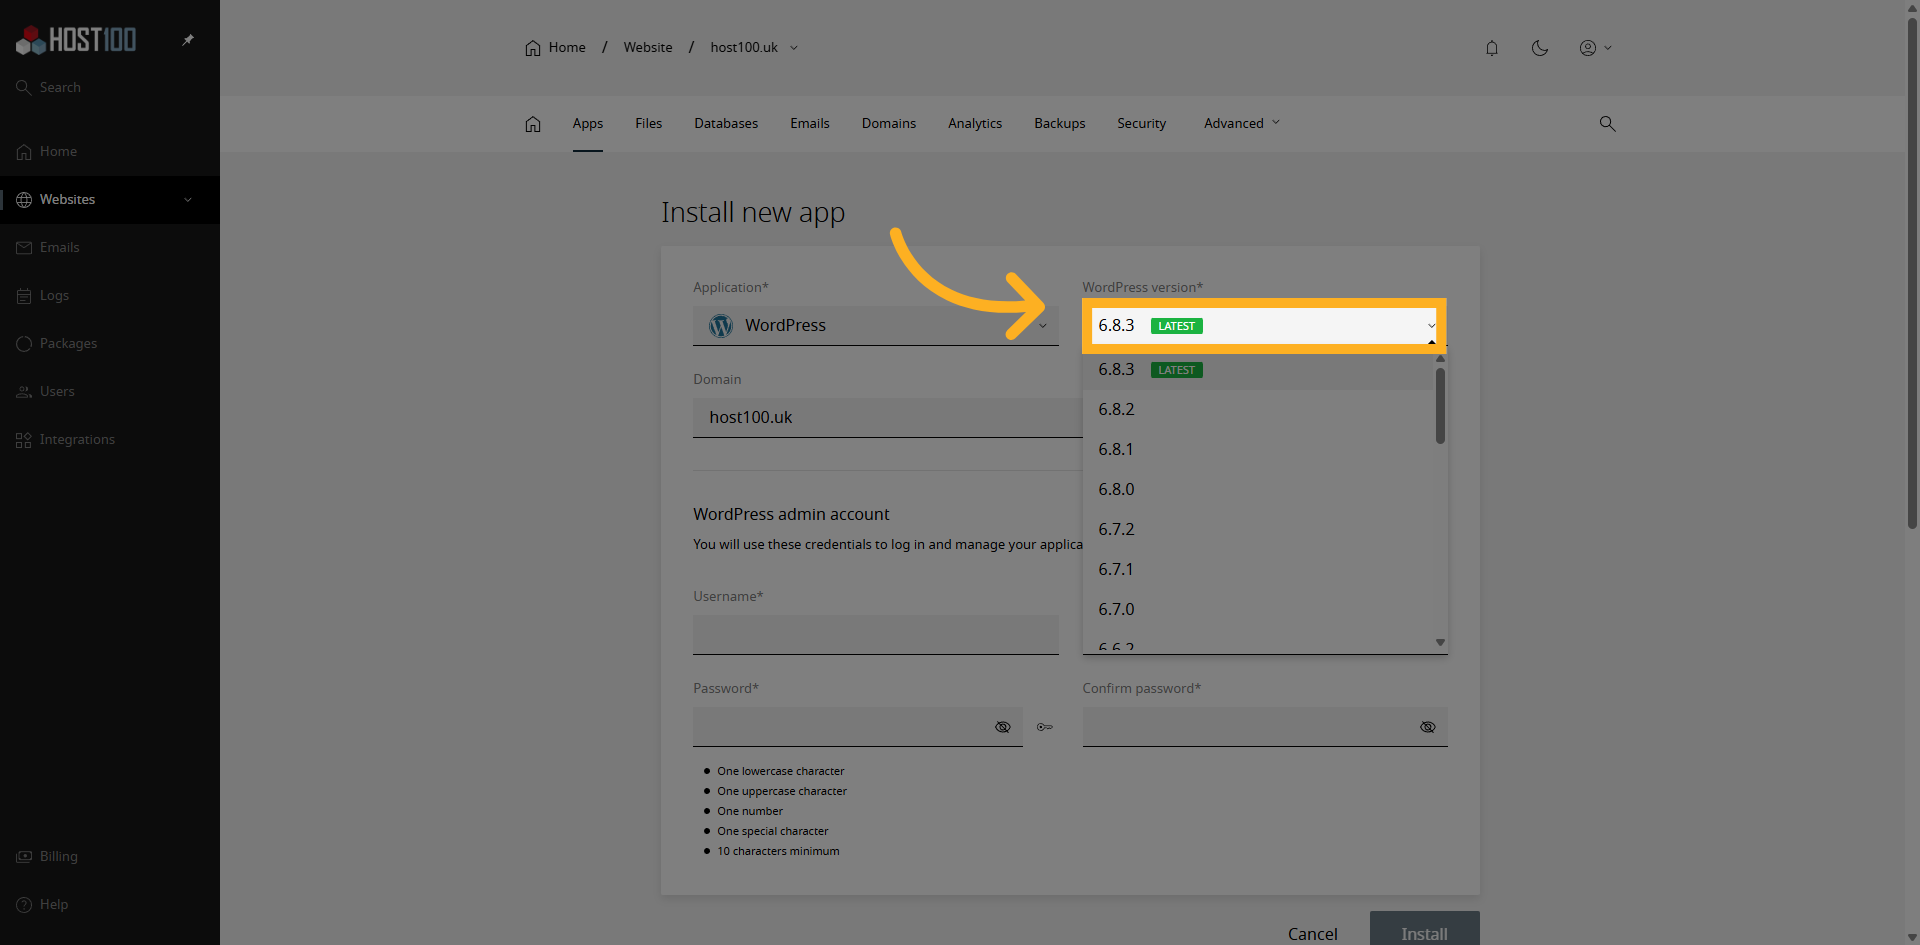
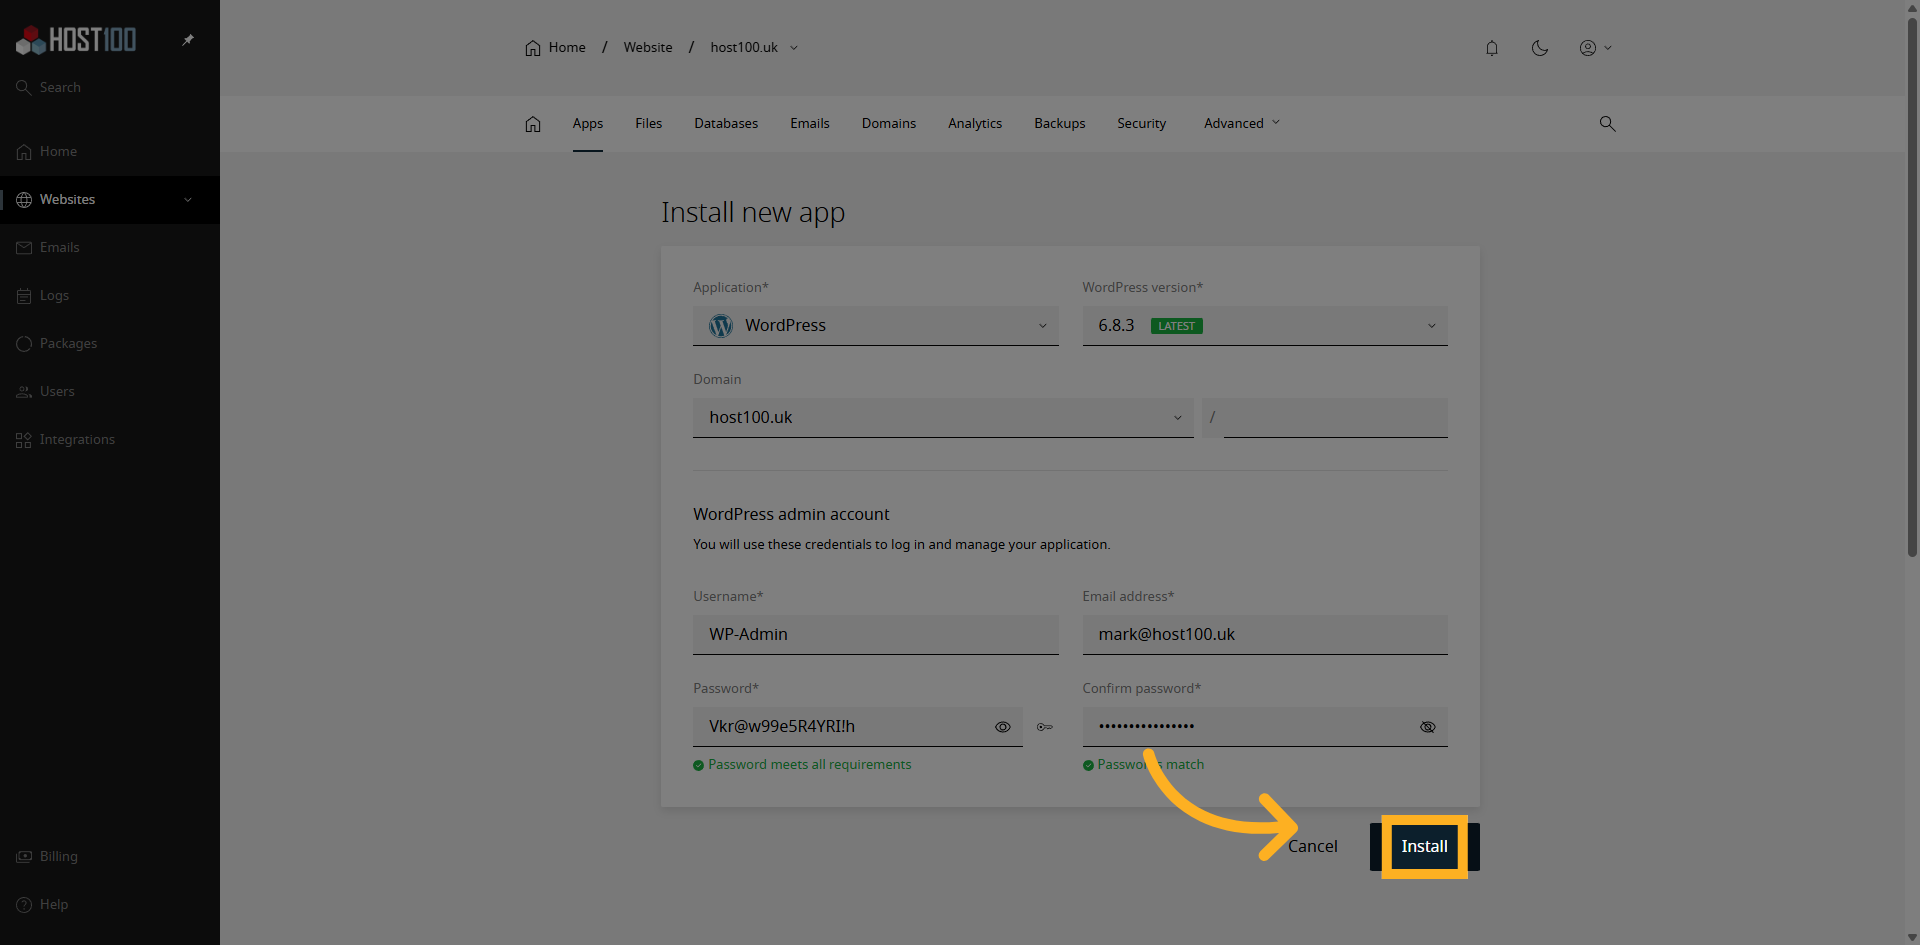
5. Select WordPress Version
Click here to choose the version of WordPress you want to install or simply leave it selected on Latest.
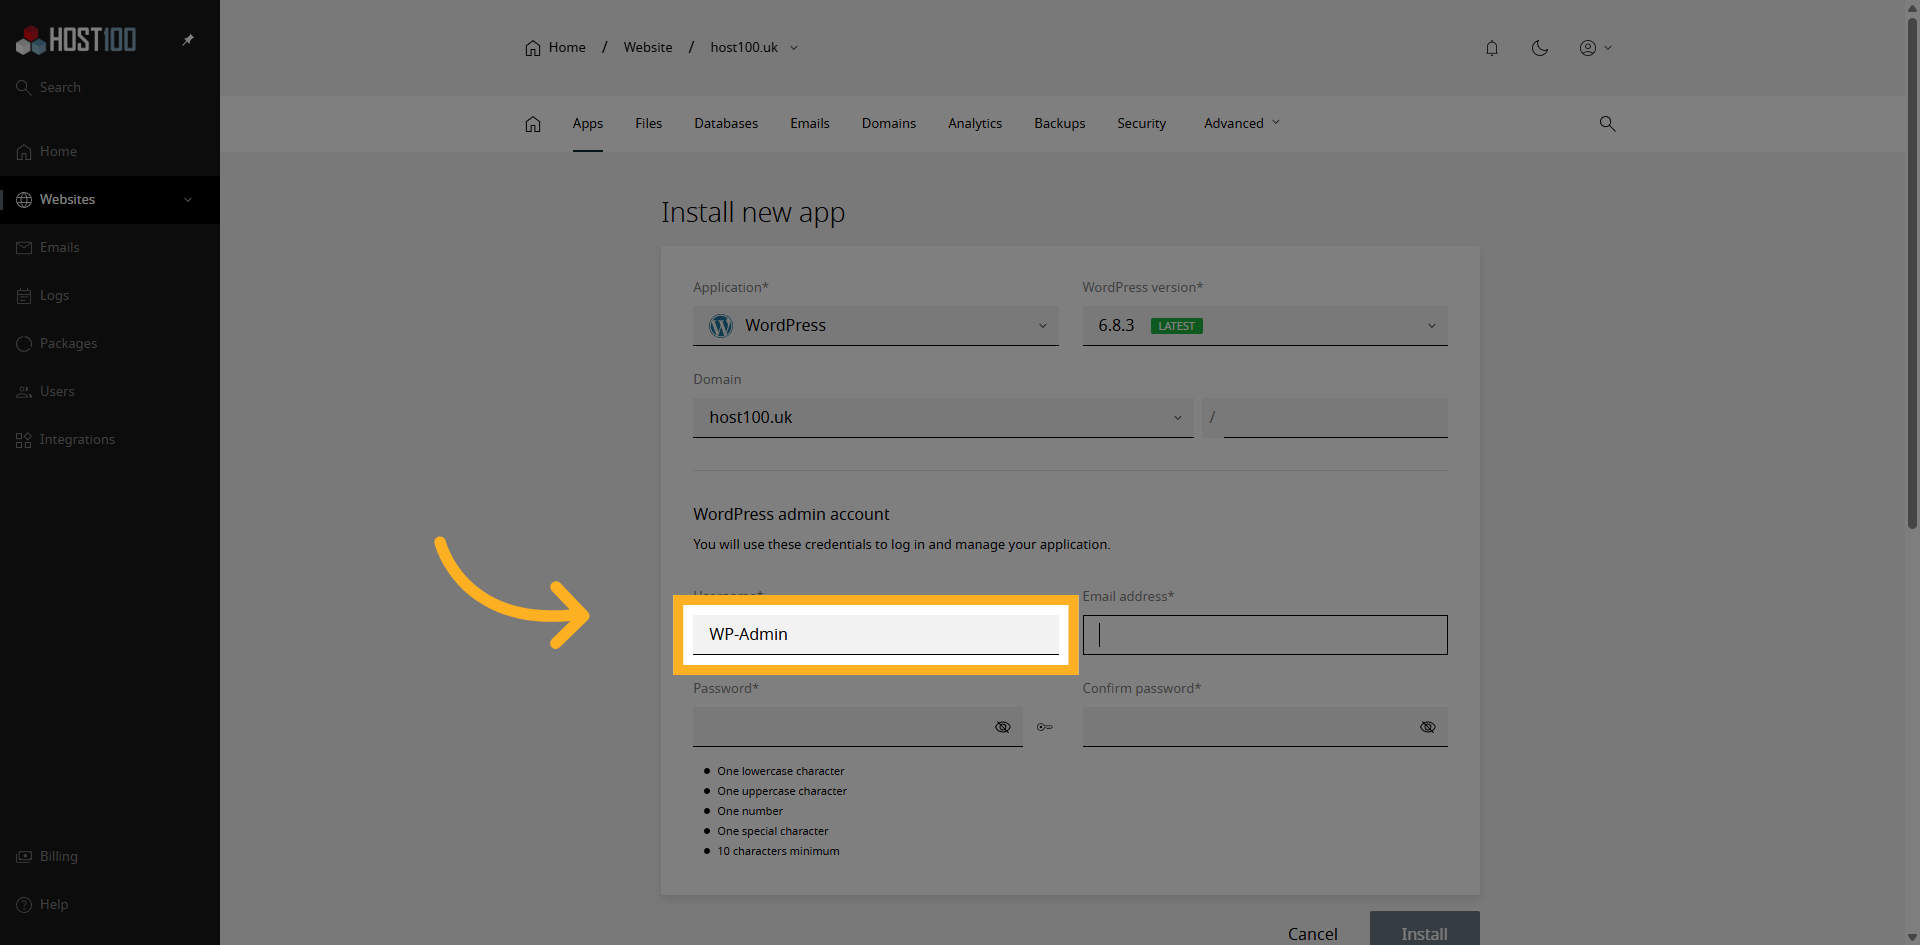
6. WordPress Admin Username
Provide the WordPress Username you would like to use for Administration, for example WP-Admin
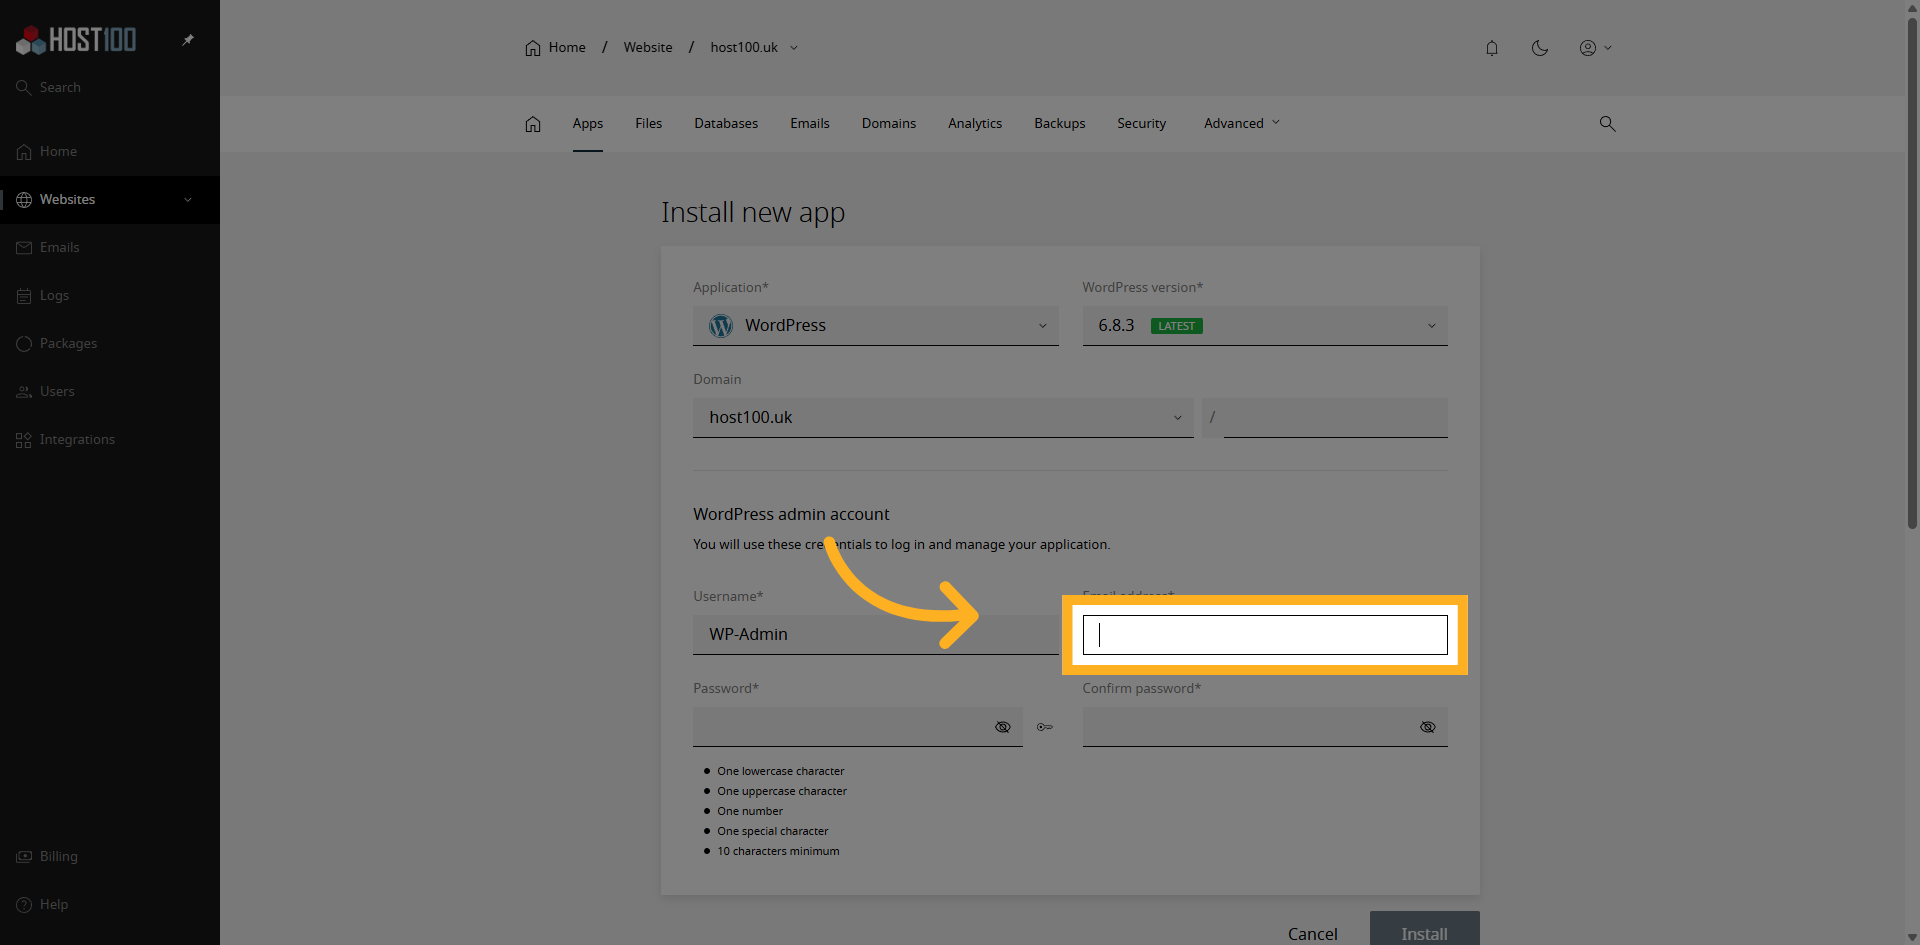
7. WordPress Admin Email Address
Next, provide the Administrators email address.
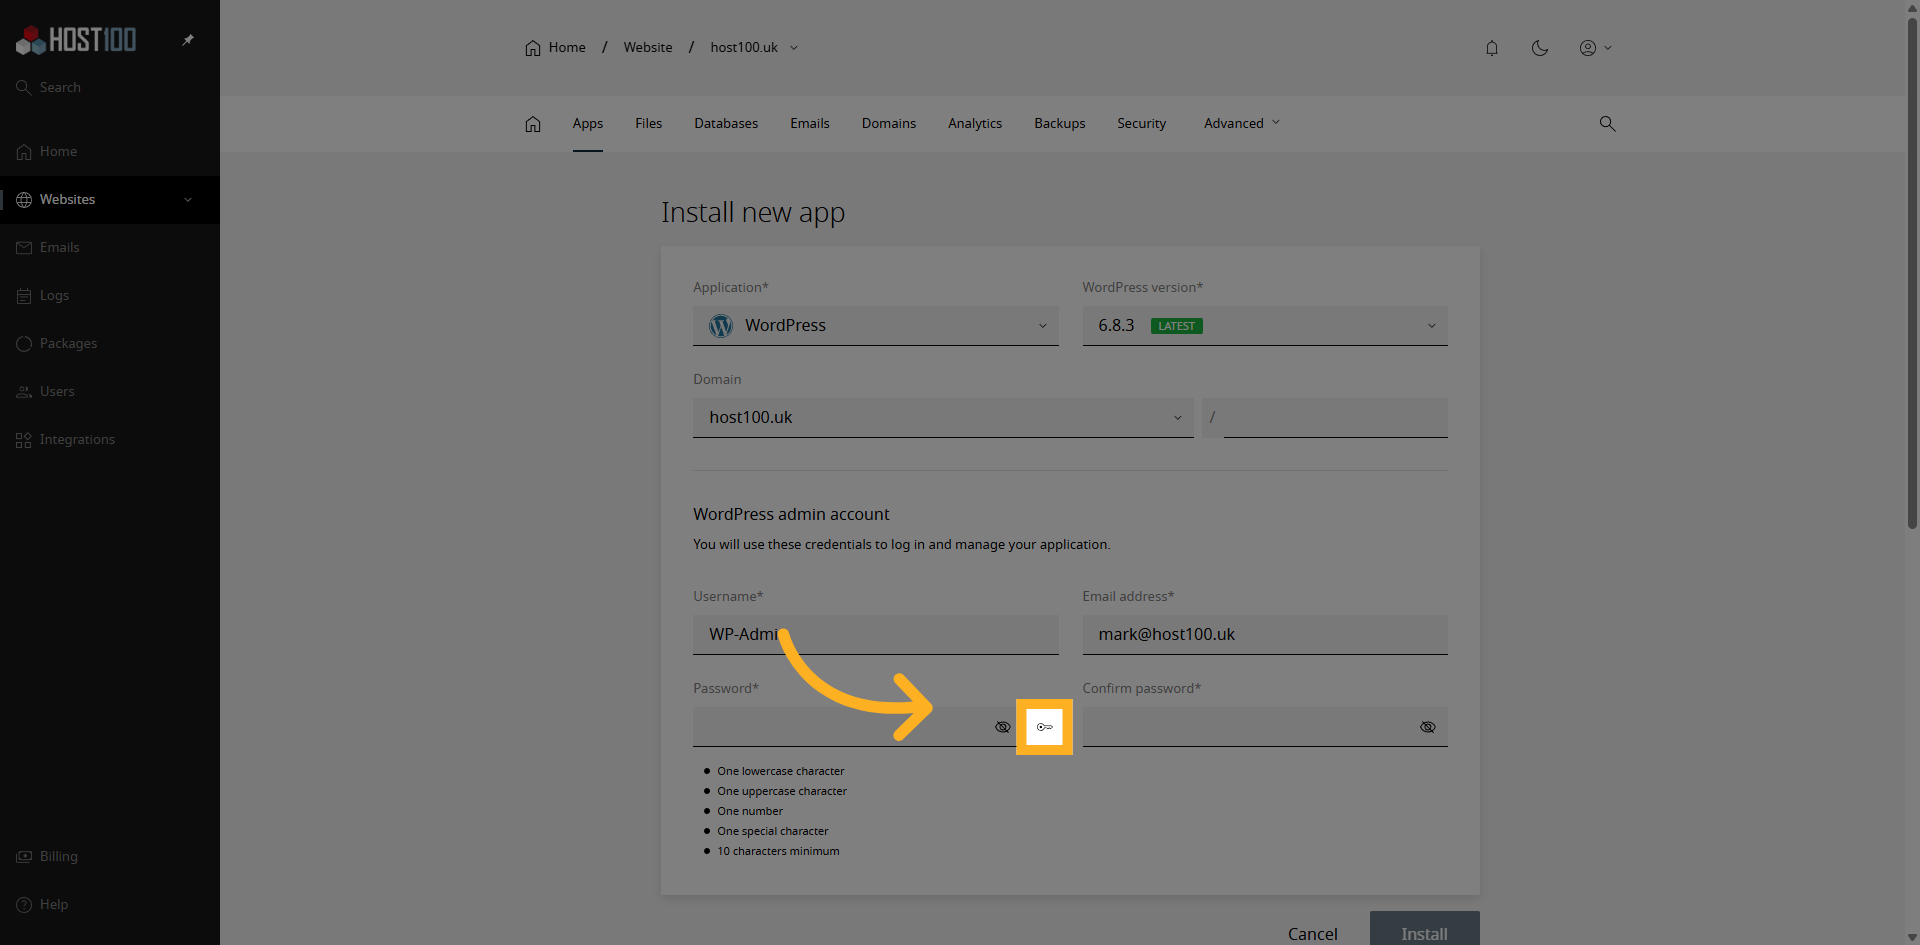
8. WordPress Admin Password
Click the key icon to generate a secure password, make sure you copy and paste the password somewhere before continuing, or alternatively provide your own password into both boxes.
9. Confirm Installation
Click "Install" to start installing WordPress with the configured settings.
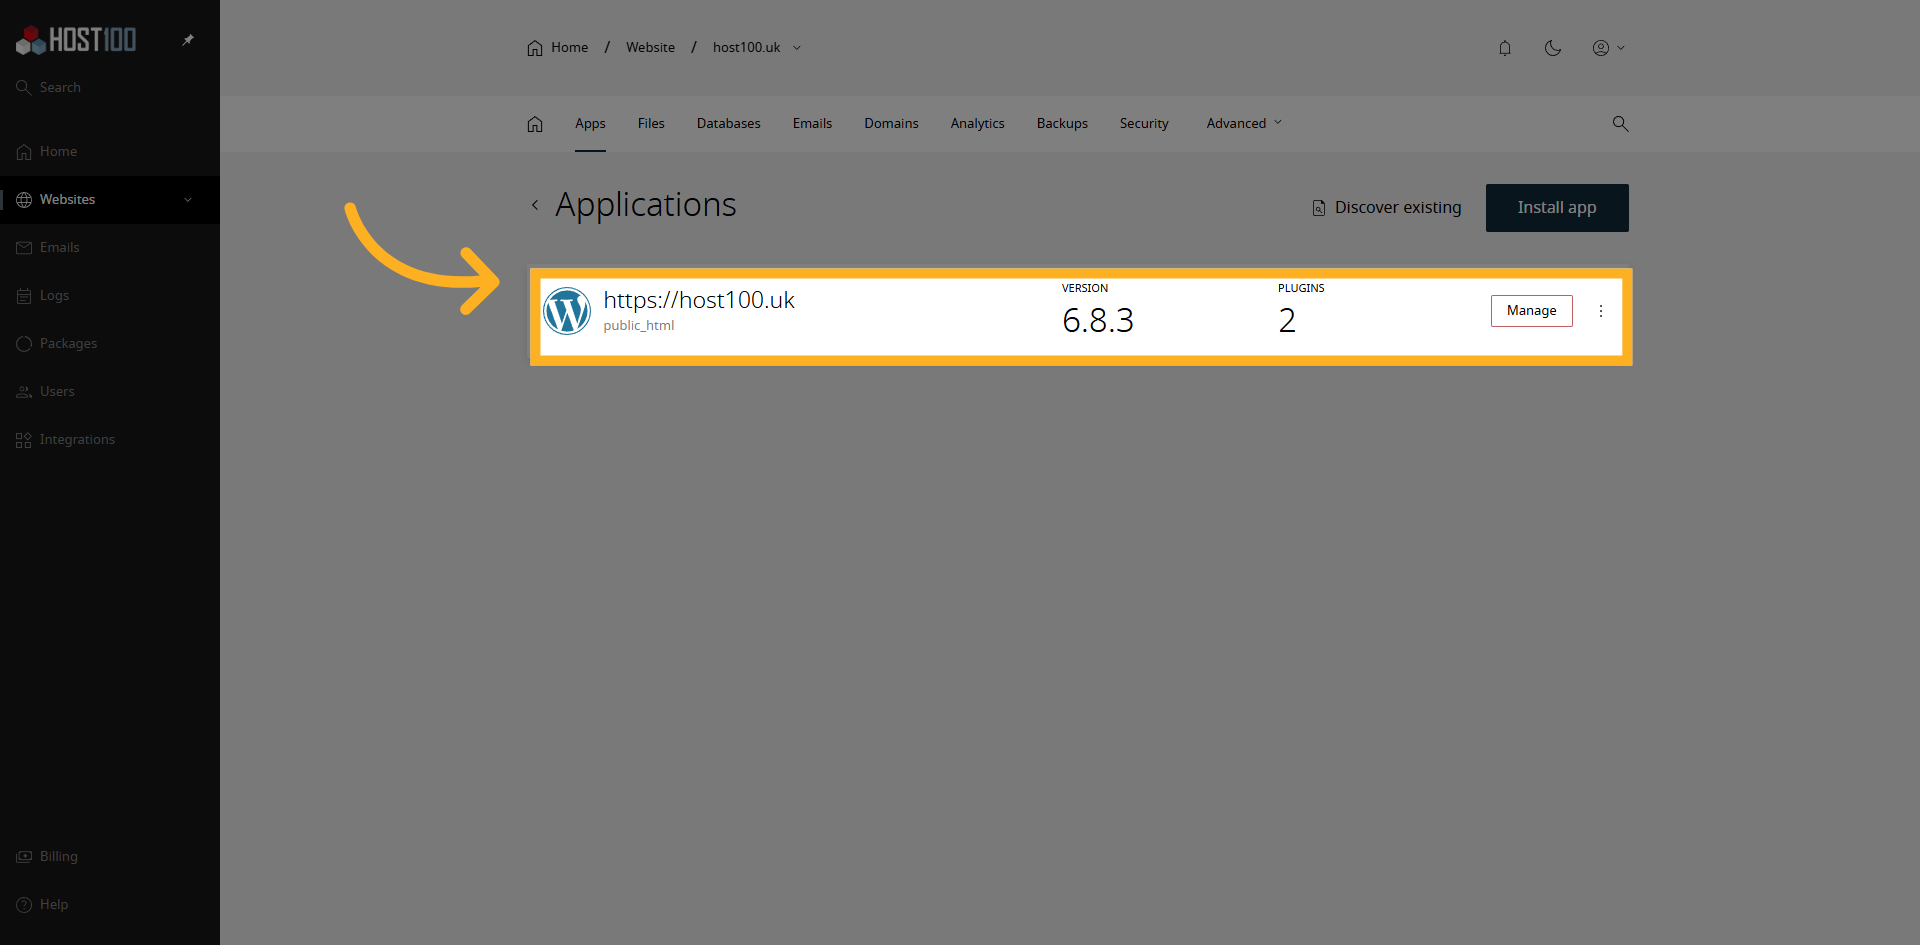
10. Open WordPress App
Click the new WordPress app to open and view the settings.
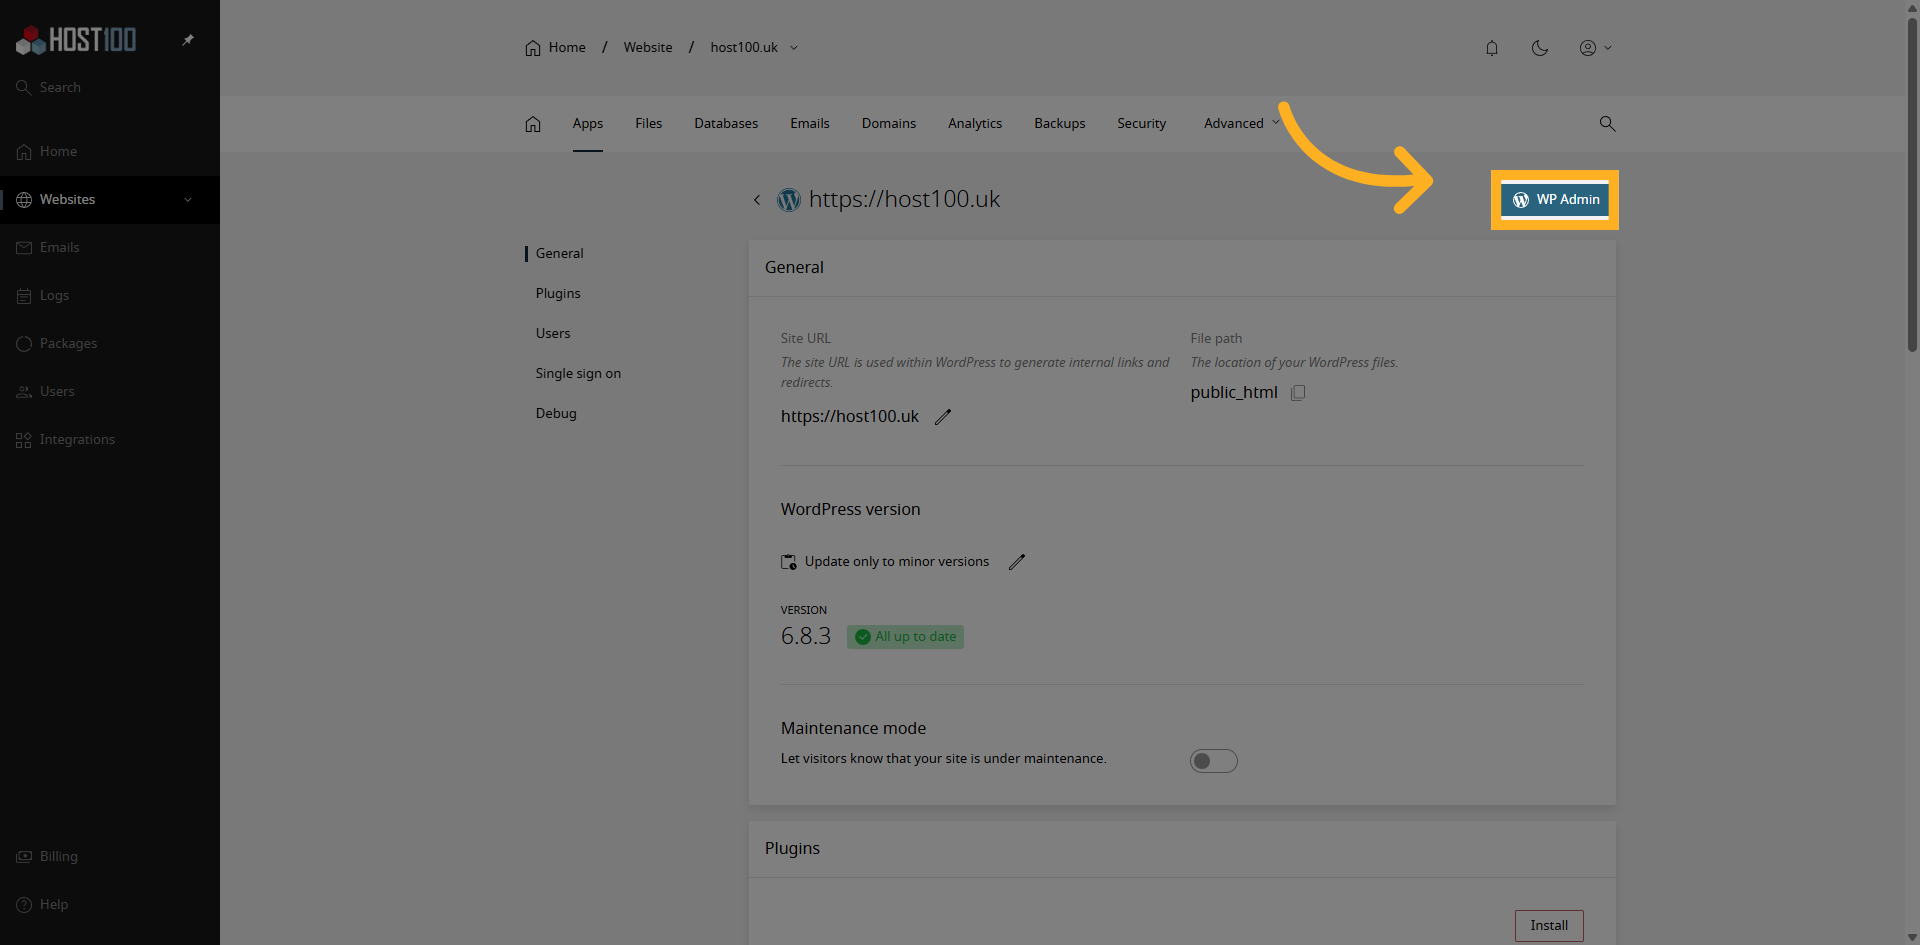
11. Access WordPress Admin
Click "WP Admin" to log in to the WordPress administration dashboard.
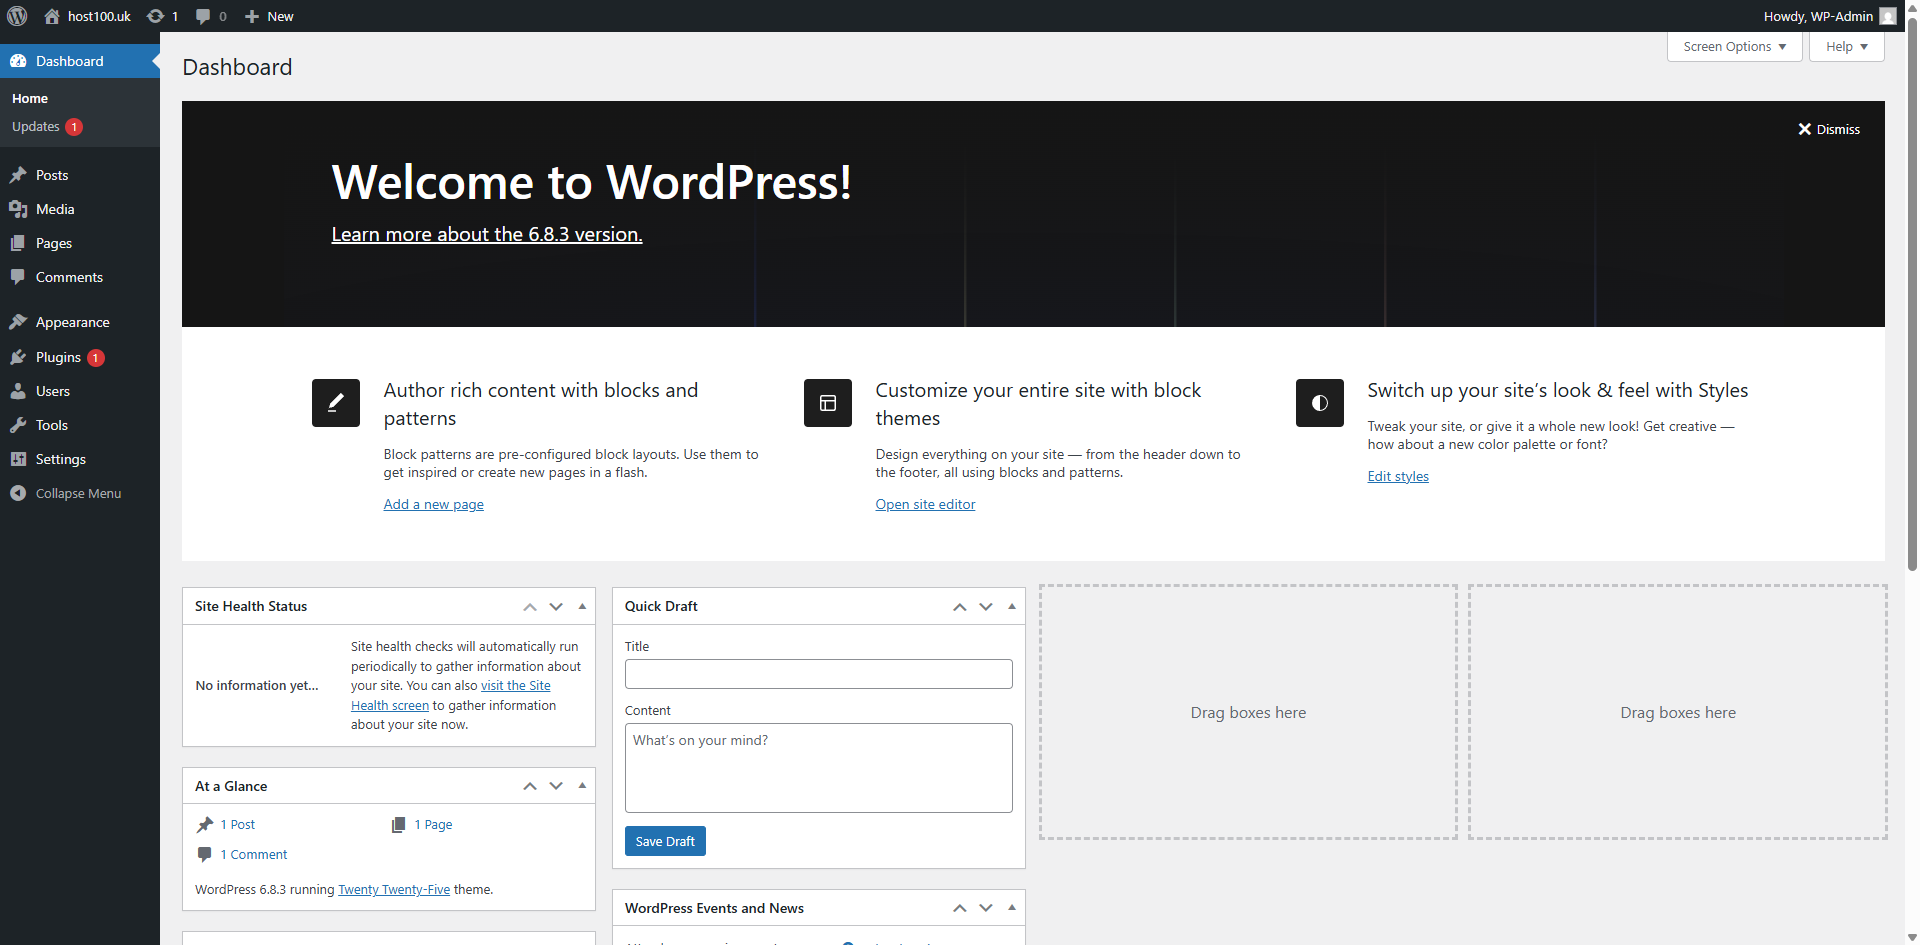
12. WordPress Dashboard
You have successfully installed WordPress on the HOST100 platform and accessed the admin dashboard. You can now begin customizing your website and managing content through the WordPress interface.
This completes the guide, if you should need any assistance then please contact support@host100.co.uk