This tutorial will guide you through setting up two-factor authentication, also known as 2FA, in your control panel.
1. Introduction
You will learn how to enable and configure 2FA to enhance your account security.
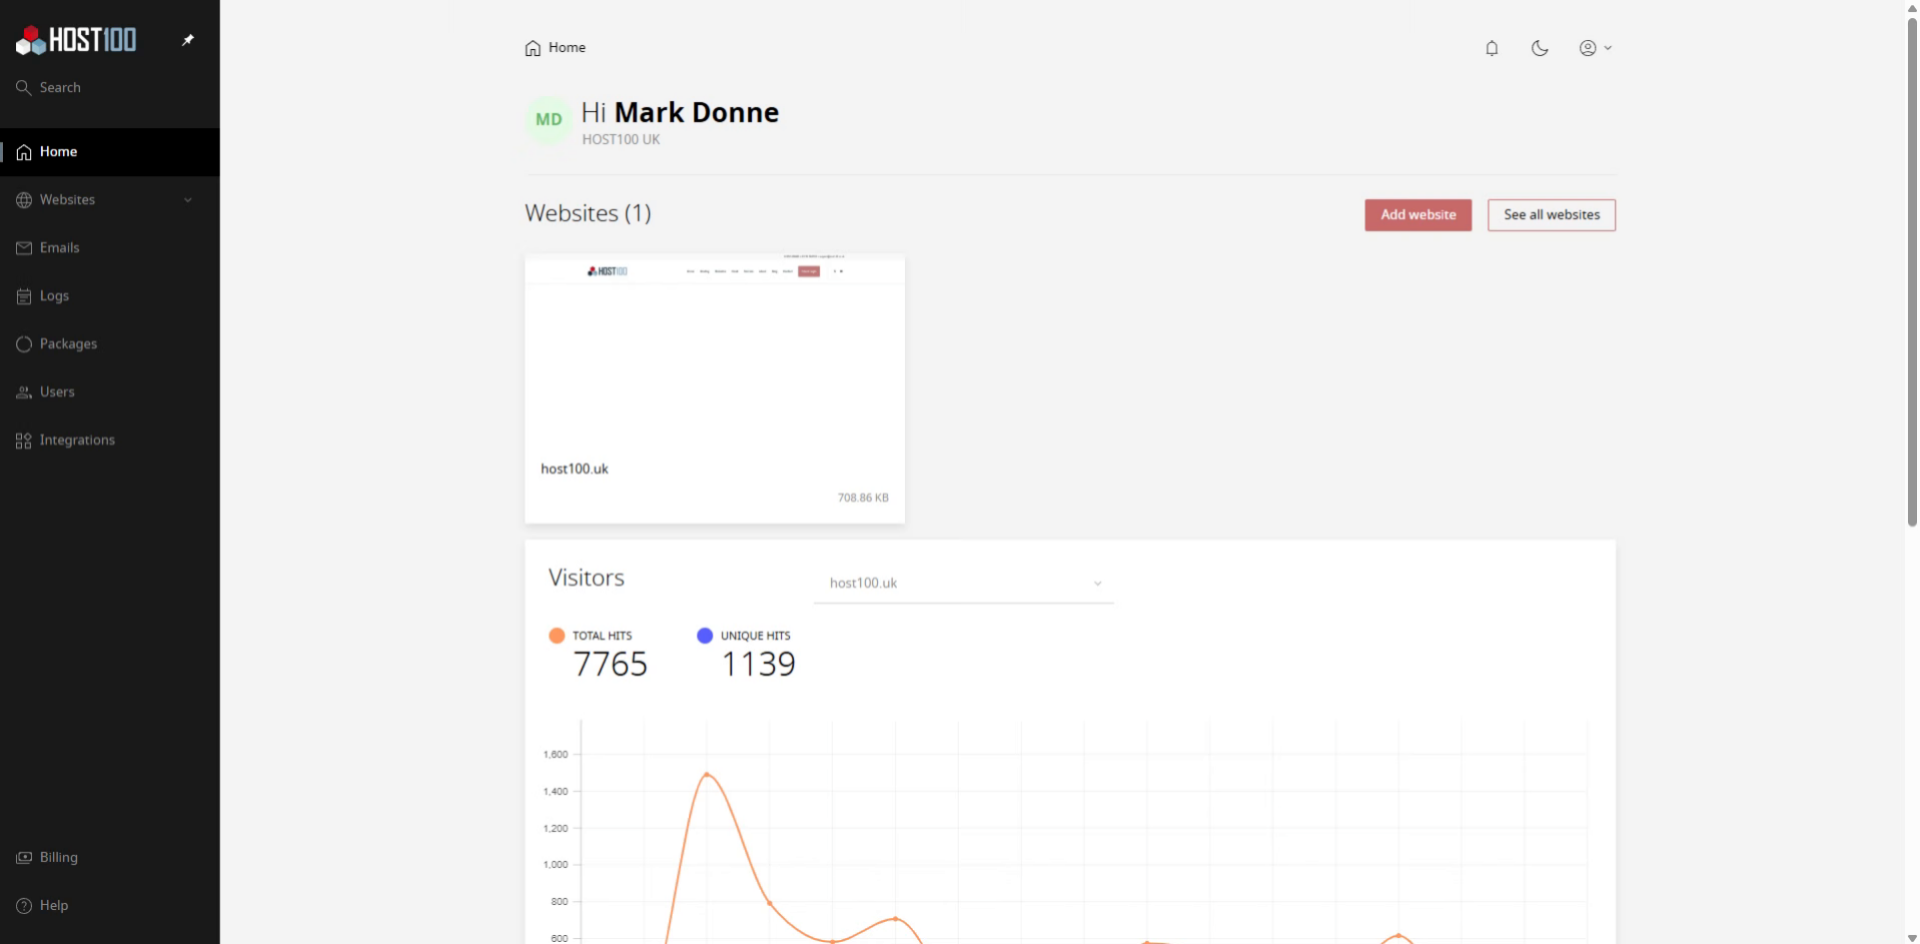
2. Click Account Settings
Click the account settings area to begin.
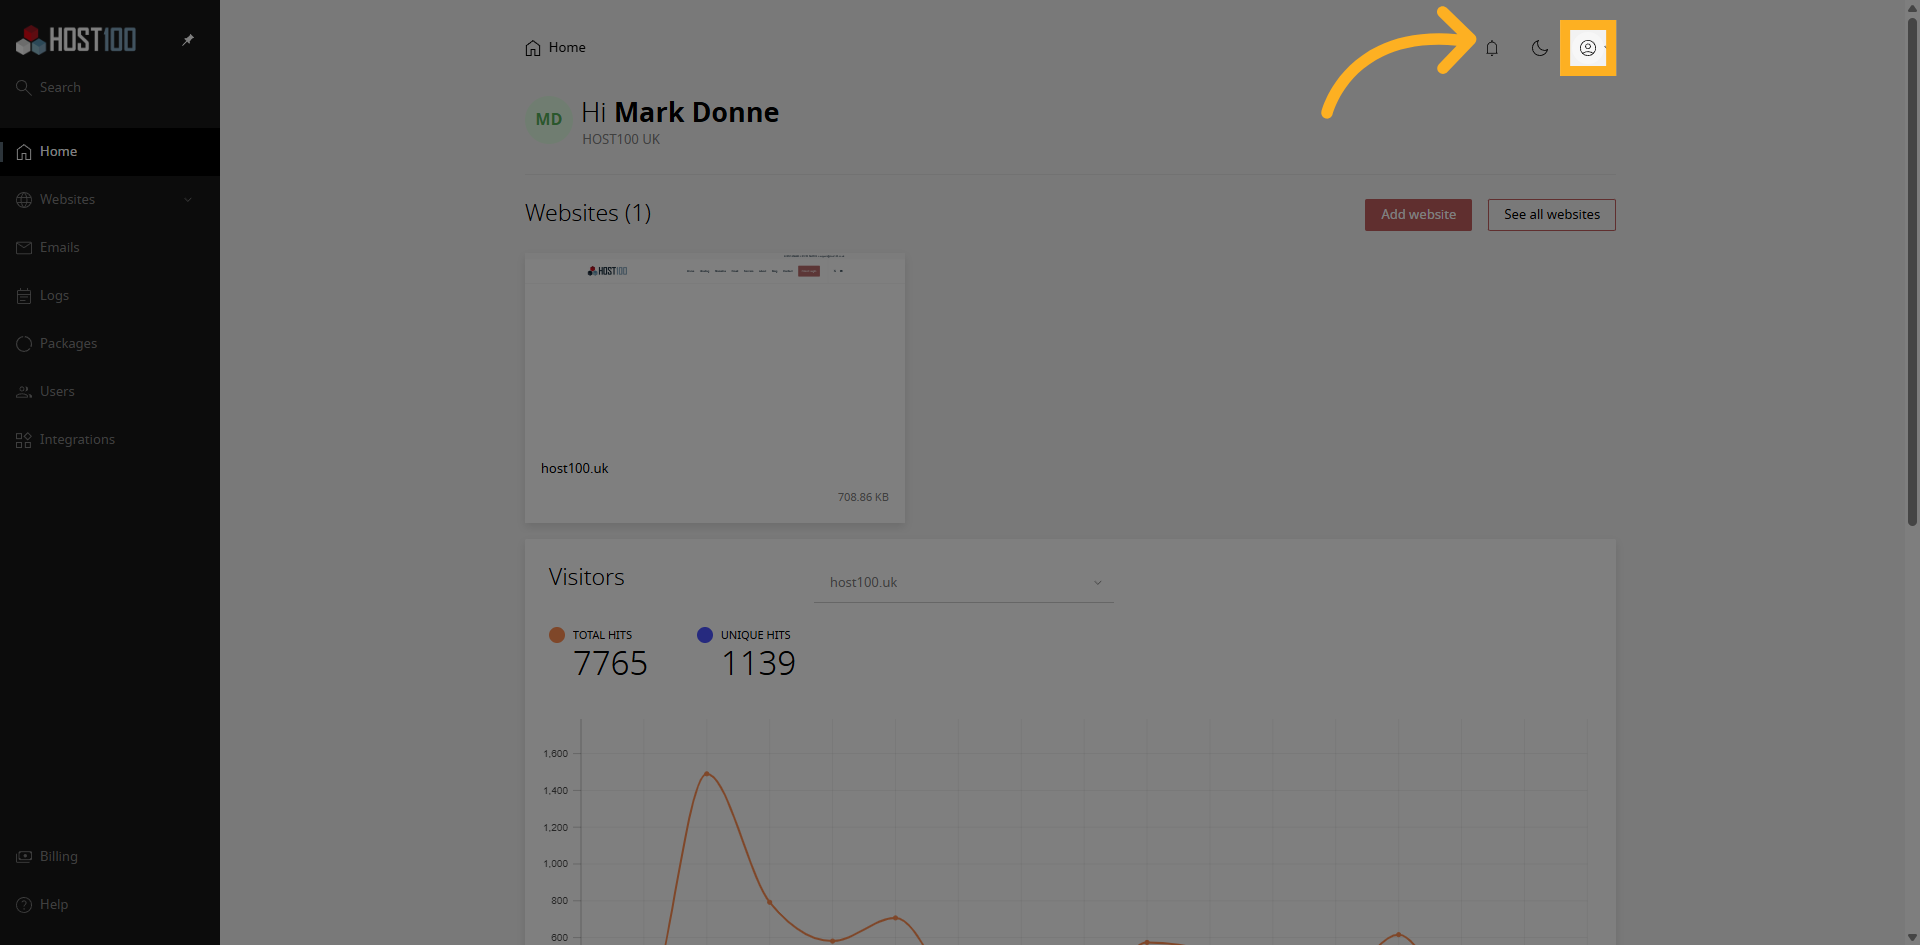
3. Access My Account Section
Click "My account" to open your personal account settings where security options are available.
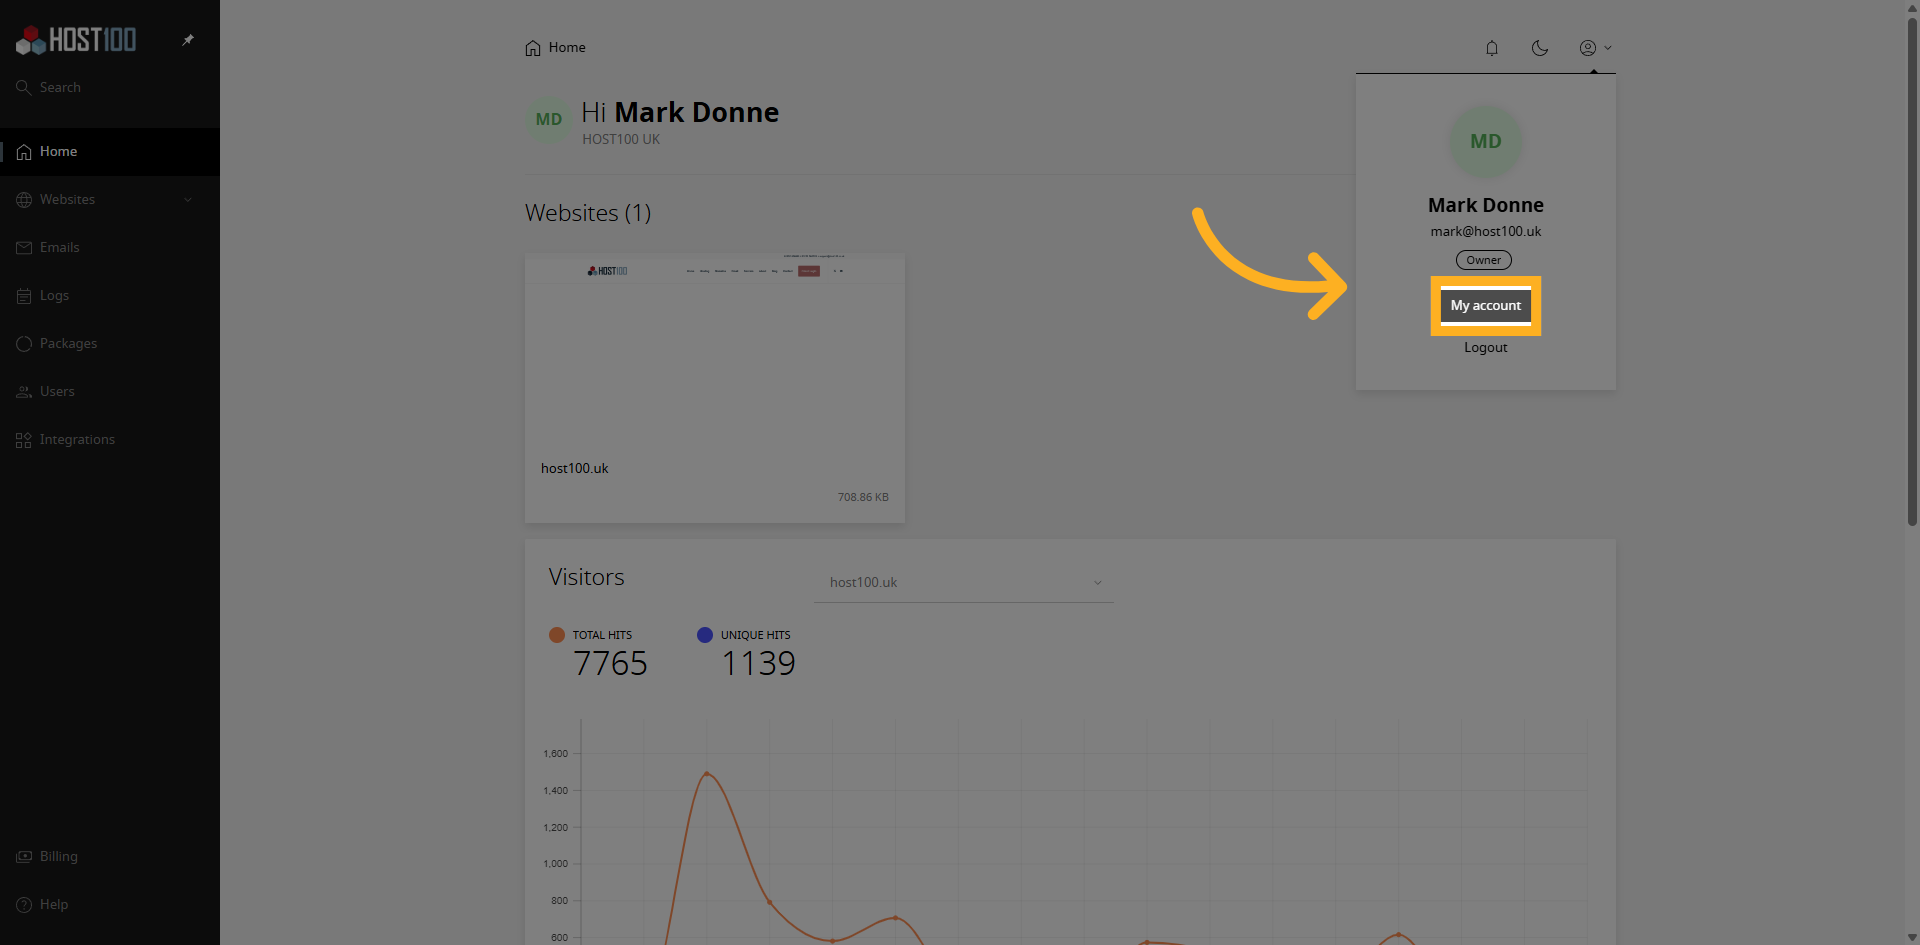
4. Enable Two-Factor Authentication
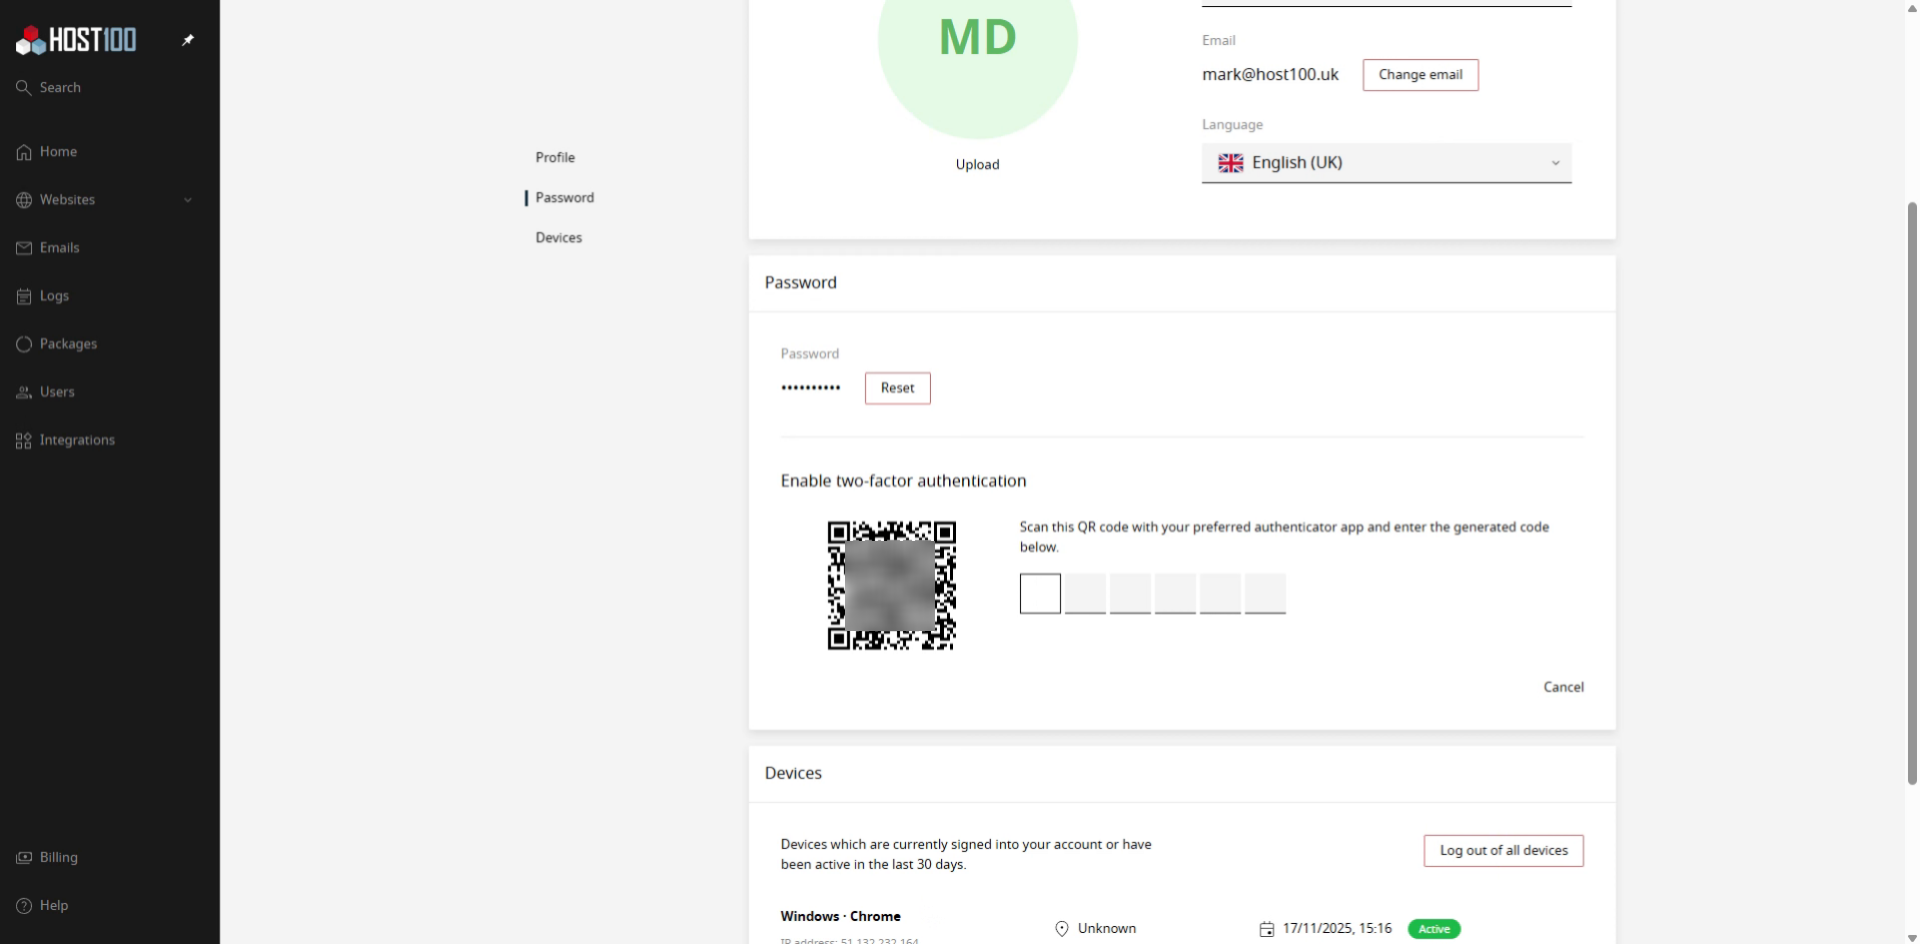
Click "Enable two-factor authentication" to start the setup process.
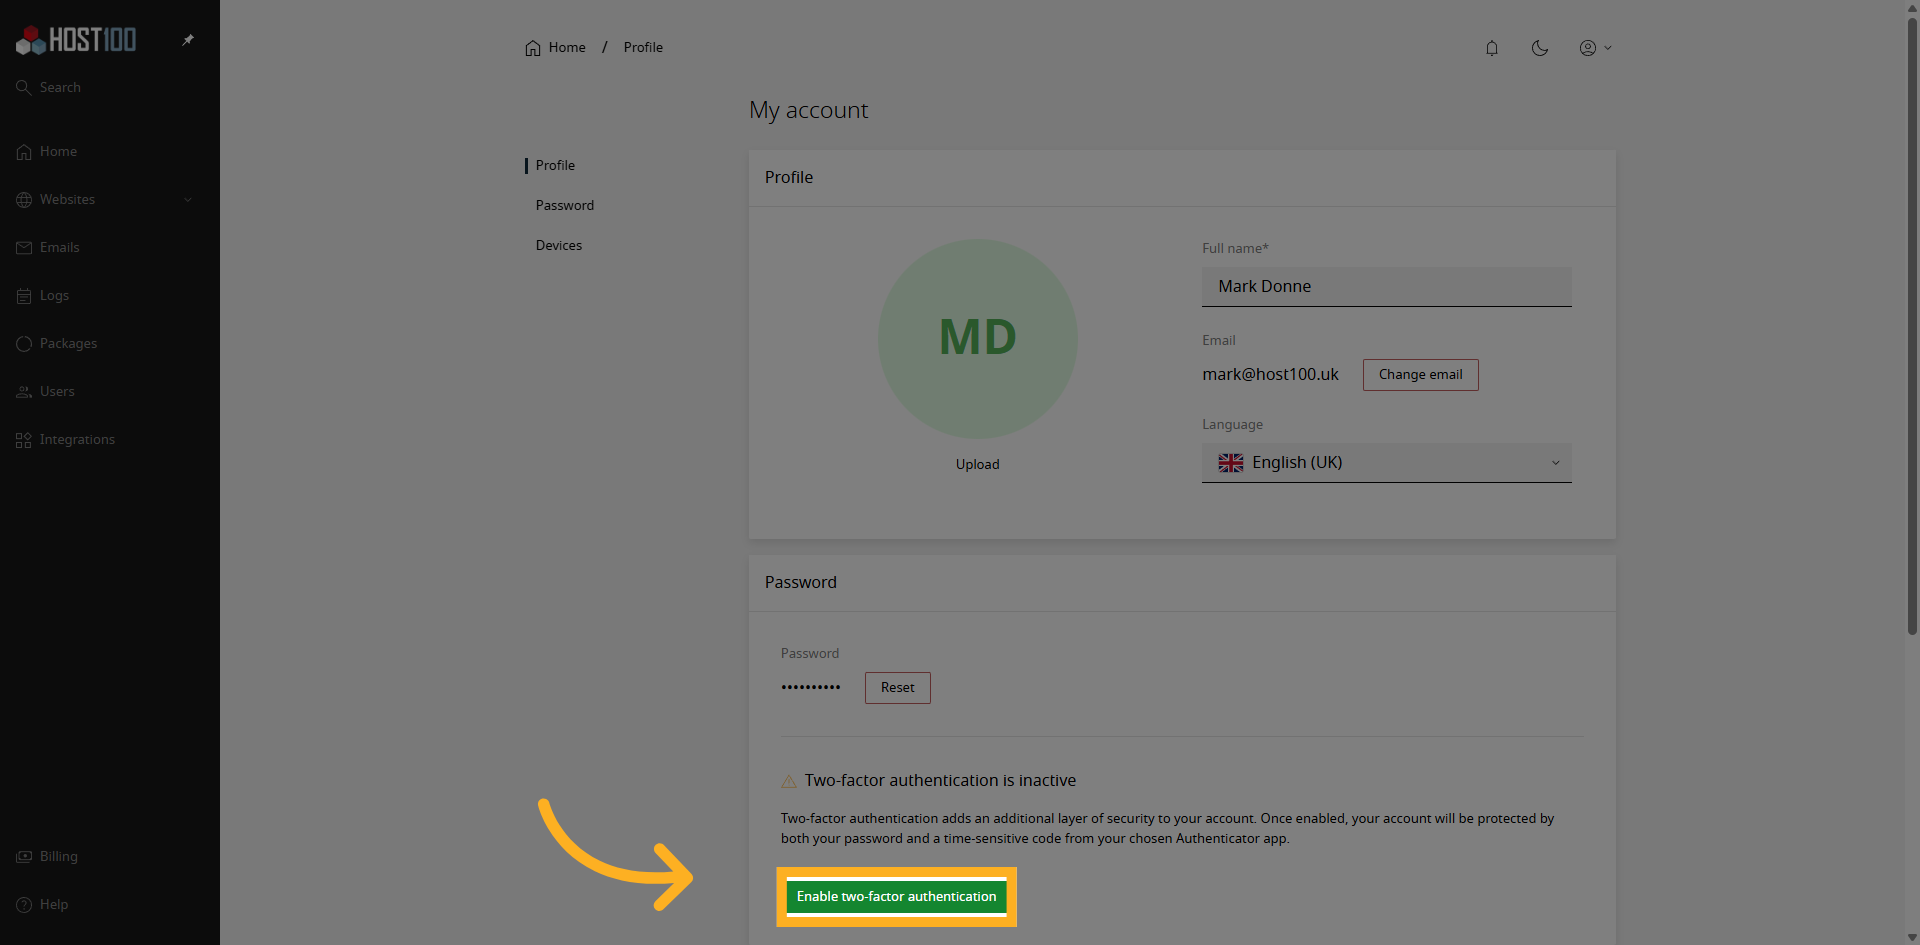
5. Enter Authentication Code
Scan the QR Code in your choice of 2FA App, like Google Authenticator or Microsoft Authenticator, and then enter the 8-digit code provided by the app to verify your device.
6. Log back in
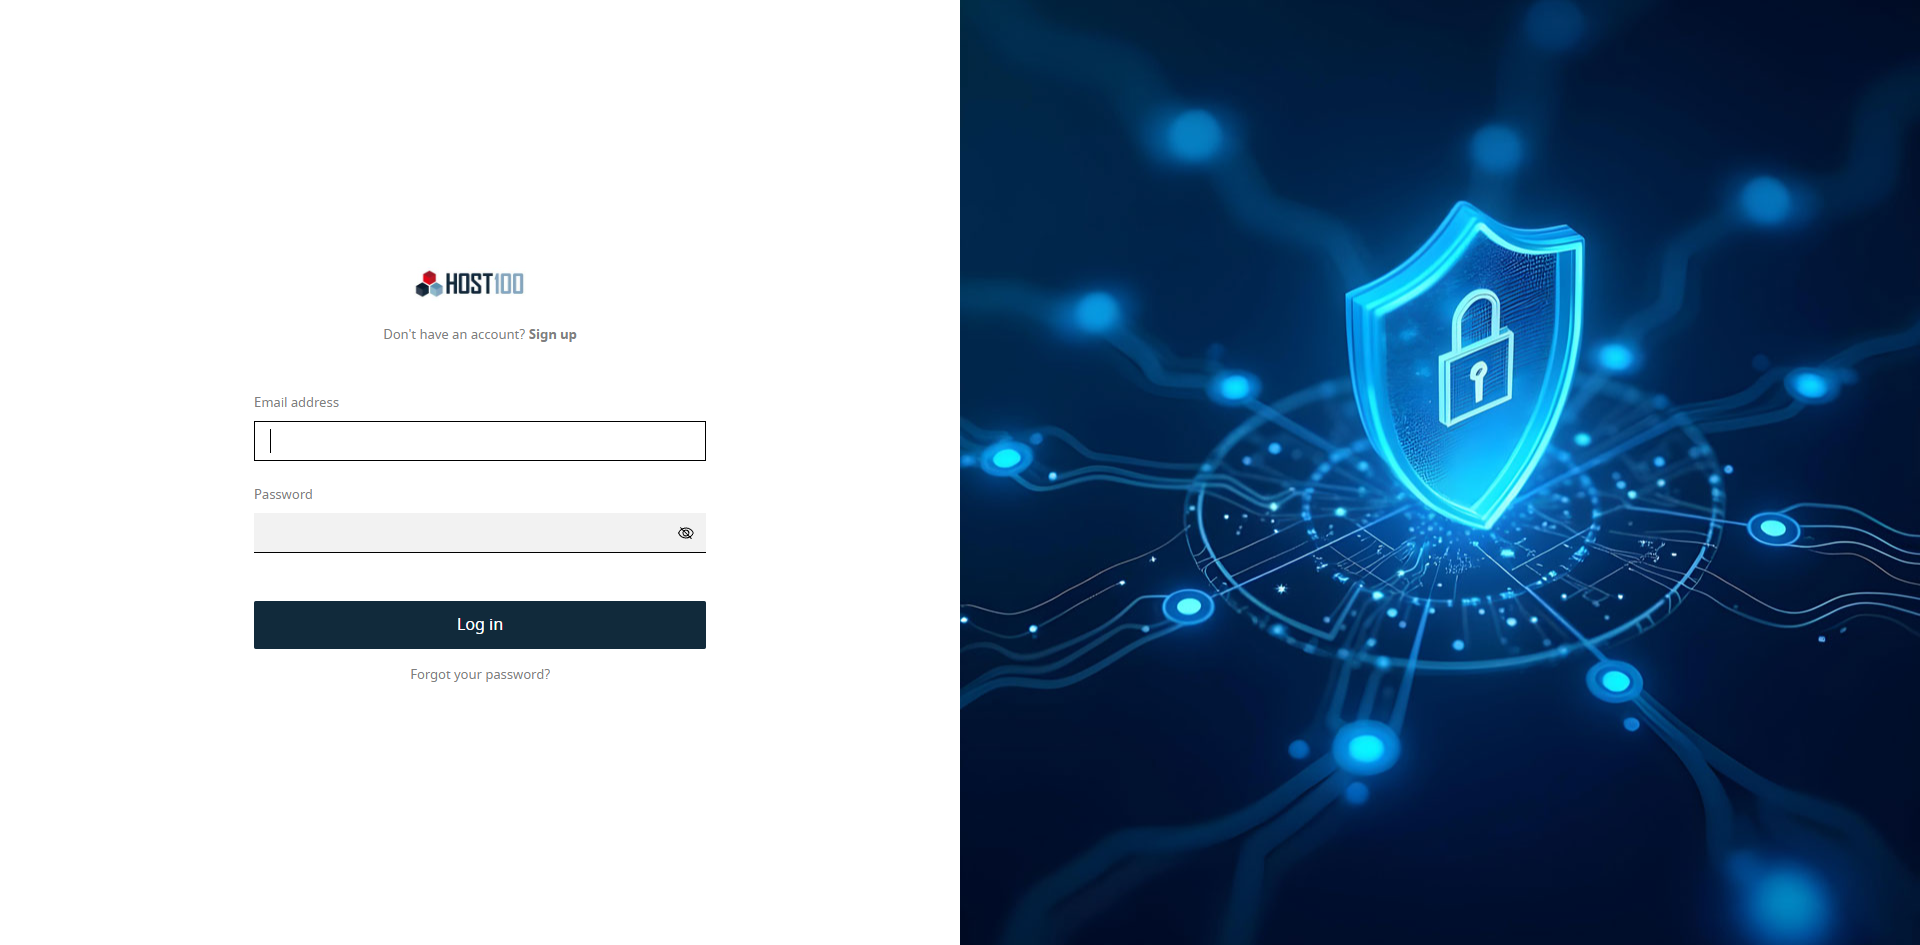
After you enter the 8 digit verification code you will be automatically logged out. You can now log back in and the website will request your 2FA code.
7. Enter Verification Code
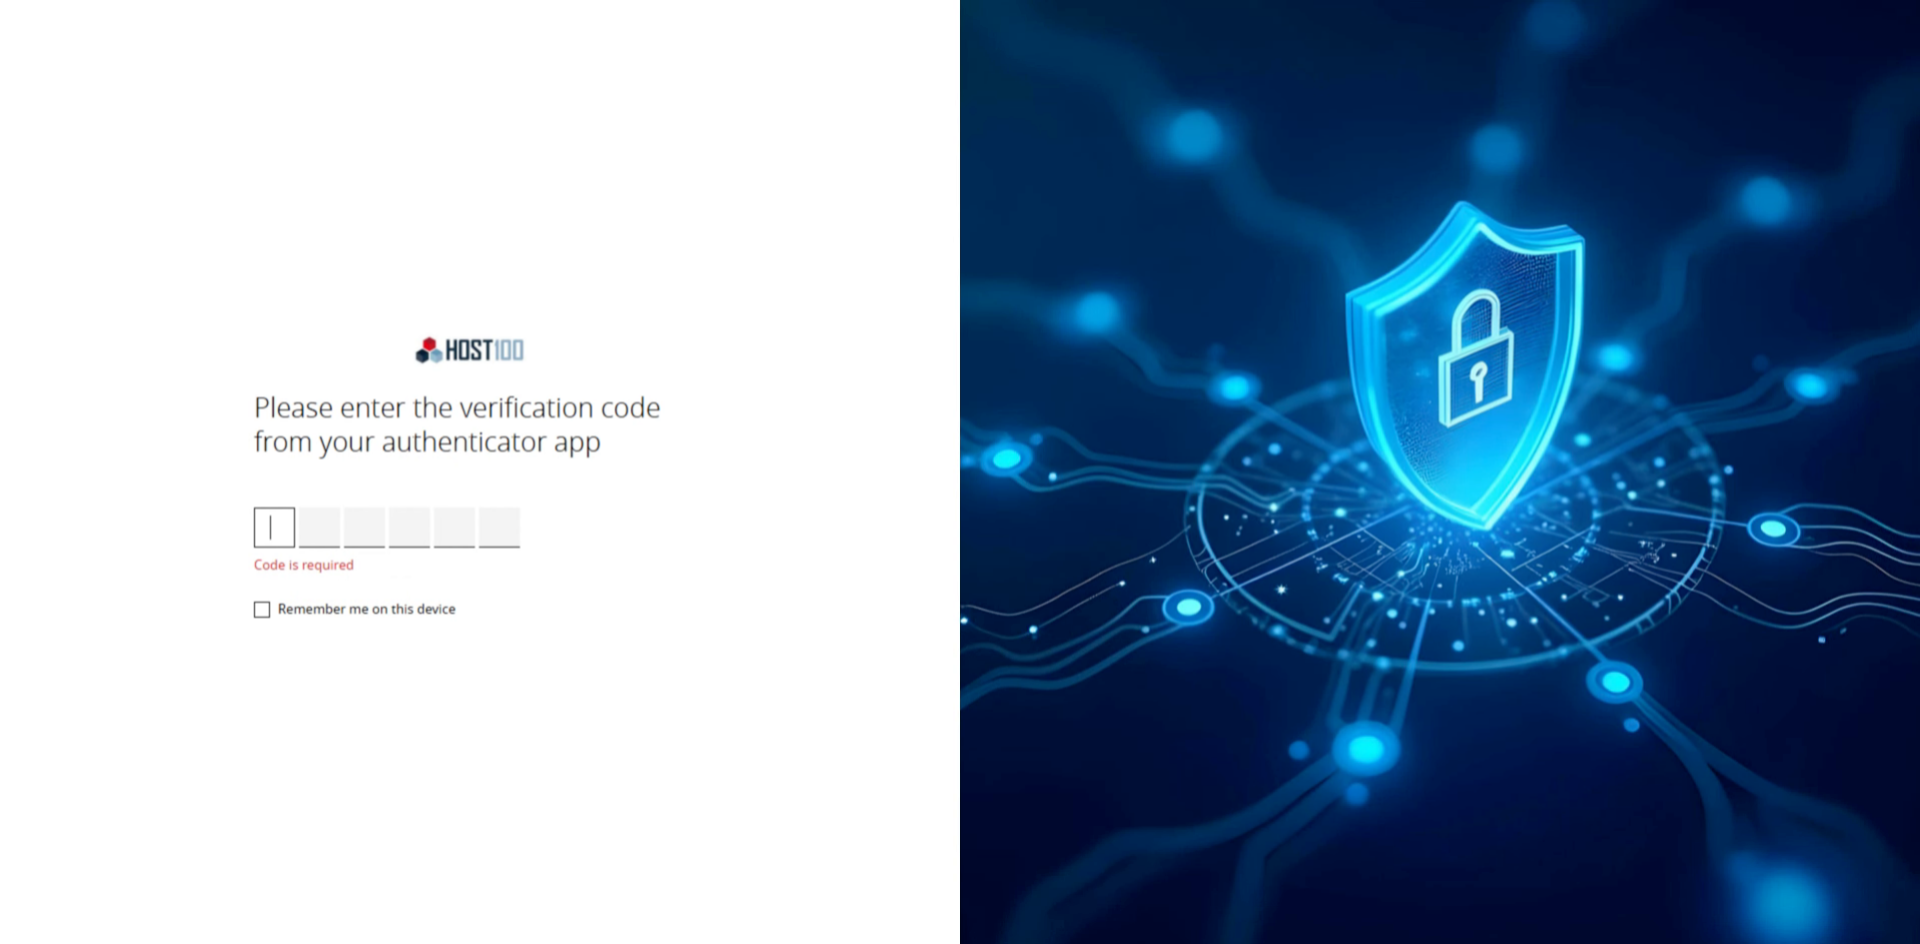
Refer to your authentication app and enter the 8-digit verification code to complete the authentication step.
8. Setup Complete
That's it, you have now completed the login process using Two Factor Authentication.
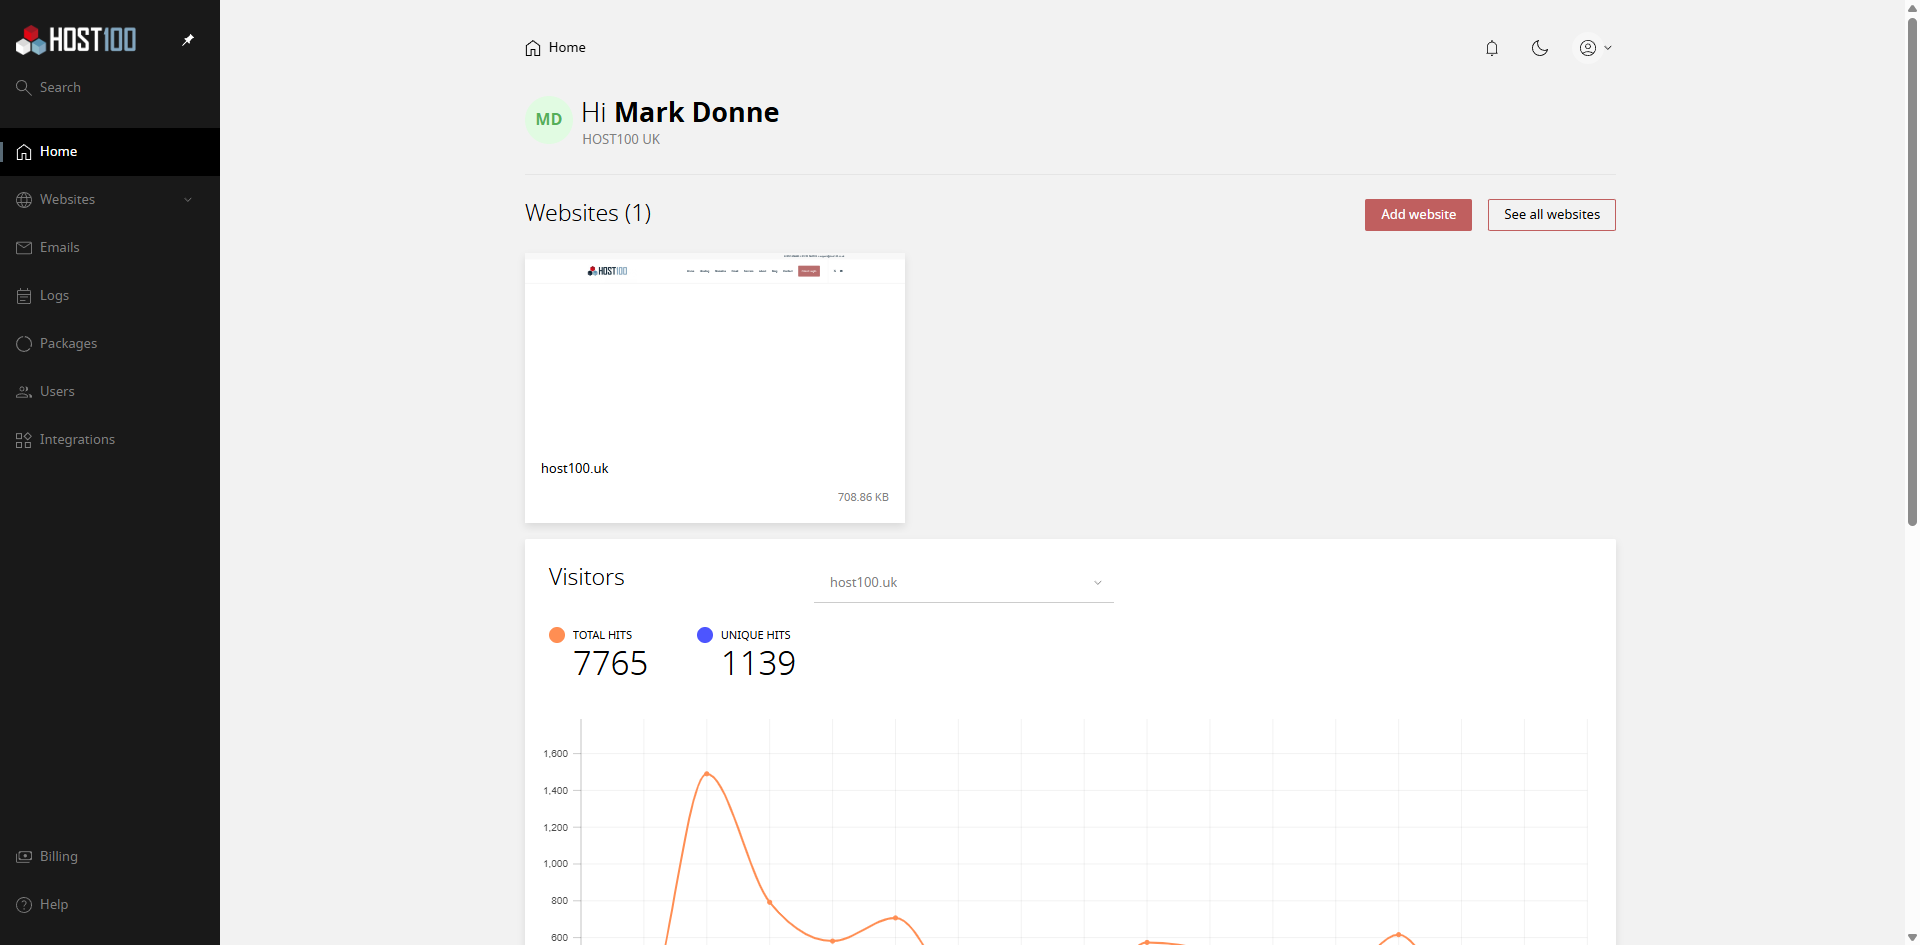
You have now successfully enabled and configured two-factor authentication in the HOST100 control panel, enhancing your account security.